Hello! Today I am back after a very long break to share a project which I made a couple of Christmases ago. Unfortunately, time has flown, and I haven’t been able to share it with you until now. I’m glad to say that I have finally edited it and I hope you enjoy it.
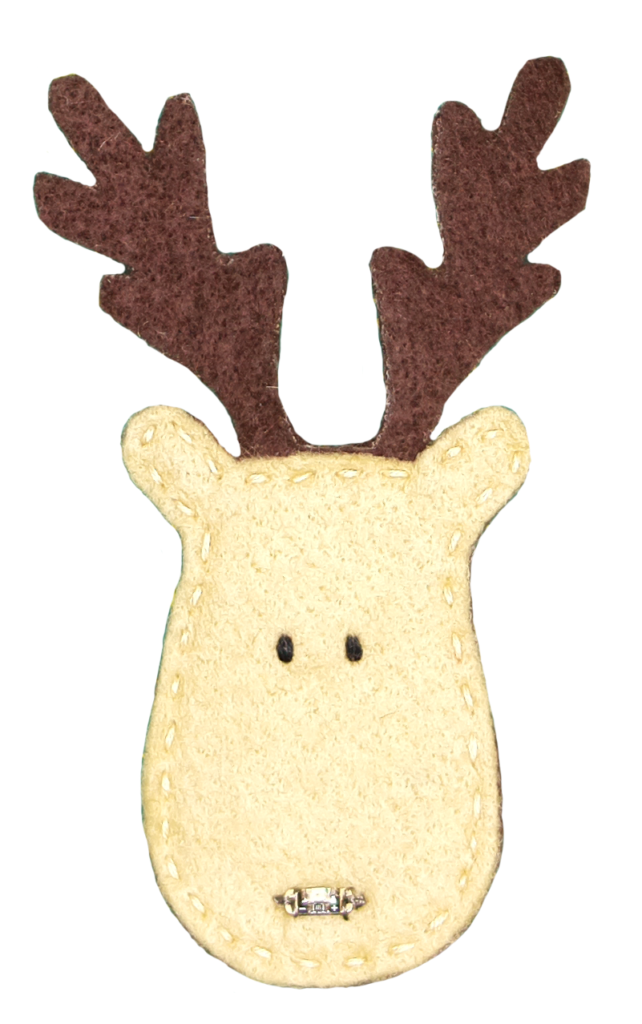
So, one autumn, I decided it would be fun to make a Christmas brooch. While Christmas jumpers are great, sometimes it’s much easier to wear an accessory to make any outfit festive. I was getting into wearable electronics as well, and this seemed like a nice straightforward project for anyone wishing to learn a bit more about this as well.
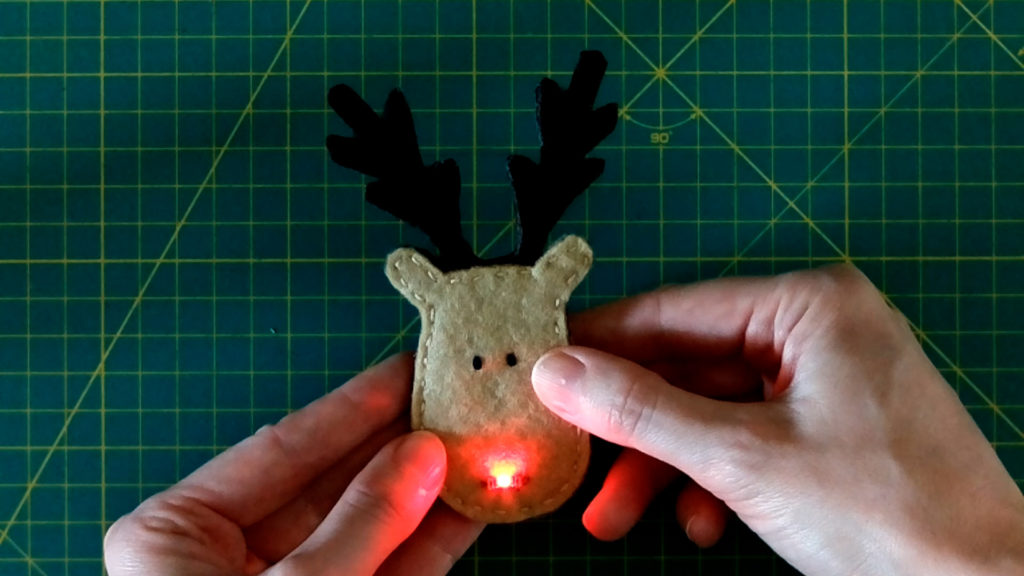
The design I am sharing with you is a reindeer badge. It is made from two colours of felt, sewn together with embroidery floss, though I do use some glue as well. It uses a small sew-on red LED light, secured to the coin battery pack on the back with some conductive thread. The coin battery pack was purchased from Pi Hut and allows you to select a flashing or constant light option.
I encourage you to have a go at designing your brooch design but if you like my reindeer, you can download a template off my website for free with the option to make a payment if you wish.
Now, I mentioned that this tutorial has been long in the making. I made a slightly different version the year before which used a rechargeable battery which was sewn into the head of the reindeer. It used a more complex electronics design as well. However, I felt the coin battery design was much simpler and more effective.
What you need
First, I will run through the resources you’ll need to make this brooch.
- Felt in the colours you wish to use for the face and antlers of your reindeer
- Embroidery floss
- Red LED light – I got them from the pihut
- Coin battery power supply – I used one from the pihut
- A wire stripper tool
- Tweezers are optional but can be useful for manipulating the coin battery wires which can be fiddly
- Swe-on brooch/badge back
- Glue that can attach plastic to the felt (I used rapid epoxy adhesive)
- Conductive thread – I got this from the pihut
- Permanent adhesive spray suitable for fabric – mine is from Hobbycraft
- Optional: fray check
- The brooch template
- Fabric pen, tailor’s chalk or pencil for tracing
- Bulldog clip or something to help with gluing the coin battery to the felt (you can always check this step to see what I mean)
- The template
1. Cut out the felt pieces
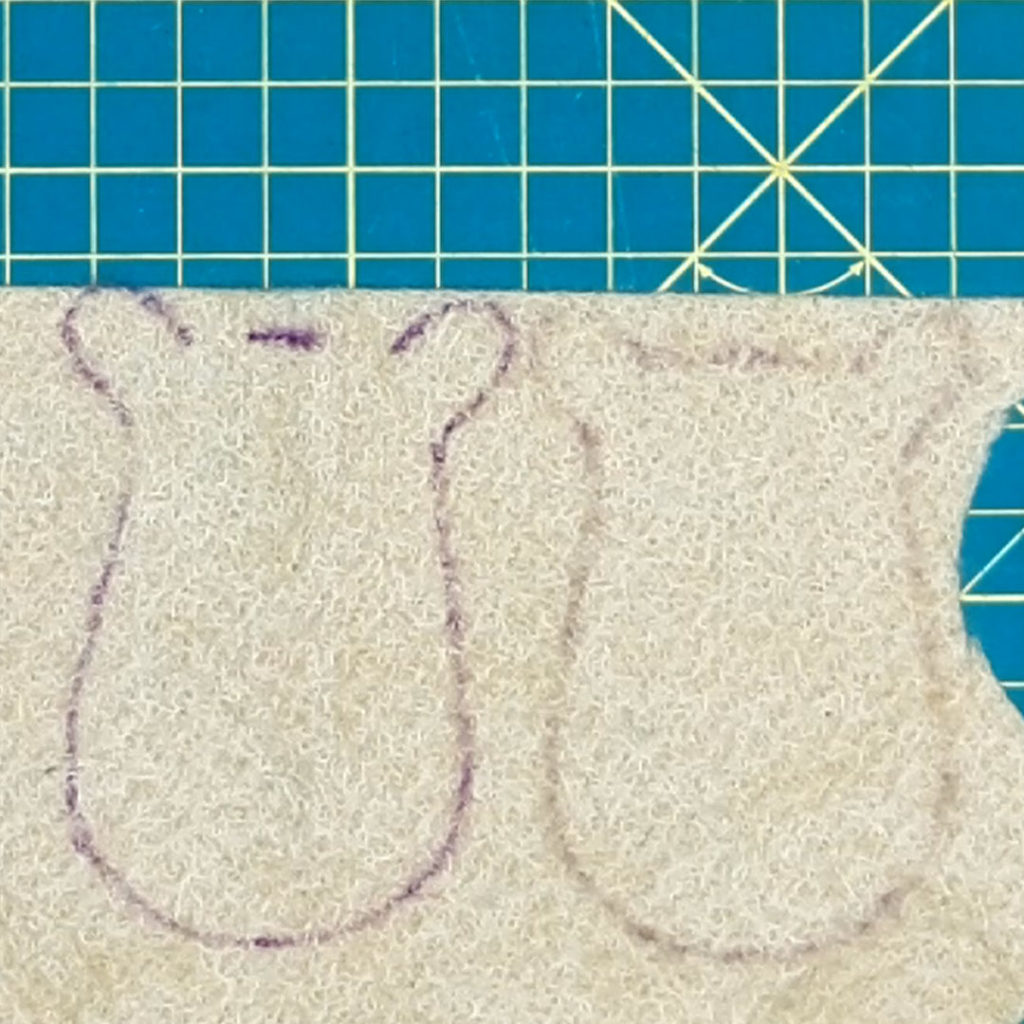
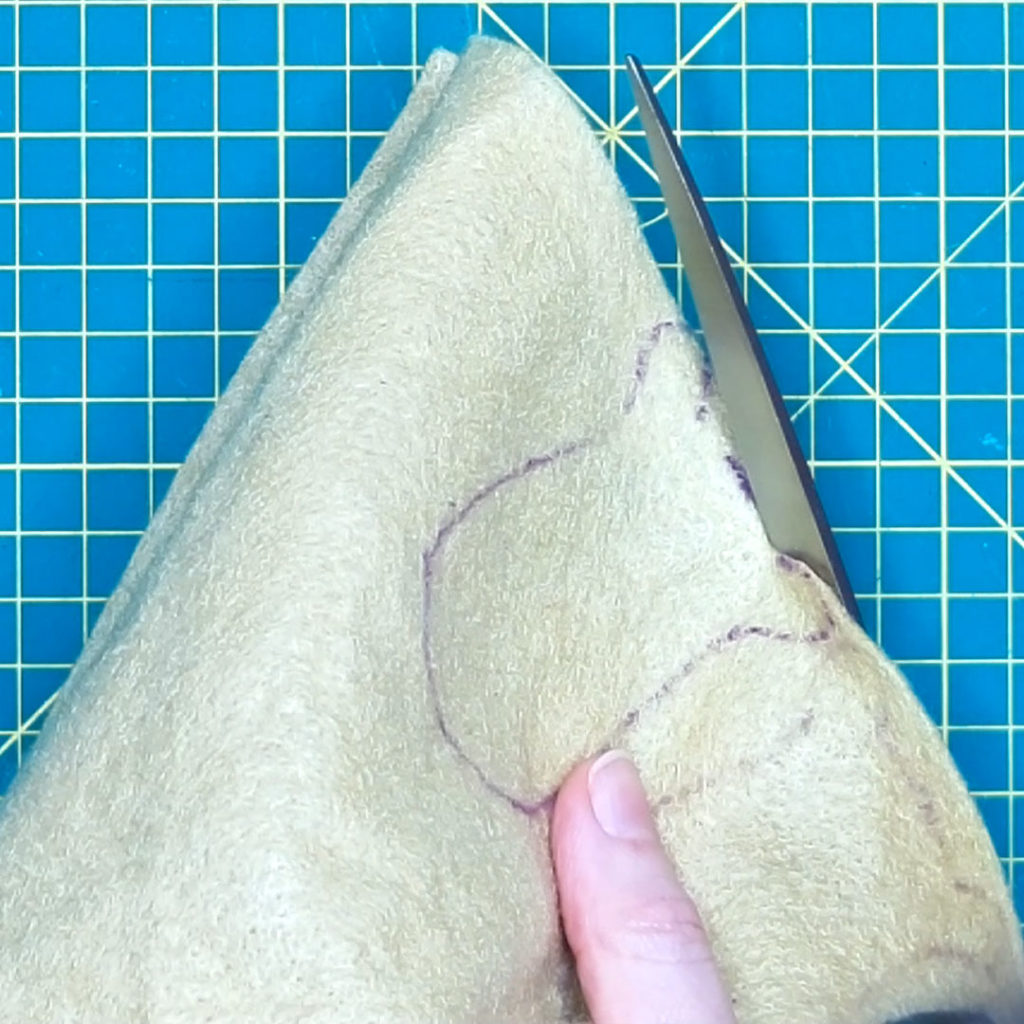
First, I used the template to trace around the reindeer’s face to create two reindeer heads. These were then cut out.
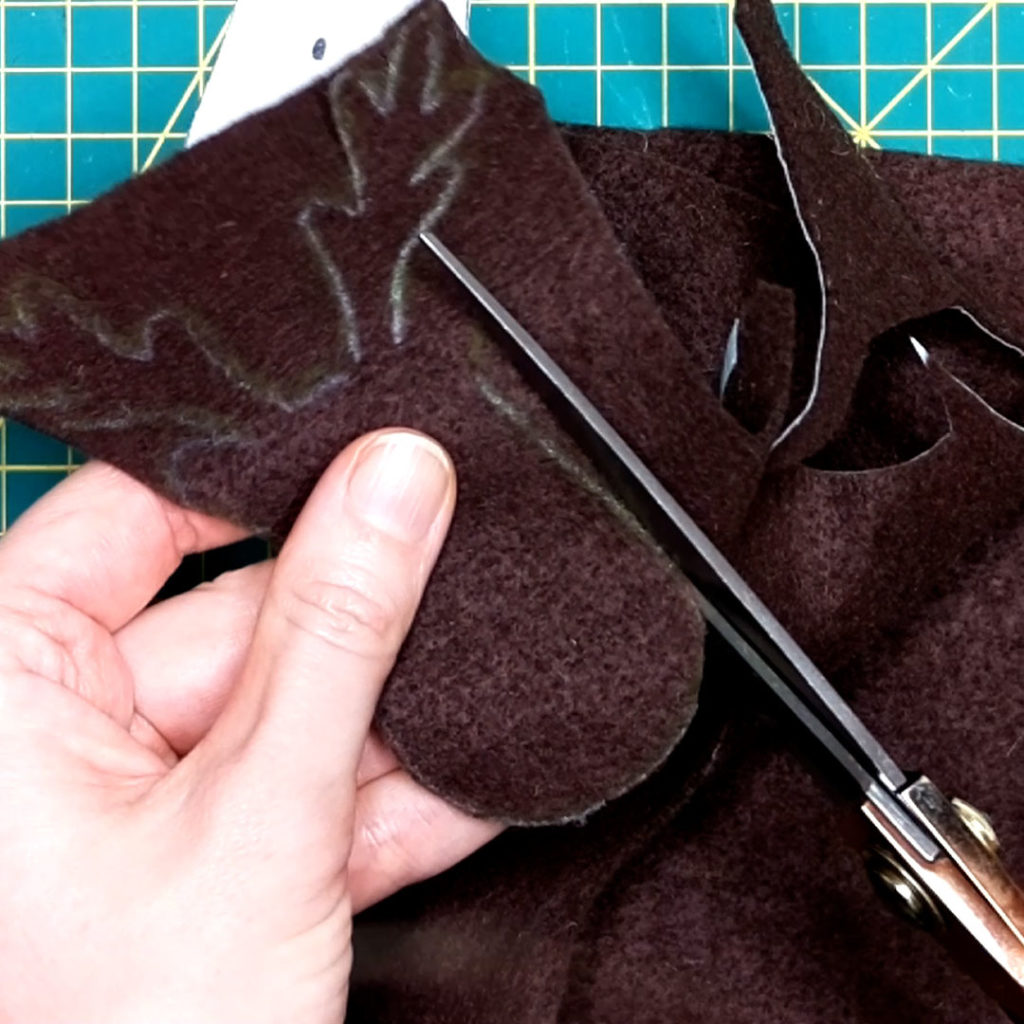
Next, I used a white fabric pen to trace around the whole reindeer template onto the antler felt colour and cut this out.
I have used a fabric pen to trace but you could use a pencil.
Use spray adhesive to stick the antler coloured piece to another bit of the same coloured felt to create a thicker section for the antlers and cut out. You may be fine with one layer depending on how firm your felt is.
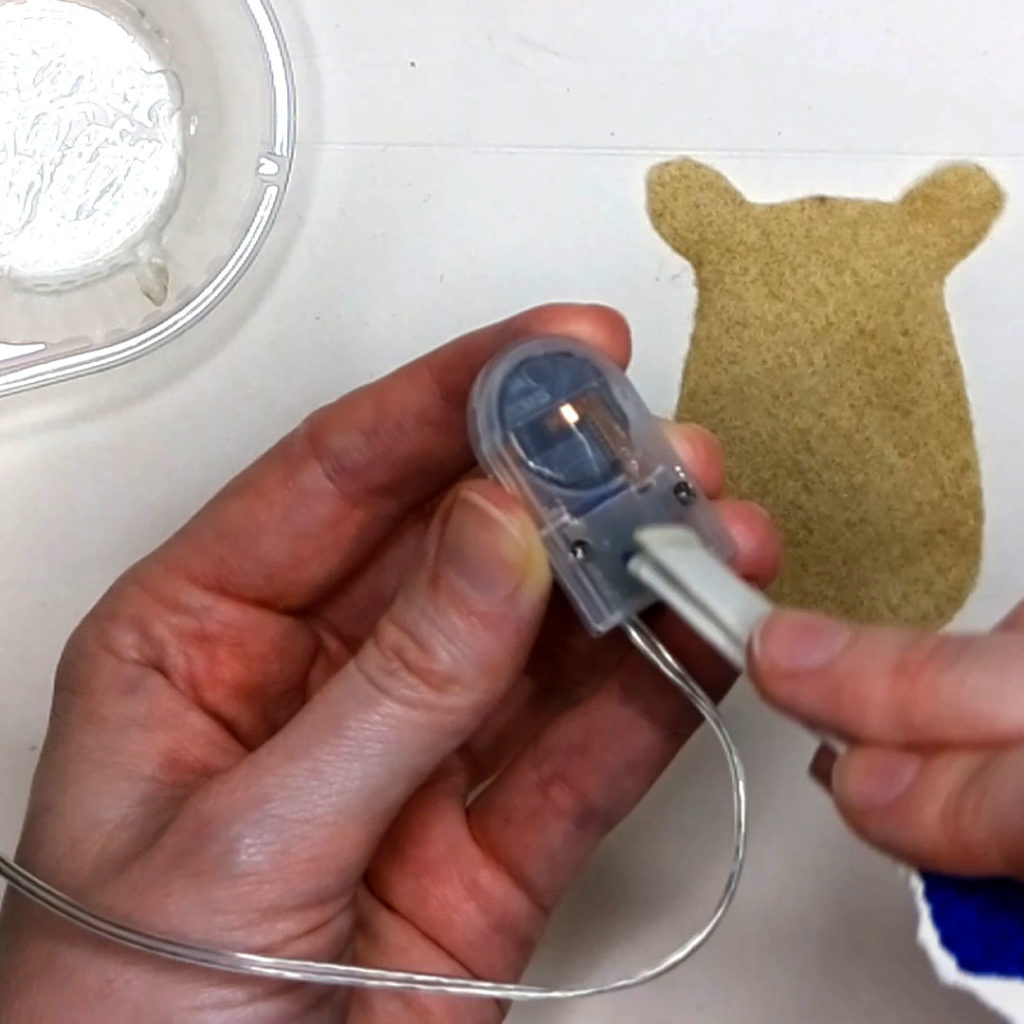
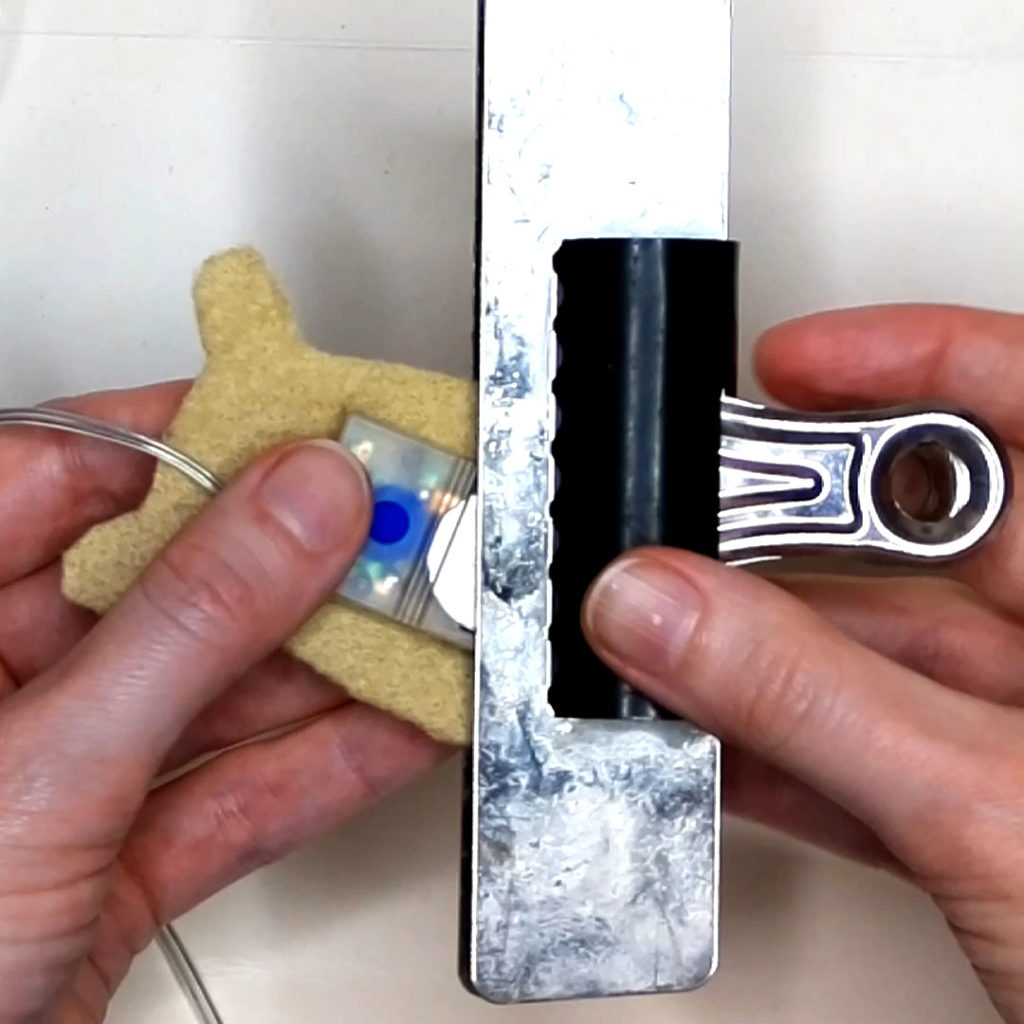
2. Use the glue to attach the coin battery power supply to the back of the reindeer head
The glue I used required me to mix two separate parts to create the adhesive so here I am mixing it up on a bit of recycling.
Follow the instructions of your glue to ensure it stays on the back of the head – I have used a bulldog clip to keep it in place while it dries.
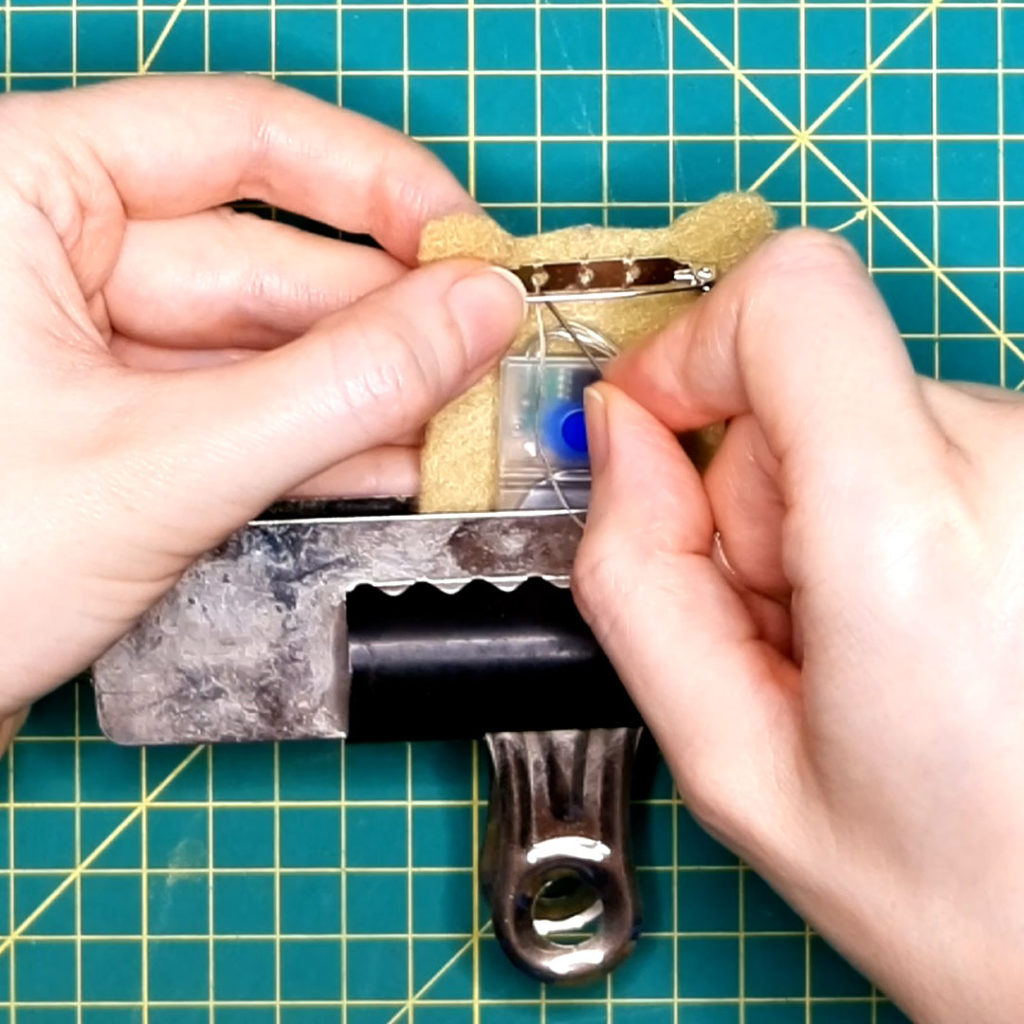
3. Attach the brooch fastening to the back of the head
You can wait until the glue has dried in the last step. Here you can see I got too excited and started to sew it on while drying!
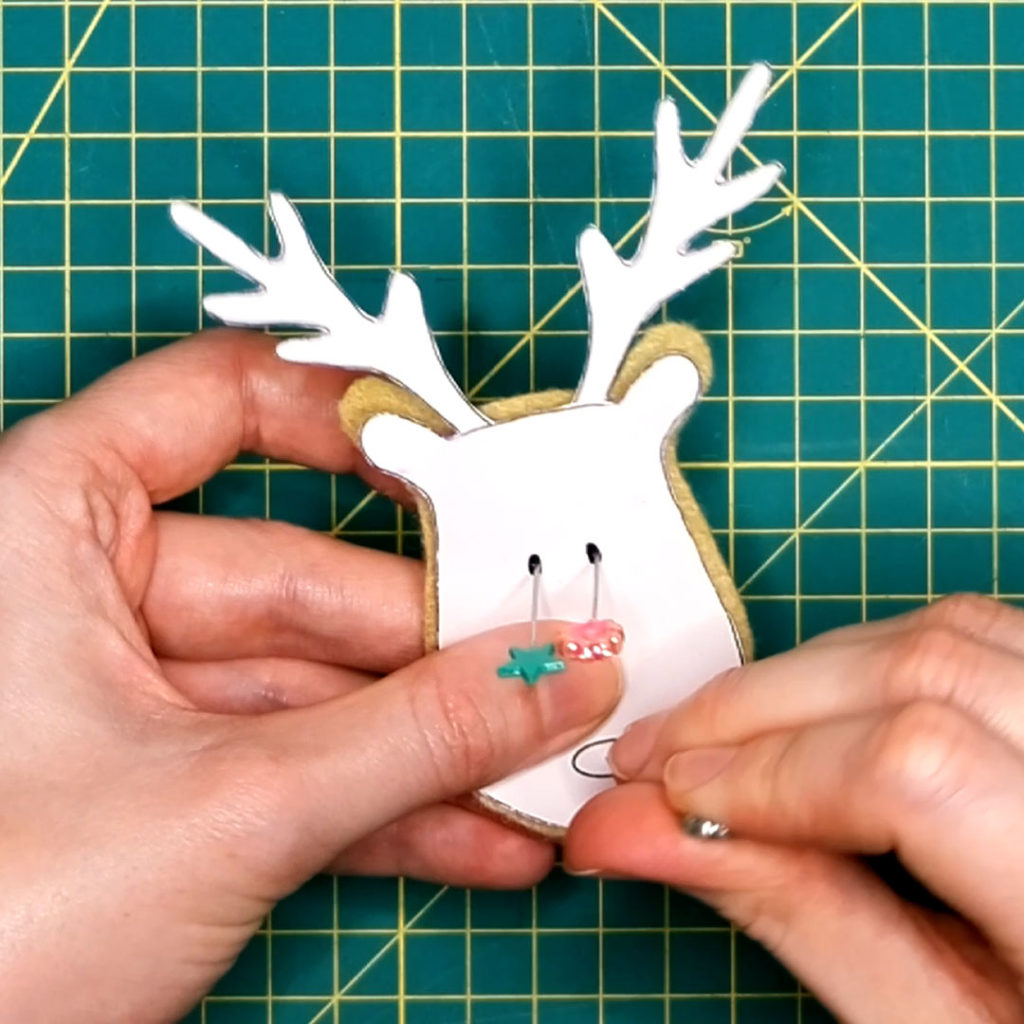
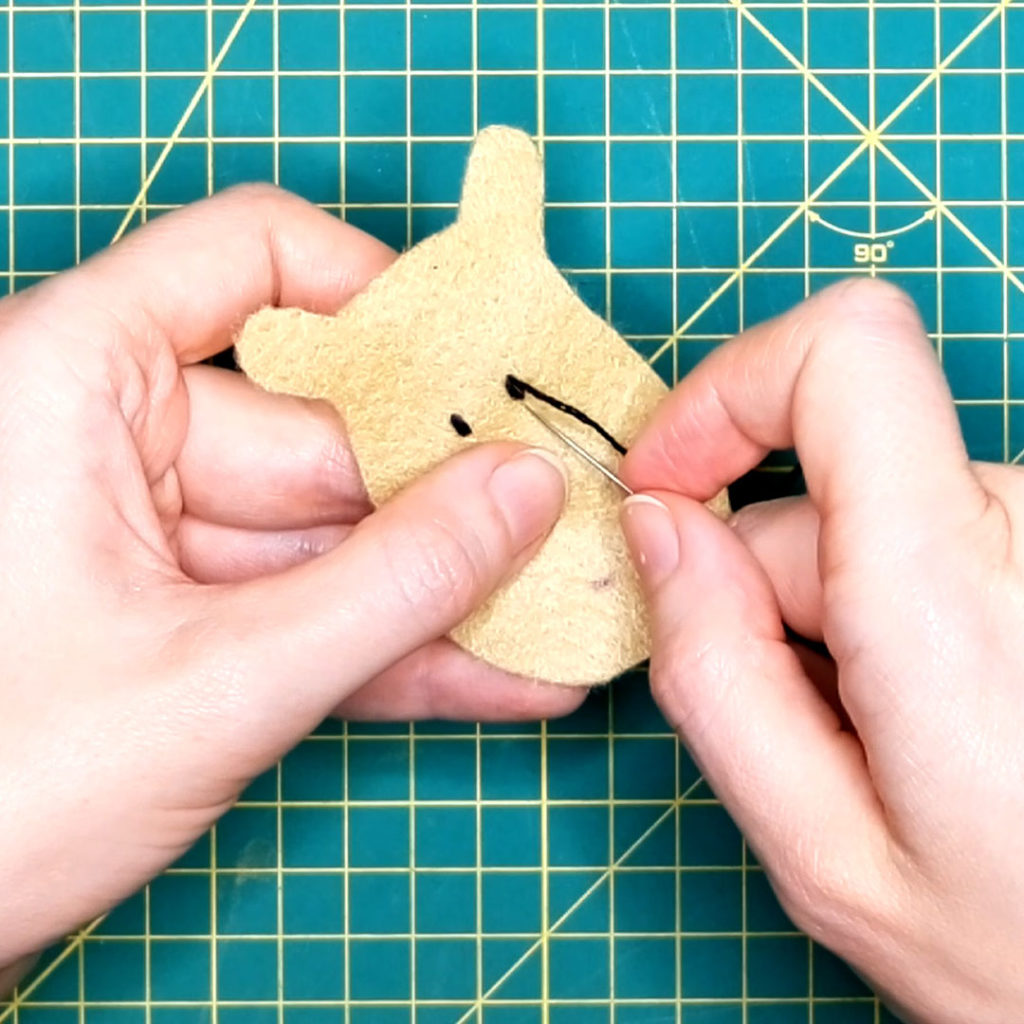
4. Create the reindeer’s face
Mark the eyes and nose positioning onto the front head piece using the template as a guide.
Embroider eyes using the dark brown embroidery thread. I used a thickness of 4 or 6 threads for this but choose a thickness you prefer.
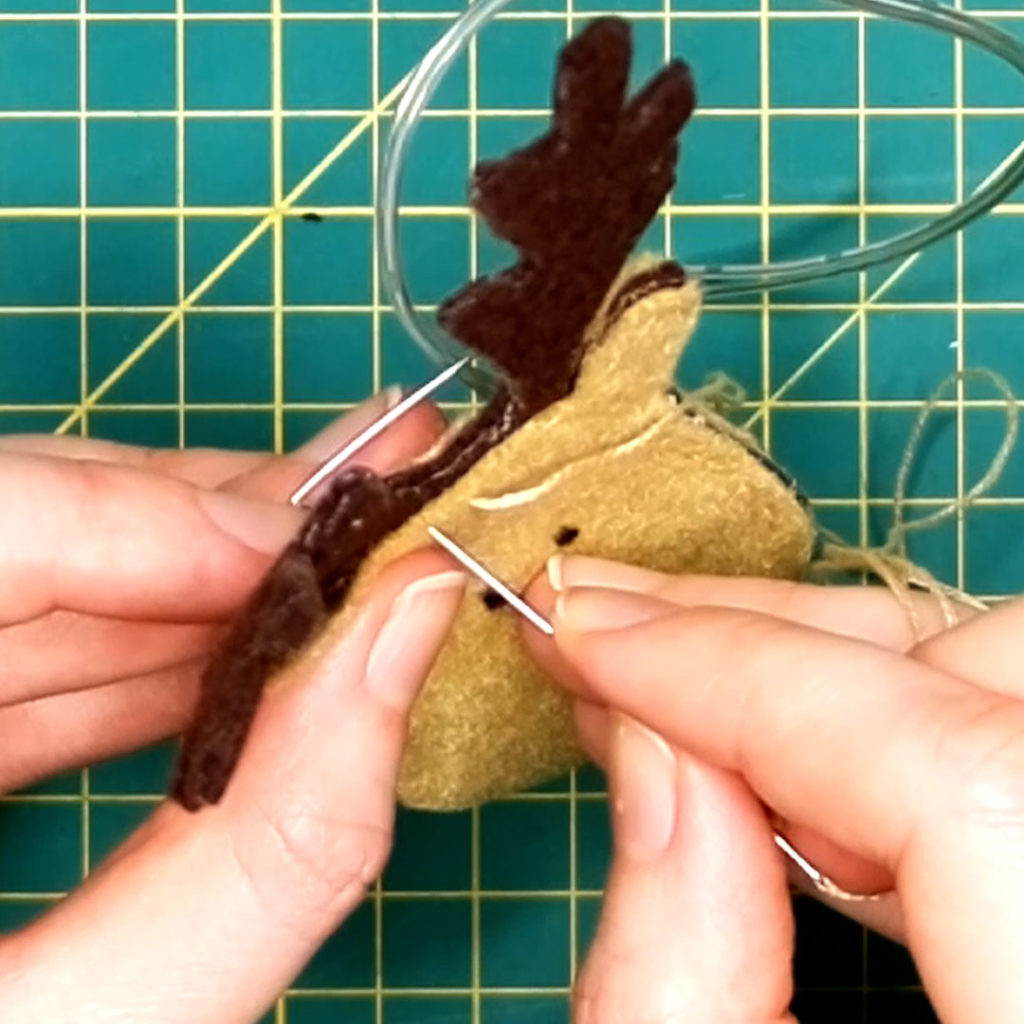
5. Attach all the felt layers together
Stick the front and back pieces of the head to the antler piece. I have used the spray adhesive again but if you’d rather not use this then you could temporarily clip together at this point as the next step is doing a simple running stitch with embroidery thread around the edge of the head. I gave it a little tidy up at this point as well by trimming the felt where I felt it was needed.
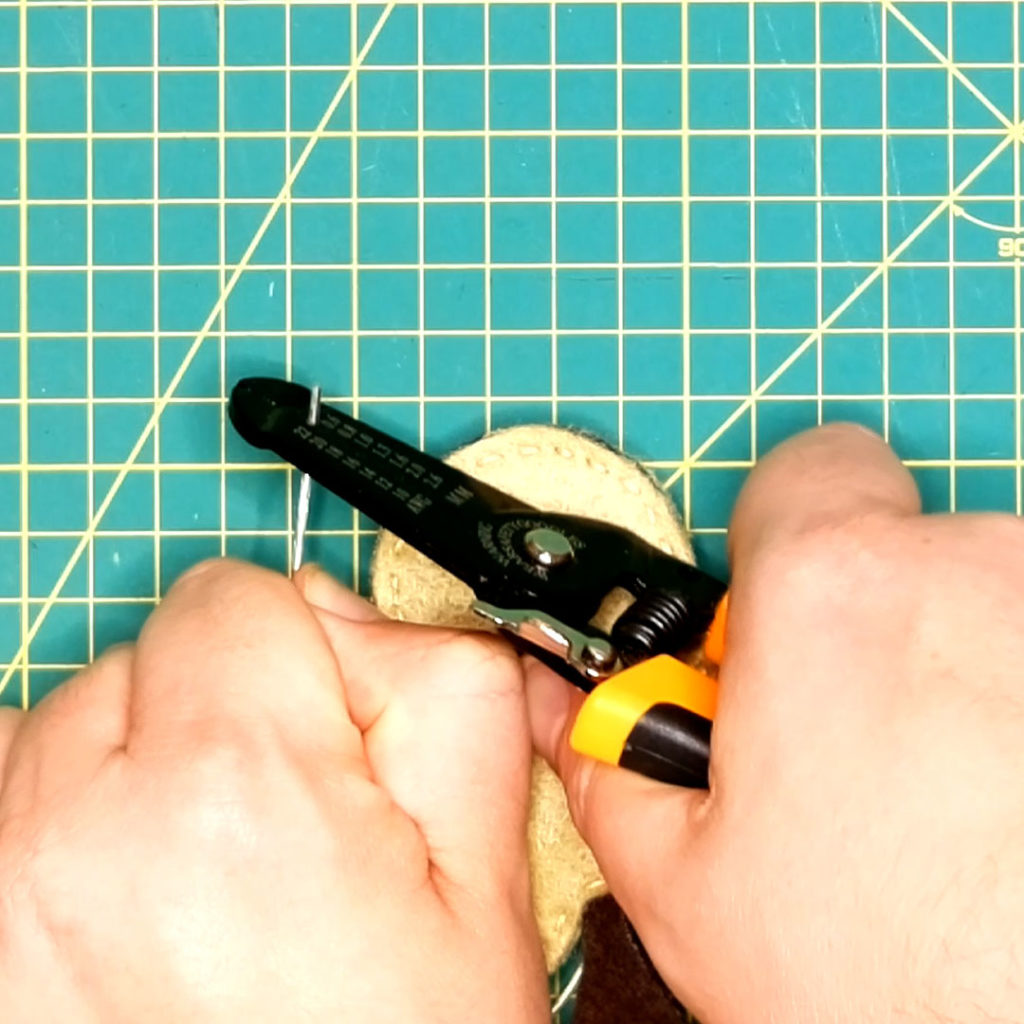
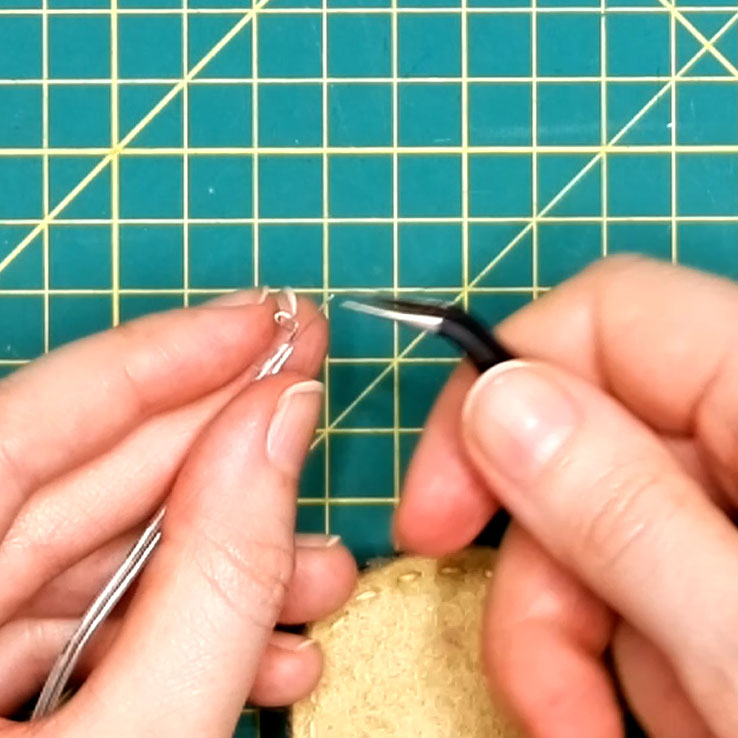
6. Add Rudolf’s red nose and create the circuit
Next we will attach Rudolf’s flashing nose.
I used a wire stripping tool to make a longer exposed bit of wire on the coin battery piece, and then used the tweezers to curl this round into circles.
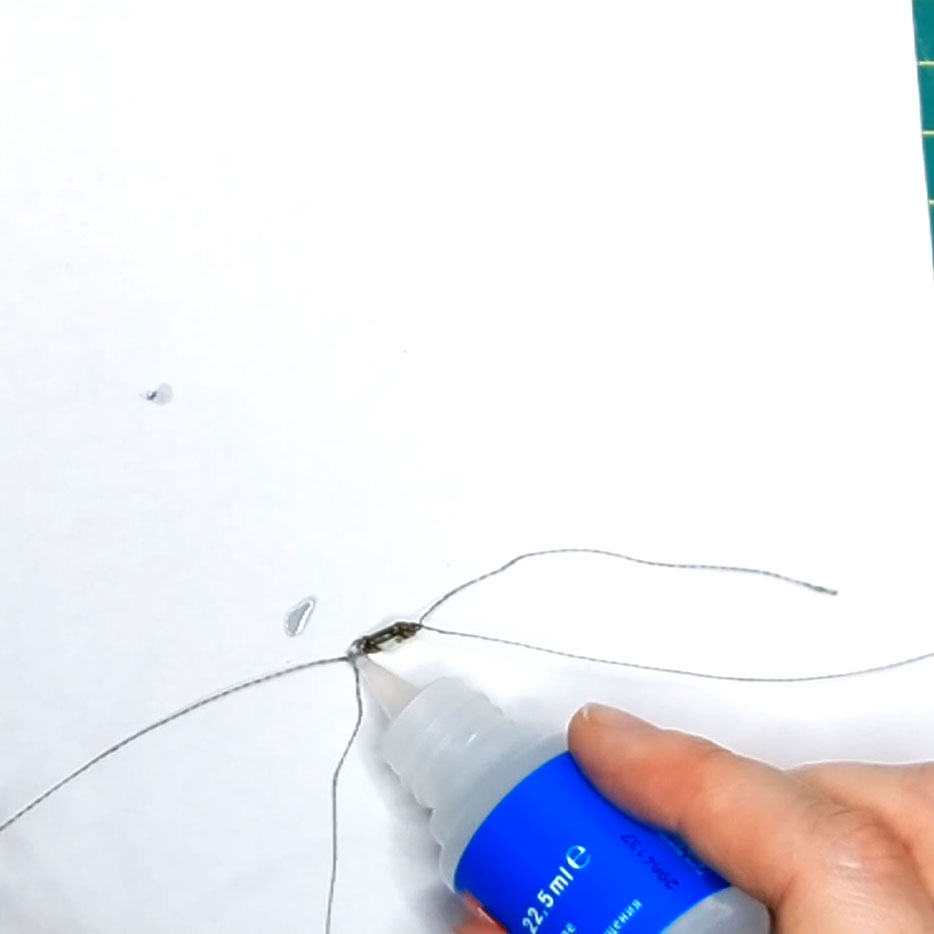
Next, I attached two pieces of conductive thread to either side of the red LED light. I secured these by tying a knot. I used fray check as well as I thought this might make it a bit more secure.
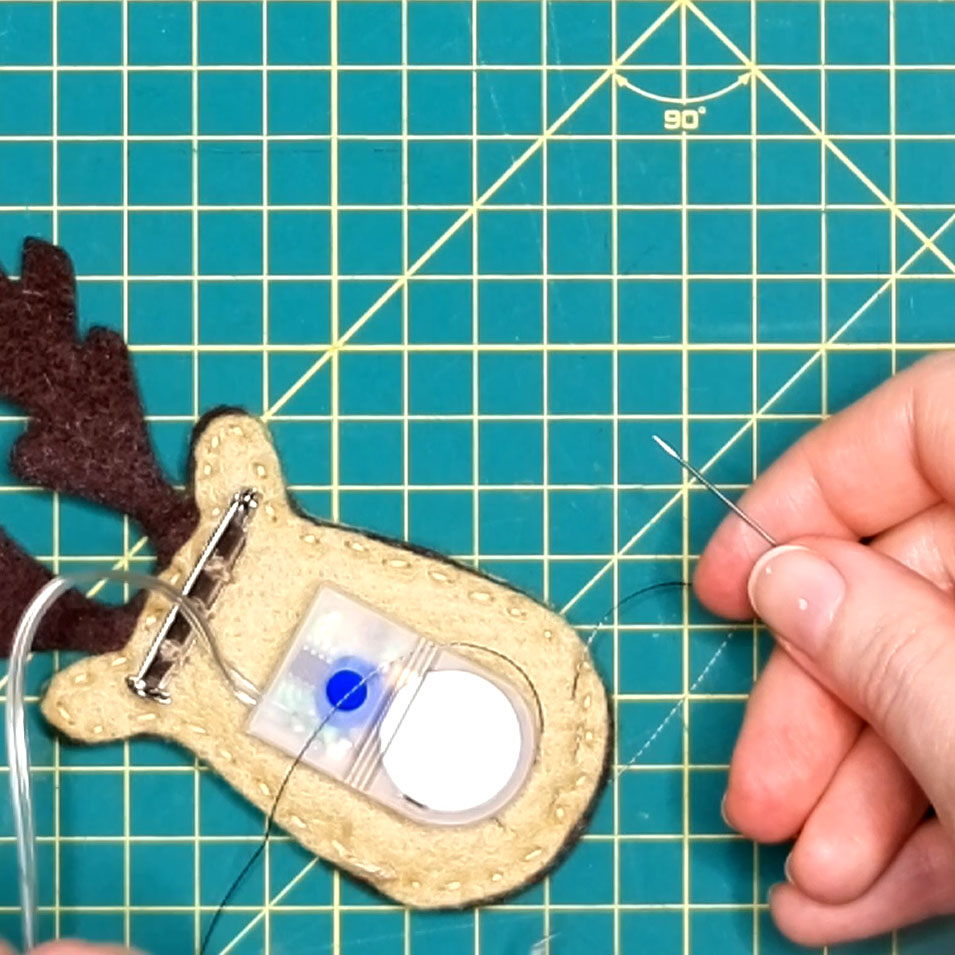
Once secure on the LED end, I used a needle to thread the conductive wire through to the back of the brooch. I made sure that the two pieces of conductive thread did not touch and ended up apart form each other on the back.
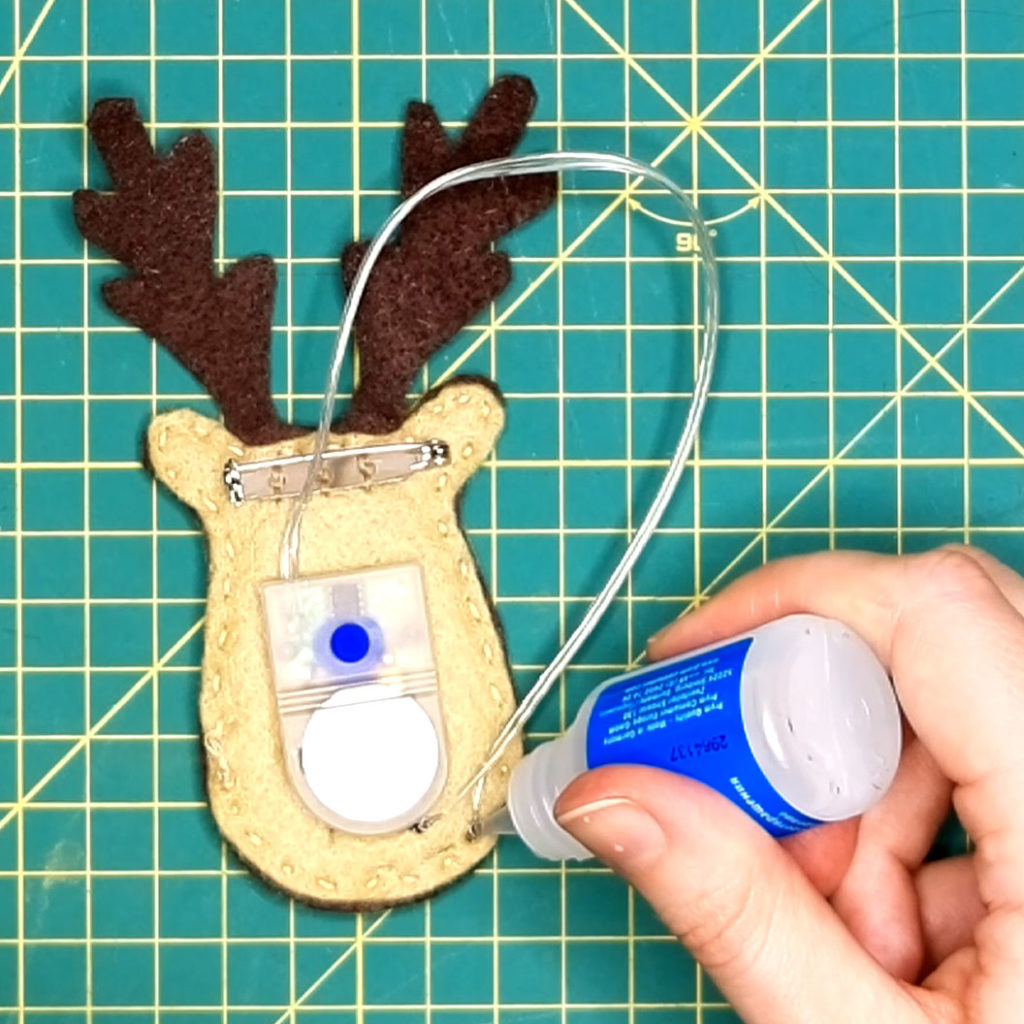
I attached one conductive thread to each wire on the coin battery pack. Again, I secured with a bit of fray check as well.
I then tested that the circuit worked by adding a coin battery and switching it on.
7. Secure the loose wiring
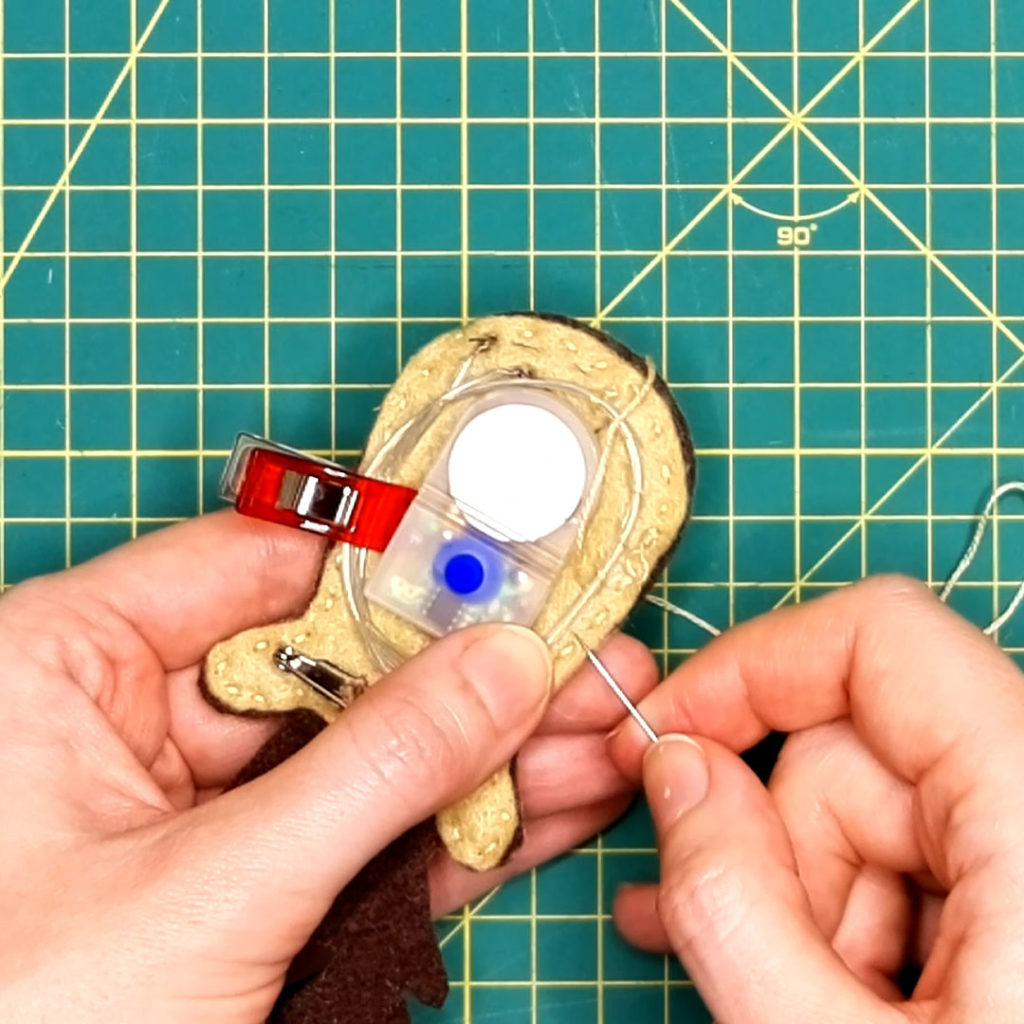
With the test successful, I moved onto dealing with all the excess coin battery pack wiring. I looped this loosely around the glued on battery pack and secured with quilting clips. Next, I used some embroidery floss to secure it to the back of the brooch with a whip stitch.
And there you have it – one festive Rudolf brooch for Christmas!
Watch it on the Vlog
I’ve linked my video for this tutorial below:
