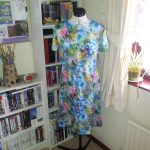
My first sew with knit material – the simple top
Here is another make from my #miymarch16 activity!

To ease my nerves, I read up for some basic tips on sewing with knit fabrics with the help of Tilly and the Buttons’ blog post and Smarmyclothes’ youtube video.
The pattern – McCall’s 9399

I got this pattern in a charity shop for a bargain price – I’m not even sure I paid the £1.99 penned onto the front! I chose design E as I quite like a high-ish neckline, although I was tempted by the asymmetrical option, and H, which has a slightly lower neckline.
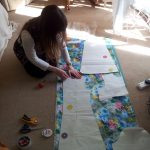
I didn’t want a complicated first knit project, so I felt that this pattern would be simple enough to give it a go without using too much material and time immediately.
I needed only a yard of material for this project. I used a stretchy material I bought from Fabricland a long time ago but hadn’t gotten around to using so I was very happy to finally bust this one out of the stash!!
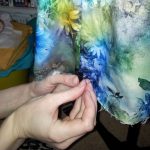
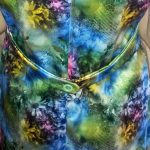
The pattern suggested a double hem. Baffled by this technique, I searched online and found this tutorial to be useful in defining what it is. Knowing I had a twin needle, I thought “yeah! I could do that!” and set to work to make it happen. However, after hemming the neckline, I realised that the bobbin thread was way too tight and and broke when I stretched the material. I searched online to find out how to resolve this new issue and came across Mariadenmark’s useful post. This enabled me to realise that I needed to increase the upper thread tension to make it work (I didn’t use interfacing as I don’t own any for knit fabrics – yet).
Things I learned from this project:
- Prior research helped a lot! If I hadn’t learned the basic tips of how to prevent it stretching, the needle to use, and the stitch types which can be used, I would have been stuffed as I would have been easily mislead by the pattern’s instructions and guidance as it looks like they suggest a straight stitch…
- The double needle gives a nice neck edge – but it takes time to get the tension right for it to work!
- Use a knit machine needle!
- There are various stitches you can use for knit fabrics. I thought I would opt for the standard zigzag, but when it warped the shoulder seams a bit, I found that the three stitch zigzag worked much better for me and the material I was using.
