My non-essential “luxury” sewing tools
- Post author:clobbercreations
- Post published:November 3, 2019
- Post category:Craft Tools/Inspiration/Sewing
- Post comments:0 Comments
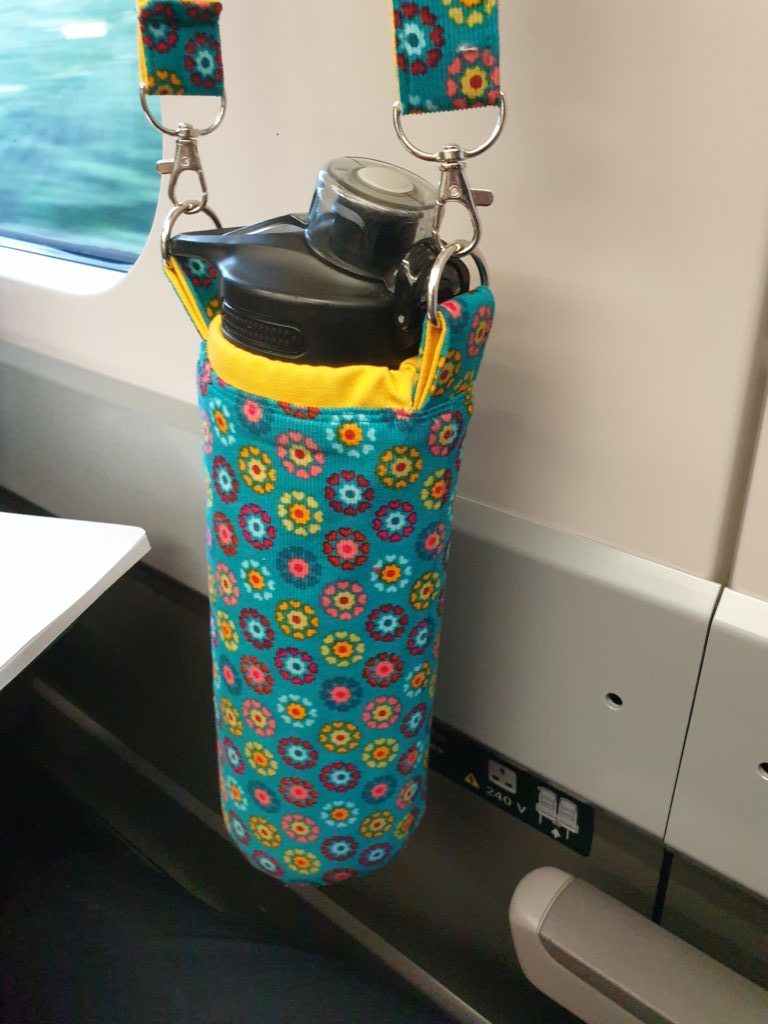
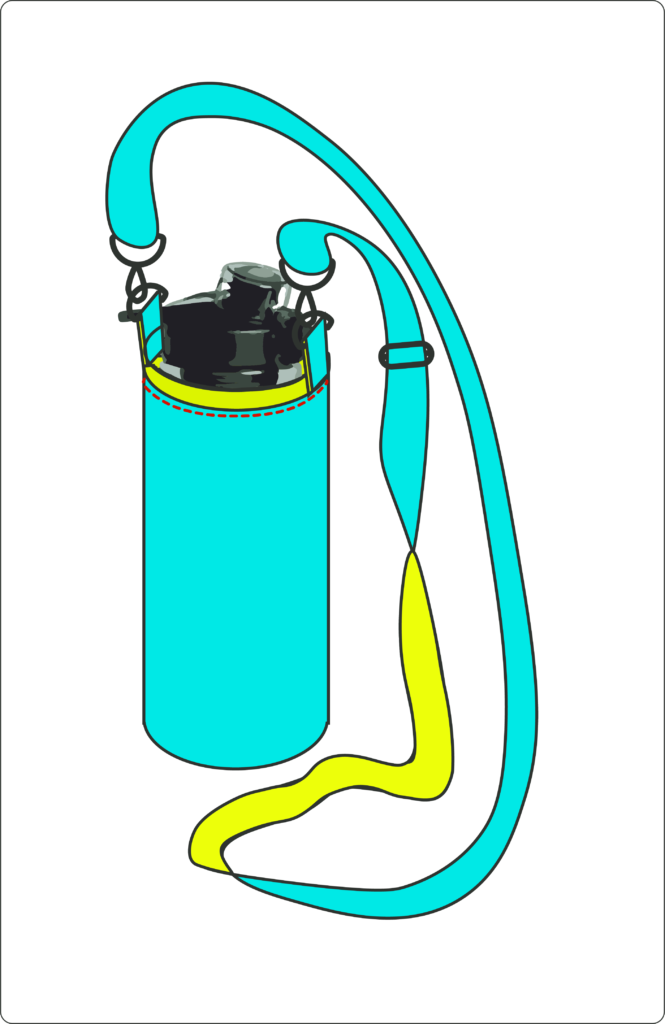
In recent years, I have become much less of a minimalist in my sewing tools. And I have to admit, most of them are not essentials, or even necessary, but they are fun additions to have if someone is struggling to find you a gift!
Here are my top non-essential tools for sewing that I own.
Pattern Review: TATB Freya Cowl Neck Dress
- Post author:clobbercreations
- Post published:October 20, 2019
- Post category:Dressmaking/Sewing/Videos
- Post comments:0 Comments
Click edit button to change this text. Lorem ipsum dolor sit amet, consectetur adipiscing elit. Ut elit tellus, luctus nec ullamcorper mattis, pulvinar dapibus leo.
Details
- Pattern name: Freya
- Variation/Style: Dress – Cowl Neck
- Design House: Tilly and the Buttons / Tilly Walnes book Stretch!
- Size I made: 4
Fabric
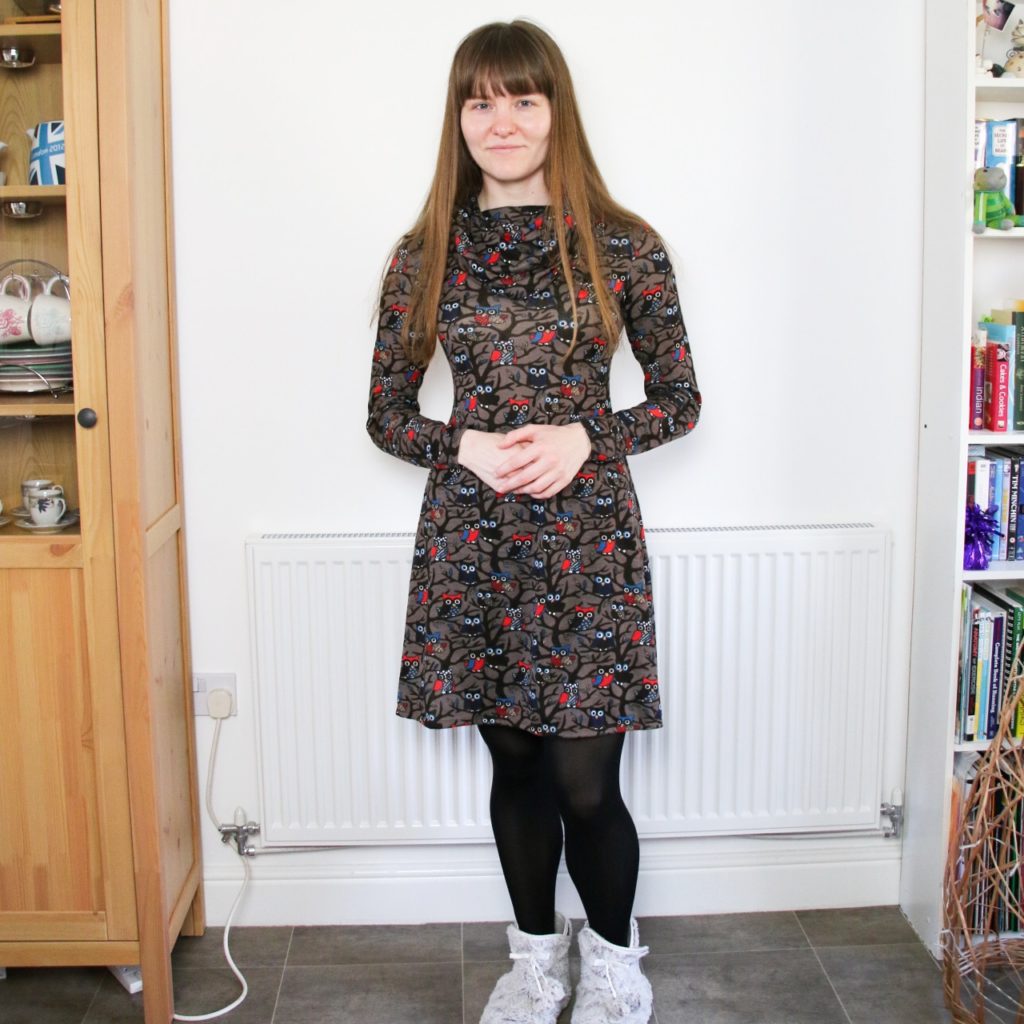
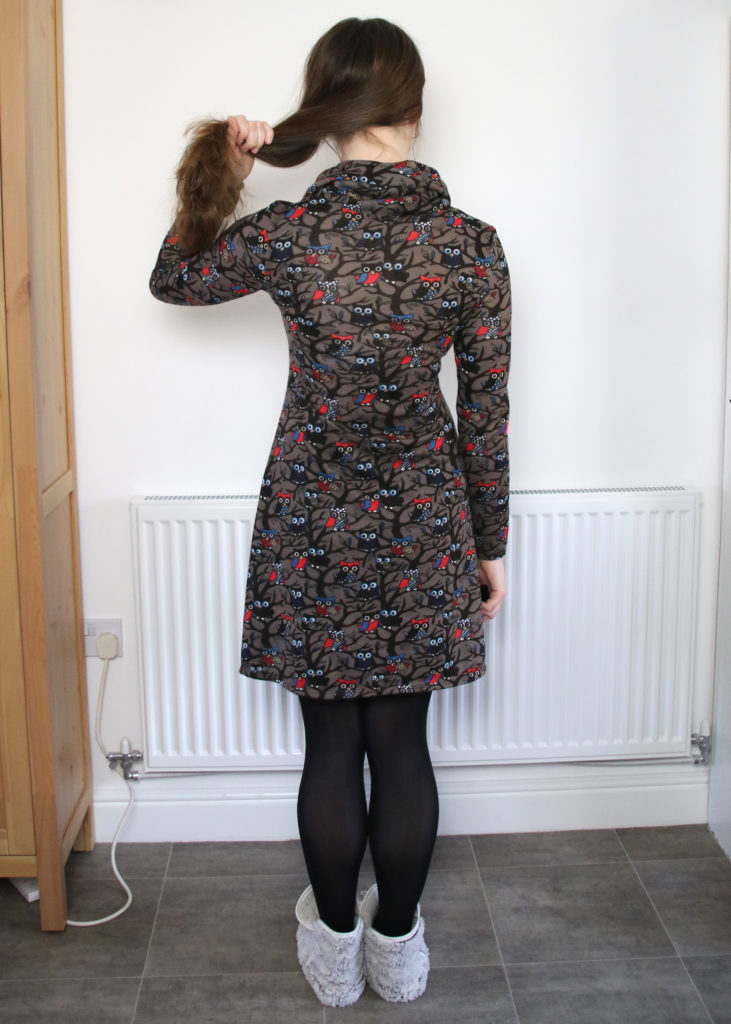
This owl knit fabric is quite stretch but very cosy. I originally bought it from Fabricland UK a few years ago but I can’t remember which one!
Difficulty
I found this a simple make. The cowl neck was easy to do and might even be easier than the mock neckline that is featured in the other variations in the book. I think it is easier to add than a neckband in my own experience. Apart from that, it was very similar to the Coco Dress (also by Tilly and the Buttons) to make up.
Clarity
I feel a bit like a parrot on this point, as I keep gushing over the Tilly and the Buttons pattern instructions and how it feels like someone is holding your hand, guiding you through the process! I don’t remember encountering any issues with the instructions. The book guides you nicely through all the steps.
Design and Fit
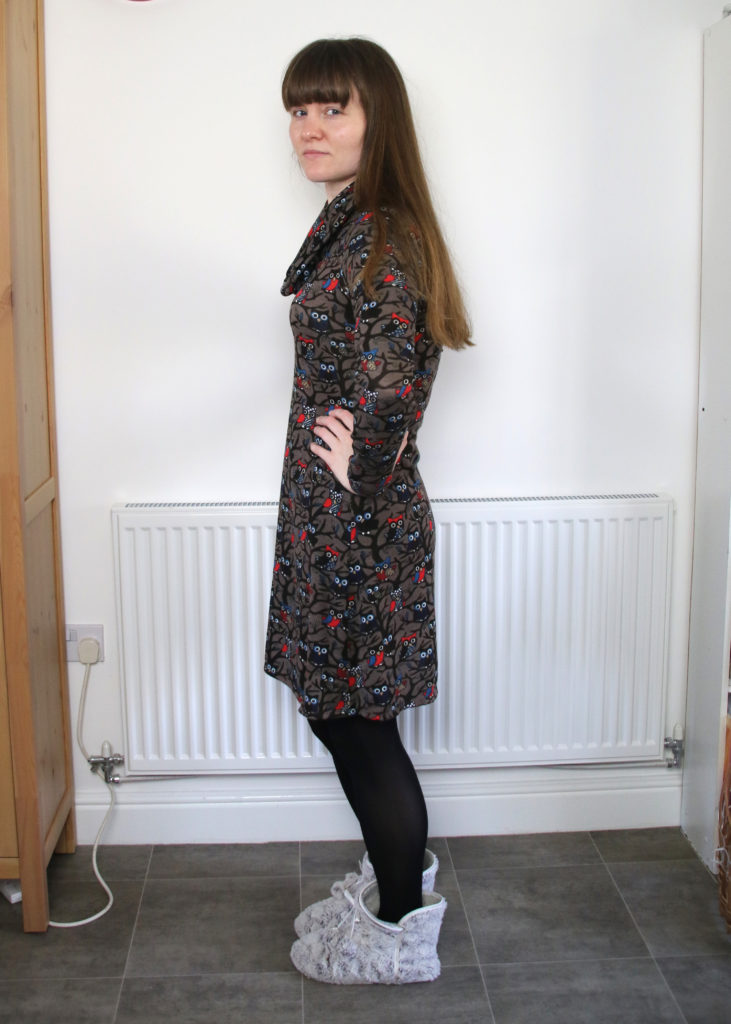
It is shorter than I would normally wear – similar length to the length of the Coco Dress – but as I would wear this with tights it is not too much of an issue.
It feels a bit snug on the bust so next time I may need to grade out a bit on this section – or it may be that I accidentally moved the fabric when cutting it out, reducing the width.
I really like the cowl neck and feel it adds a stylish yet simple addition to the pattern. It would look great in a plain fabric as well.
Time Taken
You can make up this garment within a day. However, I did leave the garment to rest a couple of days before I hemmed it,as I felt that the fabric needed this.
Conclusion
My conclusion is that I would recommend the pattern and this particular variation. However, I would like to make the mock neck style as a sweater next time. As I get warm easily and where I live is fairly mild (or shall we say muggy?) I don’t feel like I need many of these in my wardrobe, however.
You can watch my video review below:
DIY Zipped Purse
- Post author:clobbercreations
- Post published:October 13, 2019
- Post category:Accessories/Sewing/Stash Busting
- Post comments:0 Comments
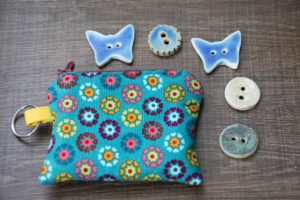
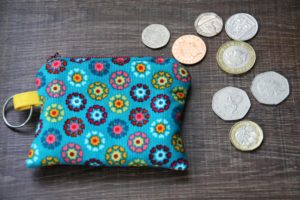
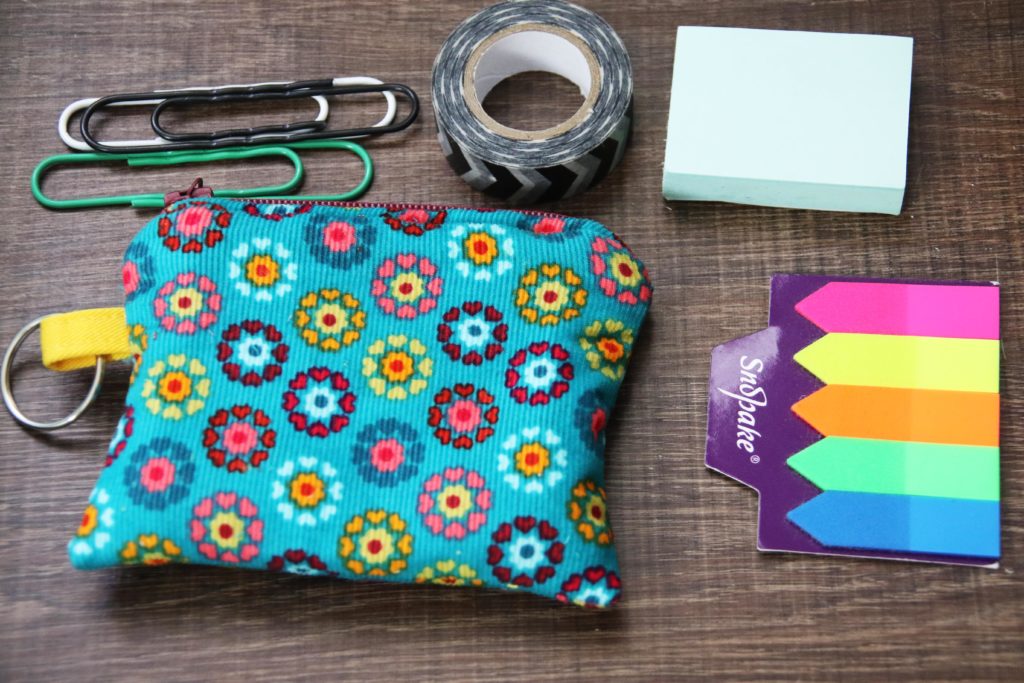
I recently showed you the bag I made for work. I have a few small items I take to work and I always struggled to find them in my old bag. Seeing as I had some leftover fabric, I decided to create a small zipped purse to keep these items together. I’ve shared the process here.
In the photos above, you can see a few suggestions on how to use your finished purse – the possibilities!
Pattern Review: Debbie Shore Office Bag
- Post author:clobbercreations
- Post published:October 6, 2019
- Post category:Accessories/Sewing
- Post comments:0 Comments
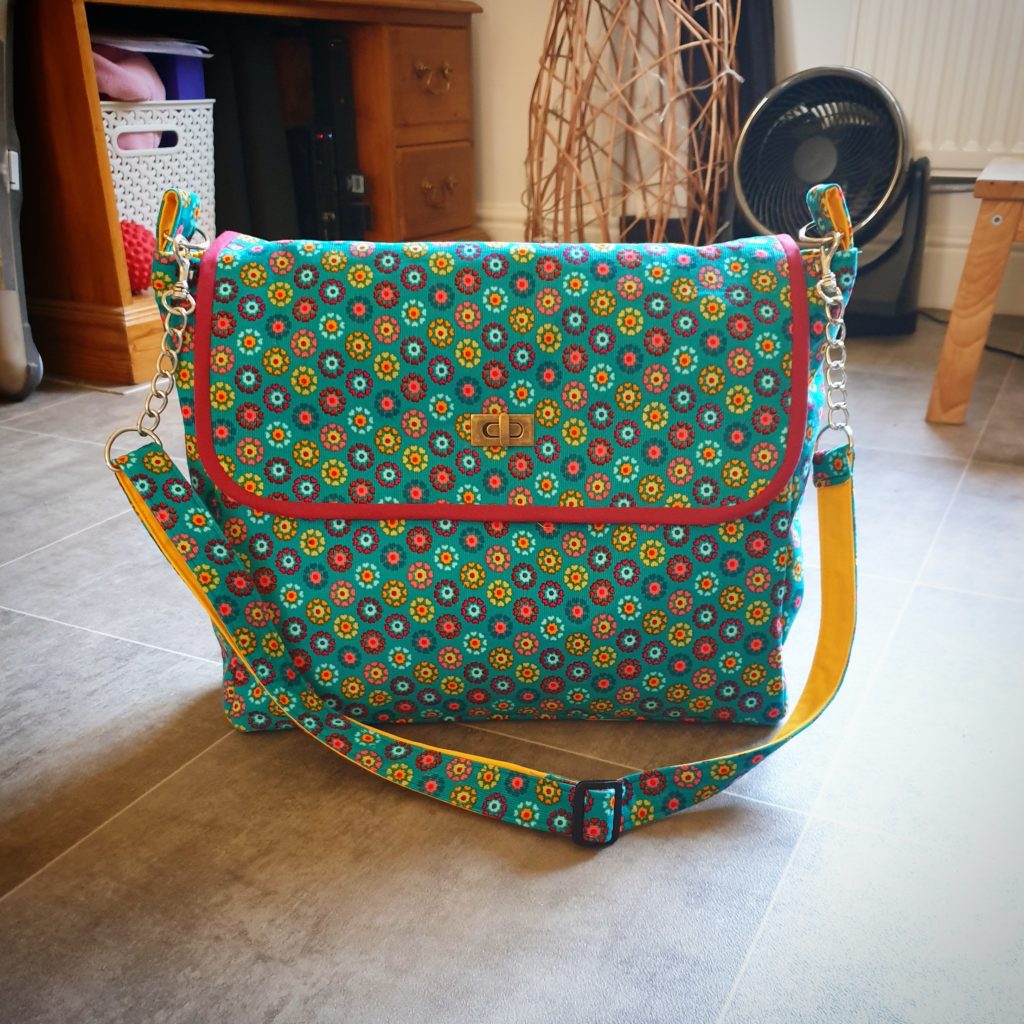
I’m going a bit different this week with my pattern review and sharing my thoughts on an accessory pattern – the office bag from “Sew Brilliant Bags” by Debbie Shore.
Details
- Pattern name: Office bag
- Variation/Style: As instructed – N/A
- Design House: Debbie Shore
- Size I made: As per instructions (however it may not be accurate due to seam allowance used)
Fabric and other items
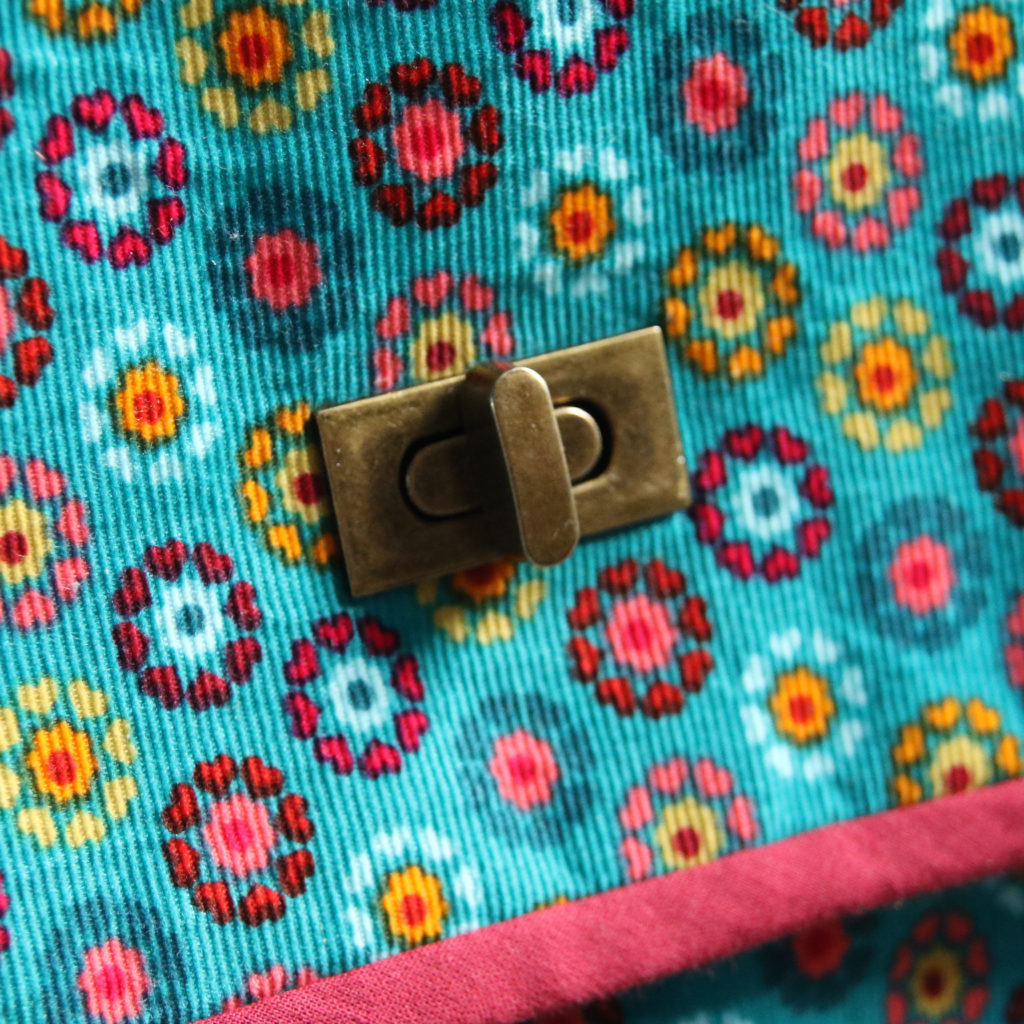
I used a brilliant needlecord fabric I picked up from Fabrics Galore a few years ago at the Knitting and Stitching show at Westpoint in Exeter. I used the fabric to make a pinafore, but had some remnants to make up this bag. For the lining/contrast fabric, I used some yellow cotton twill that I had been saving for an apron (hopefully I still have enough to do that too!)
As I was worried that the needlecord may not be strong enough to withstand the wear and tear of being a heavily used bag, I reinforced it with interfacing. The pattern also suggests using fusible fleece to give the bag more structure.
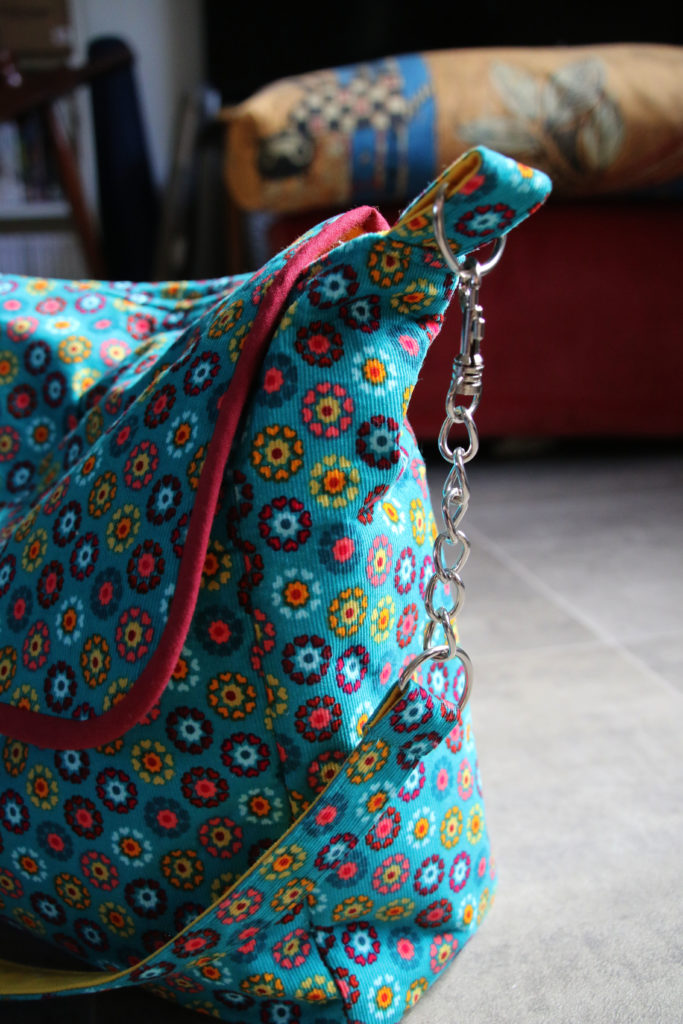
Other attachments included a metal twist clasp for the flap, two D-rings, two swivel clasps and a slider to make the shoulder strap fully adjustable.
Difficulty
I think this bag looks more complicated than it is, and as it is predominantly made from rectangular shapes, it is quite straightforward. I found the strap a nightmare to turn right sides out, but this may have been an issue with the seam allowance I used, which I will explain more below…
The most challenging aspect for me was stitching the bottom corners of the lining of the bag. If you are not used to bias binding, you may find the flap edging a bit challenging, but Debbie’s instructions at the front of the book on this were very useful, and it is probably a good practice project as there’s not too much of it. I machine stitched the front side to the flap and then hand-stitched the other side of the bias binding tape as I like this finish.
Clarity
Unfortunately, I found that the pattern lacked clarity in areas. First, it is worth noting that she does not state anywhere what the seam allowance is. Perhaps you are meant to add your own, or you are to assume that it is 1/4 inch like most quilting-based projects. As I don’t follow many patchwork or quilt based patterns, I am not used to assuming the seam allowance and presumed there would be an indication somewhere. If I have missed this in the book, please can someone advise which page it is on!
As a result, I used 1/2 inch seam allowances throughout, and I think this caused my straps to be way narrower than they should have been. I ended up finding other D-rings and swivel clasps to use, which was frustrating as I bought some especially for the project, but didn’t have enough fabric to correct the error.
Another error is in the lining measurements for cutting out the base pieces and side pieces. These measurements are mixed up, and I only realised at the point when I was about to stitch them. Fortunately, to correct it, I only had to shorten two of the pieces rather than re-cut as I was using a plain fabric, but if you were using a patterned fabric and the direction of the print mattered more, you would need to cut this correctly!
I didn’t understand the instructions that well for stitching the flap onto the outer bag either, and next time I would just do my own thing rather than try to make myself understand as I wasn’t too happy with the end result in this aspect.
There are some good pictures in the book, but in a way, I felt like there could have been more. However, if you are used to making bags, this may not be an issue.
Design and Fit
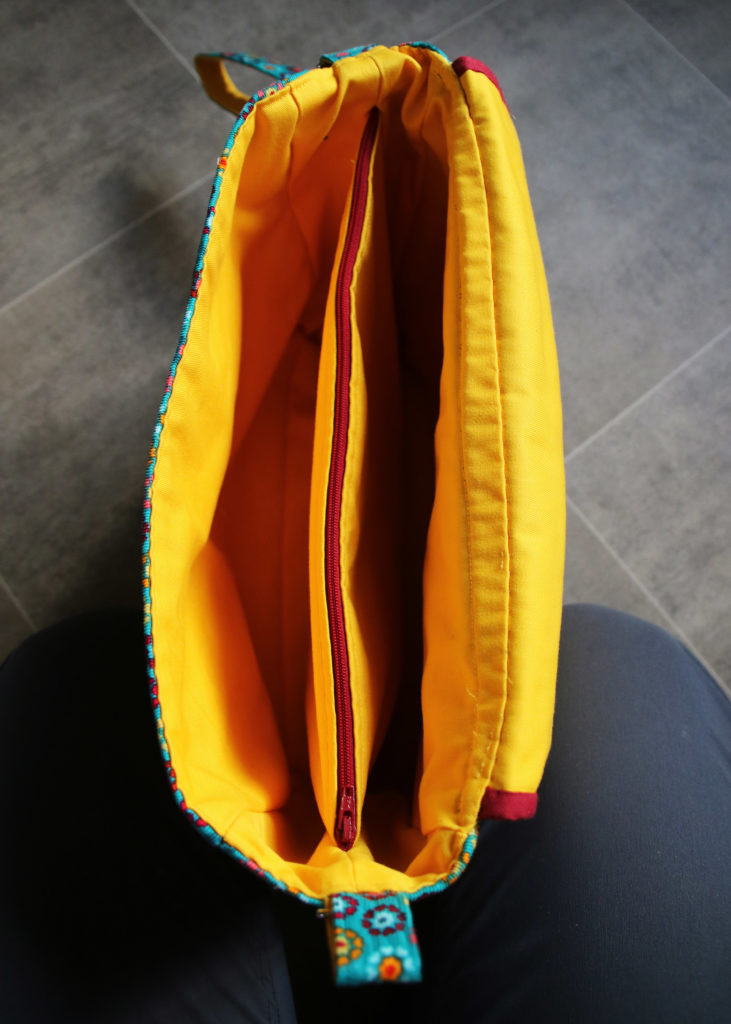
Despite the issues I had with clarity, I really love the design of this bag – in fact, I love it more now that I have made it. The reason I love it is because the lining piece means that your bag has three sections – two open sections (of equal size) and in between them is a zipped pocket. I found the construction of this section marvelous and while I may add more pockets to another version, I would definitely make this middle zip divider section again.
I really like the bias binding on the flap as well, and it’s really grown my confidence in using bias binding.
Time Taken
The longest part of the making this bag for me was cutting all the pieces out. While it wasn’t too arduous as it was a series of rectangles, I had to cut a lot of them and as there are no pattern pieces, you need to accurately draw them out yourself. Also, I had the additional step of interfacing all the needlecord fabric pieces.
I reckon it is a project you could do within a weekend comfortably, including the cutting out stage.
Conclusion
I am really happy with the end result, but I do have some caveats. I would advise anyone doing this pattern or any in the book to check that the measurements make sense to ensure you cut out the correct-sized pieces! Also, have a read through of the pattern first to ensure it makes sense, and to work out whether you want to make any adjustments.
You can watch my video review below:
Recent makes: patterns for toddlers and babies
- Post author:clobbercreations
- Post published:September 29, 2019
- Post category:Craft Skills/Crochet/Dressmaking/Sewing/Stash Busting/Videos
- Post comments:0 Comments
Over the summer you can find me wondering over what to make for my nieces for their birthdays. Fortunately, I have been rather lucky in finding some relevant patterns recently.
Pattern Review: The Bibi Pinafore!
- Post author:clobbercreations
- Post published:September 22, 2019
- Post category:Dressmaking/Sewing/Stash Busting/Videos
- Post comments:0 Comments
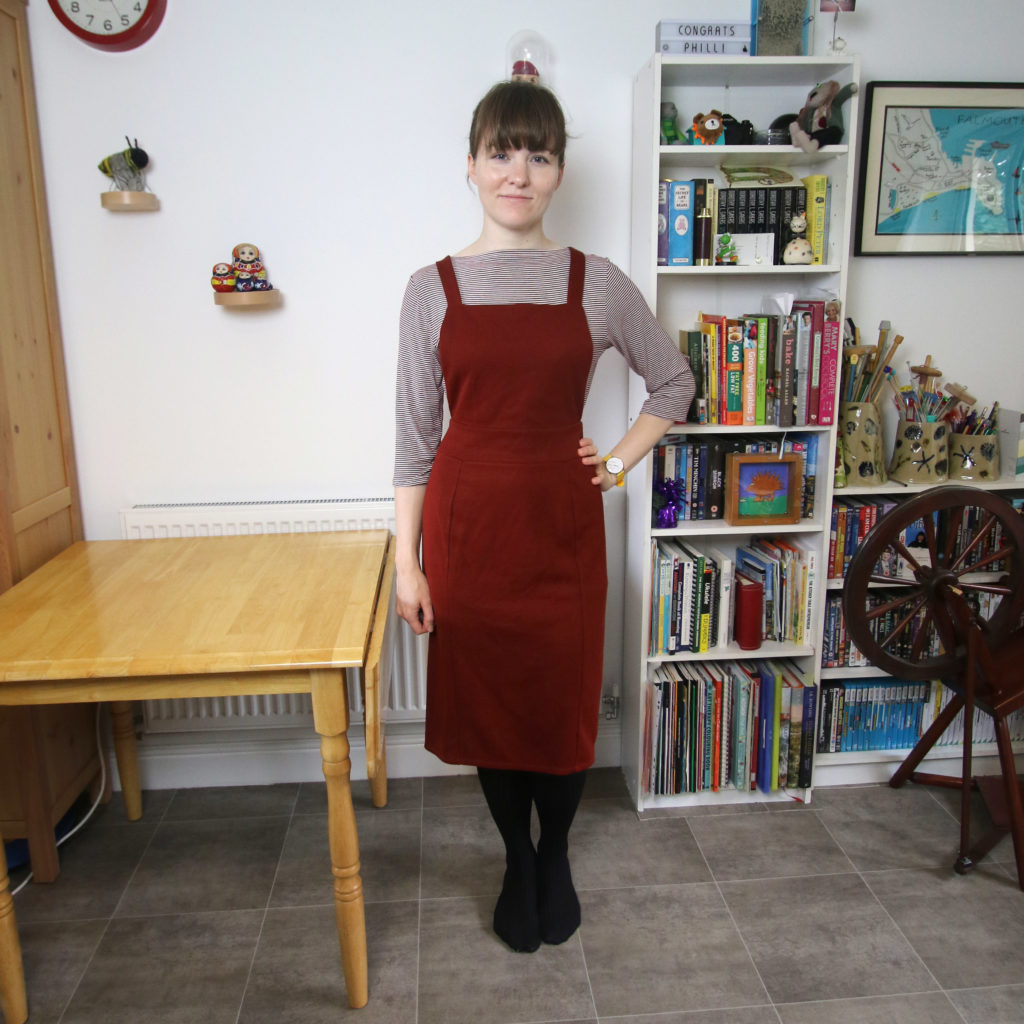
Today I am pleased to share with you the positive outcome of cutting into the wrong fabric last Christmas… it’s the bibi pinafore!
Details
- Pattern name: Bibi
- Variation/Style: Pinafore
- Design House: Tilly and the Buttons / Tilly Walnes book Stretch!
- Size I made: 4
Fabric
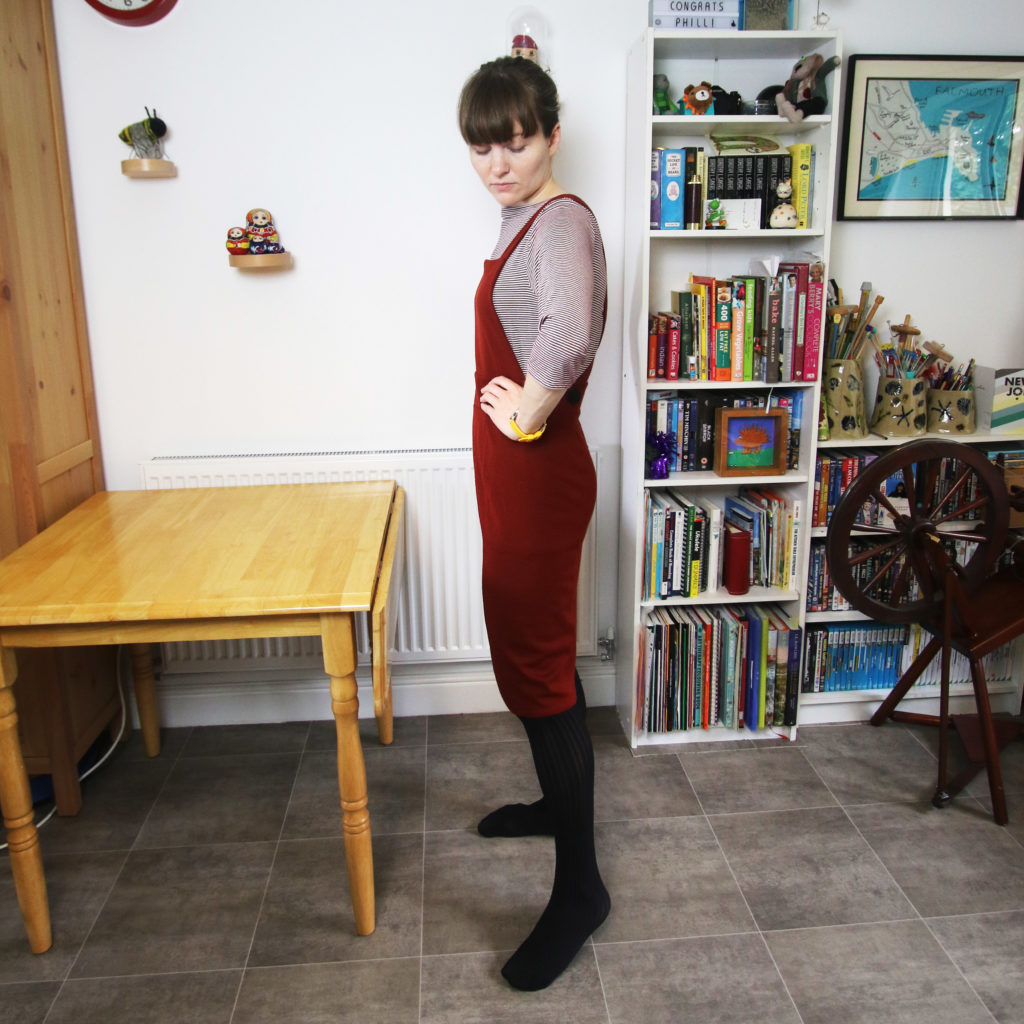
I used the leftover fabric from the Kinder cardigan I made my nan for Christmas. As I have mentioned in that pattern review, I accidentally got two fabrics mixed up (downside to having a huge stash) and ended up cutting lovely thick ponte from a fabric shop in Tiverton which I was saving for a dress. However, it has worked out beautifully for this make so I feel a lot better than I did at the time! It is a lovely dark red and a nice quality. I probably would not have made it from this if the meterage had not decreased as you do not need much fabric to make this pinafore.
Difficulty
The Bibi skirt is the first pattern in the Stretch! book because it is the easiest and made with the most stable knit fabric. It lived up to expectation and was a nice simple make.
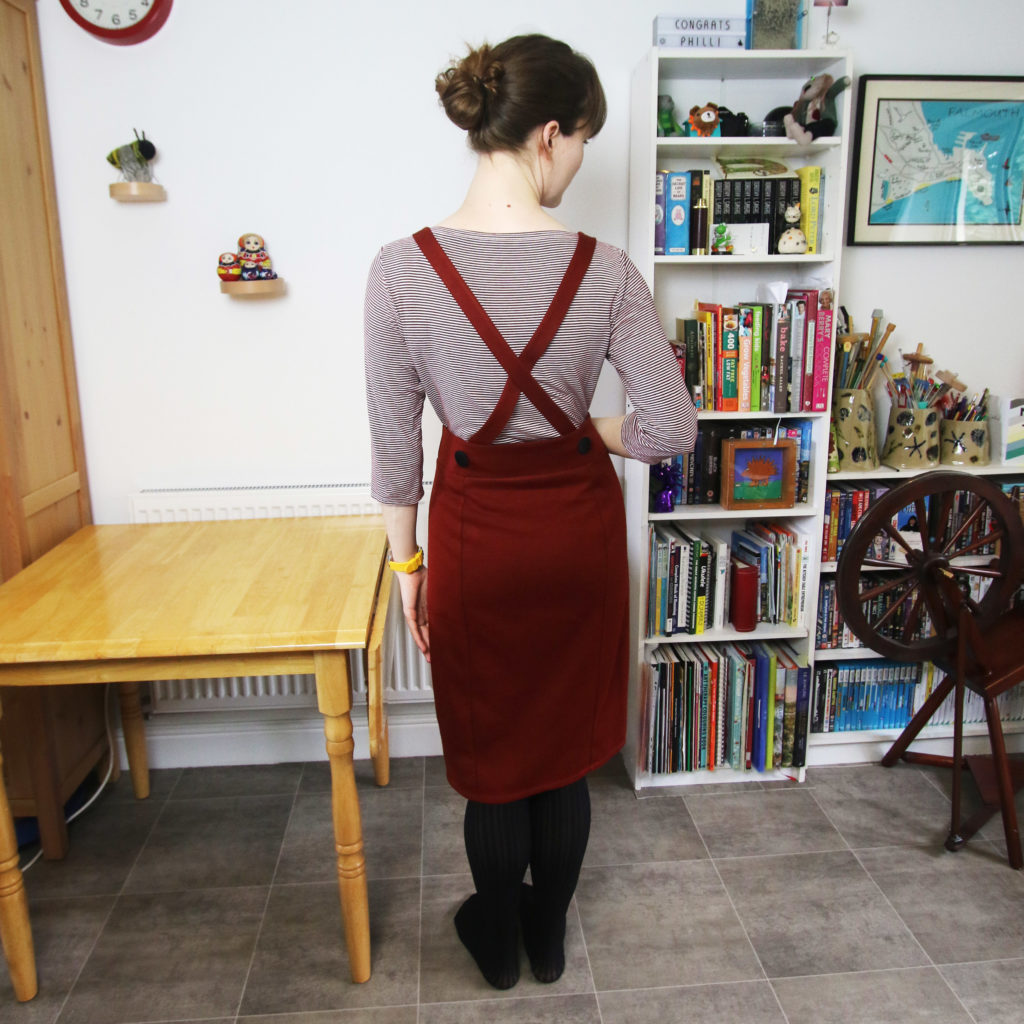
The pinafore variation was not much harder – the bib and straps are provided on the pattern sheet and the instructions were clear on how to add these.
The only challenge I found was getting the straps attached in the right place. I ended up adjusting them a couple of times to get it right.
Clarity
I feel a bit like I always say this, but Tilly and the Buttons patterns are beginner friendly and feel as though you are being guided step by step.
Design and Fit
When I first got the book, I didn’t want to make the Bibi skirt. Firstly, I don’t wear a lot of skirts, and secondly, I didn’t think the shape would suit me.
When I saw the pinafore variation, I was smitten. I have a soft spot for pinafores and this one was no different! The great thing about this pinafore is that depending on your fabric choice, it can be smart enough to use as part of your work wardrobe!
The fit is perfect but I would like to make a note of caution – it has no zip or fastening so you need adequate stretch/strong machine stitching on the waistband to get it over your hips!
Time Taken
This was a really fast make which I made in a day.
Conclusion
I am really impressed with this pattern and it works really well with the fabric. I may even be tempted to make a regular Bibi skirt in the future! Being in a knit fabric, it’s very comfy and would see you through both a day off or working day.
You can watch my video review below:
Sketch-a-Graph and pattern templates
- Post author:clobbercreations
- Post published:September 15, 2019
- Post category:Inspiration/Sewing/Videos
- Post comments:0 Comments
I tried out the sketch-a-graph in order to enlarge some pattern pieces from a sewing book. Here’s how I got along with it.
Free Machine Embroidery set up: My 7 point checklist
- Post author:clobbercreations
- Post published:September 8, 2019
- Post category:Free Machine Embroidery/Sewing
- Post comments:0 Comments
Recently, I made a birthday card for a relative using free machine embroidery. It had been a while, so once I finished the design, I discovered that I had kept the dog teeth up and had probably been competing with them the whole time! I thought it would be useful for me, and perhaps other people, to have a checklist to run through when you decide to configure your sewing machine for free machine embroidery.
Pattern Review: The Joni Dress
- Post author:clobbercreations
- Post published:September 1, 2019
- Post category:Dressmaking/Sewing/Stash Busting/Videos
- Post comments:0 Comments
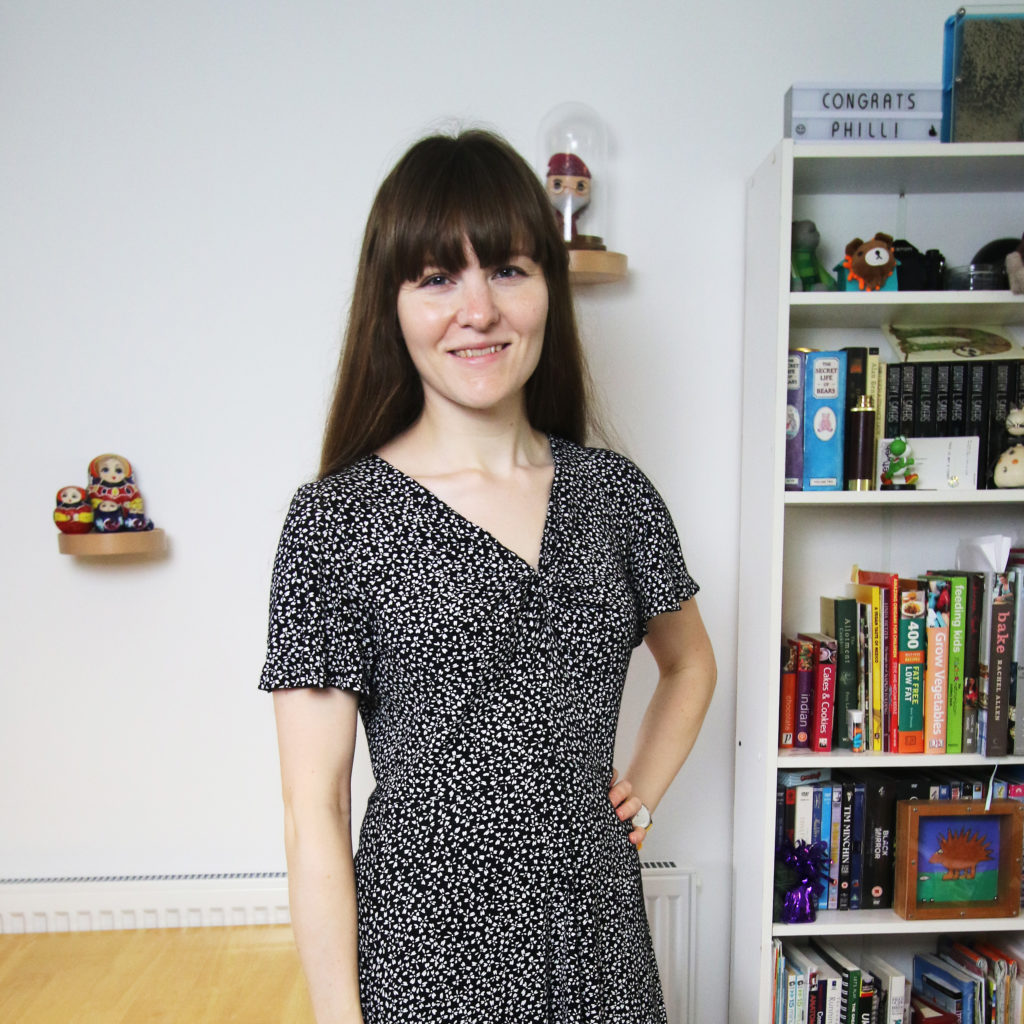
I am gradually getting through the book Stretch! which came out last year! Most recently, I made the Joni Dress.
Details
- Pattern name: Joni
- Variation/Style: Flared short sleeves
- Design House: Tilly and the Buttons/Tilly Walnes book Stretch!
- Size I made: 4
Fabric
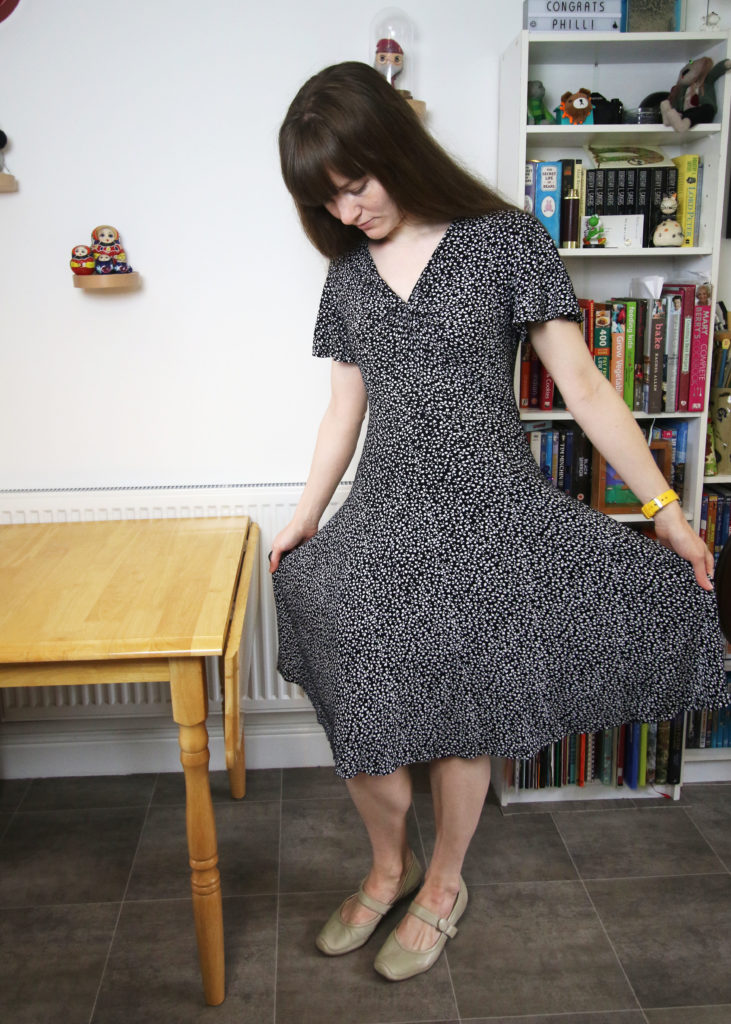
I have used a simple two colour floral fabric from a local haberdashery a year or two ago. It is quite thin but substantial and opaque and as a result the skirt section hangs well.
Difficulty
It is a bit more challenging than a simple knit dress, but I think it looks more complicated than it is to actually make it. I’d say it is suitable for confident beginners who have had a go with knit fabrics before.
Clarity
Like all the other TATB patterns I have tried out, the guidance is very clear. However, I did follow Sewisfaction’s video tutorial on making the front bodice twist rather than use the book instructions. Next time, I might try out the original instructions just to see how much difference it makes.
Design and Fit
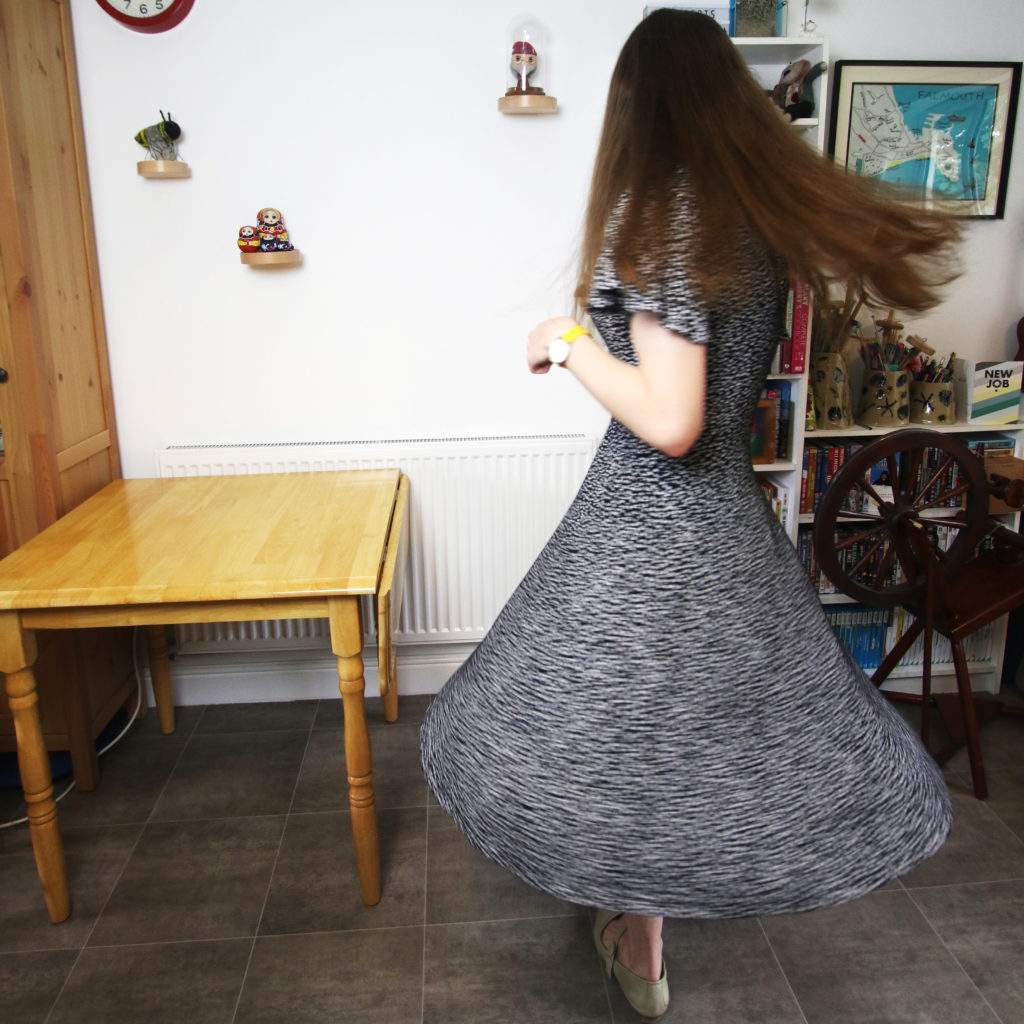
The design of this dress is great. The twist detail adds interest and the volume in the skirt section along with the subtle dipped hem makes this dress look more complex than it is.
As it is a knit dress, I found that I didn’t make any adjustments. My bust size was a bit bigger than the guide for the size 4, but with this fabric it did not matter and fits fine. As it has a dipped hem, and it has more of an empire waistline, I did not bother to adjust for my sway back.
Time Taken
This was a relatively quick make or a slightly more detailed knit dress. I took a bit of extra time drafting the flared sleeves and choosing the sleeve length but this was still fairly fast as the instructions are clear.
Conclusion
I love this dress! It’s so comfy and easy to chuck on for the day. I definitely want to attempt making one with stripes soon.
