Sew your own dishcloths

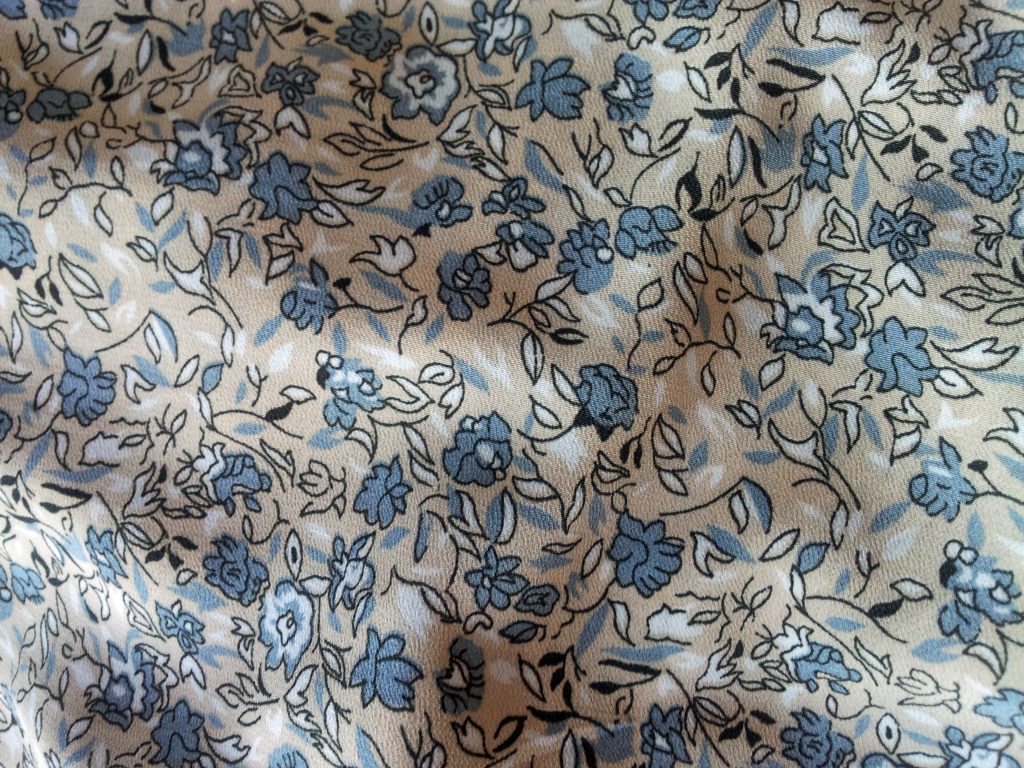
Recently, my mum got into making her own dishcloths to be a bit more sustainable.  Also, they’re great for using up scraps of fabric you have left from other projects!This dishcloth is simple to make.  It uses a bit of hessian (burlap) for one side for when you need a more abrasive side which won’t damage any non-stick surfaces.  The softer side is simply cotton, and can be made from any of your favourite remnants.To make them as sustainable as possible, you need to use 100% natural fibre fabrics and thread.  This will ensure that the dishcloth can biodegrade.  Here, I have used cotton fabric as I have loads of remnants of this, but another natural fibre such as linen would work just as well.If you’d like to make a few dishcloths, either for yourself or to gift to others, I’d recommend making a cardboard template to make it easier to cut out a batch. What you need The following would make a 9cm x 14cm dishcloth11cm x 16cm remnant of hessian / burlap fabric (for the non-scratch scourer side)11cm x 16cm remnant of 100% plain cotton (for the middle of the cloth)11cm x 16cm remnant of 100% cotton fabric (for one side of the dishcloth)100% cotton threadSeam allowances are 1cm 1. Layer the fabrics Place the fabric you wish to have as the soft side of your dishcloth right side down onto the piece of hessian.Next, place the plain piece of fabric you wish to use for the middle of the dishcloth on top so that the main cotton piece is now sandwiched between the plain cotton fabric and hessian.Pin or peg the pieces together. 2. Sew the layers together Leaving a large enough gap for turning right side out, sew all three layers together using a 1cm seam allowance. 3. Clip corners and turn right side out Clip the corners to reduce seam bulk, and then turn right side out, ensuring the corners are pushed out. 4. Top-stitch Sew two lines of topstitching.  Stitch one line close to the edge – this will mean that you won’t have to slip stitch the opening shut.  The second line of stitching can be parallel to this line, furth in from the edge. 5. Add a couple (or more!) lines of stitching across the cloth To keep the three layers secure in the middle, sew a couple of lines of stitching in whatever pattern you would like. Watch it on the Vlog I've linked my video for this tutorial below:https://youtu.be/jwKo74zz7uA

Continue ReadingSew your own dishcloths

Review of 2016 highlights and lessons

It's nice to pause and reflect back over the year before looking forward to the new year, so here are my highlights and lessons from 2016: Highlights Ceramic buttons! I don't have any plans to continue ceramics at the moment, but a highlight for me has been making ceramic buttons!  So far, I have only used one (which may be part of the reason I have decided to leave ceramics for the moment from my stream of hobbies) but I have plans in the new year to use more of them. Free machine embroidery Free machine embroidery has increased the use of my sewing machine greatly.  Since taking a 10 week workshop at the beginning of the year, I've struggled to stop!  I find it very fun and an easy way to personalise makes without the use of an expensive embroidery machine! Man Engine Stitch Following on from my discovery of free machine embroidery comes my most focused project using the method - The Man Engine stitched.  It took a day - from editing a photo on the computer which I took in St Austell - to stitching the design onto calico. Instagram I hadn't really used instagram until this year and I have found it a great way to connect with other crafters and keep up to date with designers and artists. Poppy Playsuit (by Sew Over it) The Poppy Playsuit is my favourite make of the year garment wise (just a shame that the UK isn't ideal weather-wise for it!) Upcycled pouffee The new cover for the inherited pouffee makes me smile! Baby showers mobile (from Chloe Owens All Sewn Up) Probably the longest and probably the most complicated make of the year!  However, it does look nice now it's finished (and I should have started it much earlier than I did) Upcycled t shirt cushions Another Christmas gift make to be shortlisted are the t shirt cushions.  They came out much better than expected and it has been great to get them out of my stash! Lessons Sewing with knit fabrics The main points I learnt were to use stay tape to stop seams stretching too much and to use a walking foot. Starting presents much earlier! I did learn this lesson a long time ago, but I still struggle to adjust my working pattern accordingly!  A couple of years ago, I made everyone's gifts well in time for Christmas.  It hasn't happened again, but it will be something I strive towards in 2017.  While I always argue that I need the deadline looming to be motivated, I am going to try new methods to get that motivation working much earlier to make it less stressful! Don't always follow patterns blindly I had trouble making the baby showers mobile by Chloe Owens as the fabric glue made it too hard to attach the flowers at the end.  In the end, I had to adapt the pattern anyway.

Continue ReadingReview of 2016 highlights and lessons

Christmas makes 2016

Just a quick post to reflect on some of the makes I have made this year for Christmas!  There are a few which have been good or challenging which I wanted to share. The upcycled t shirt cushions My dad suggested that his old Hard Rock cafe tshirts should be transformed into cushions about two years ago but I wasn't convinced and didn't do it until this month.  They have come out much better than I expected!  I was worried that they were too faded, but I simply cut out the designs and appliqued them onto calico and created envelope cushions!   The 1940s tapestry bag and purse This is another gift which had been on my mind for years but I had never got round to creating.  However, I finally created it this year, even having time to create the matching purse (from Making Vintage Bags). Hare bag I wasn't intending on making a hare bag this year, but when I clapped eyes on the fabric, I had to make something with it for one of Phill's relatives who loves hares.  I followed a free pattern online but I was a bit disappointed with the depth of the bag, which I would have preferred to have been a bit deeper, but I added a magnetic clasp to it to make it more like a shoulder bag.  I did find a preferred tote bag pattern but I don't have a photo of it yet so will write about it another time. Oscar glasses case This personalised glasses case was fun to make as well to add to my grandad's collection of Schnauzer based gifts over the years. Baby Showers Mobile My biggest challenge was making this mobile for my niece!  I gave my sister the choice of patterns for a baby mobile, and halfway through making this mobile I felt a bit of regret at doing that!  However, it was a great challenge and pushed me much further than the other choices (and it looks much more impressive too)!  I adapted the pattern from Chloe Owens (All Sewn Up) to what I had available, using Christmas tree decorations for the raindrops instead of jewellery chain.  Glittery sequins were attached to the butterflies, which make light bounce off it. I could not follow the pattern precisely as I could not get a needle through the fabric flowers when assembling as the fabric glue made it too hard.  Instead, the embroidery floss was attached securely either side of the flowers. I greatly underestimated the many stages to this mobile!  I would recommend starting far in advance to ensure you make this in time to avoid the last minute stresses of making gifts!  Fortunately, my mum helped ensure the clouds were sewn securely and to help with the final construction stage.

Continue ReadingChristmas makes 2016

Free Motion Embroidery – drawing and writing with my sewing machine

Got your eye on an expensive yet impressive embroidery sewing machine?  Think again! I've been admiring the lovely embroidery machines with their numerous stitch options and the possibility of embellishing handmade gifts with a name at the touch of a button (or a few).  I remember watching a demonstration of someone programming in a word and then watching in awe as the machine punched out the letters perfectly.  All I wanted to do was justify the cost of buying a sewing machine which did this! Well, my bank budget (and boyfriend) will be relieved to know that I no longer have this impulse!  While embroidery machines are amazing - especially the ones where you can put your design into the computer and then transfer it to the machine to stitch it - I discovered free machine embroidery this year through a local course. I signed up to this course without much thought about what it entailed.  I've always wanted to do a textile based course, but they've always been a long commute away or I hadn't been able to justify the cost at the time.  This course was a reasonable price, within walking distance, and with my new working hours, I could make the time of the session. Free machine embroidery (also known as free motion embroidery) is when you drop the dog teeth on your sewing machine, which normally propel your fabric in one direction (away from you).  You attach a new type of foot - a darning foot - and reduce the upper thread tension a little.  You can do it without a presser foot attached, but it's a lot safer with one!  You use an embroidery hoop to keep your material firm and you're ready to go! It's best to move the hoop really slowly and have a play at first.  It takes time to learn to keep your hands smooth and steady as you stitch.  Originally, I practised drawing lines with the machine, then made loop patterns and some basic shapes. In the course, we learned shading, appliqué, writing and using water soluble fabric (which is a whole other aspect to discuss another time). I really enjoyed all of it, but I am quite fond of writing with stitch.  I love looking at people's handwriting, and I used to enjoy writing stories as a kid, which may explain my fondness of handwriting.  I have used writing in combination with other free motion embroidery techniques in producing the designs for some of my Etsy items- cards in particular. Ultimately, the reason I'm addicted to free motion embroidery is that it is creates personality and individuality in makes.  Embroidery sewing machines are programmed to be perfect, but I am always going draw something with stitch a bit different every time I use it, which makes it more interesting. It's also a great stash buster! Here are some useful resources and artists to look at if you fancy a go: Craftsy has a useful 'how to' on creating embroidered works of art.  It's very clearly…

Continue ReadingFree Motion Embroidery – drawing and writing with my sewing machine

The Poppy Playsuit

Once again, it's been a while since I've had another go at dressmaking.  I remedied this by combining a recent pattern in Simply Sewing with a recent material purchase! There's a lovely charity shop nearby who sell craft supplies.  I was very lucky to go into the shop when they had a material sale on, which meant I got two fabrics for the price of one!  One of the fabrics I came across is this lovely one above. I am not sure what type of material it is, but it drapes well and there was enough to try out the Poppy Playsuit by Sew Over It, which came with issue 16 of Simply Sewing.  The main criteria for the material for this pattern was one which drapes well so I had the perfect match! This is the first pattern I have tried making a basic alteration with.  I found that the bust and waist measurements were close enough to one pattern size, but my hips definitely needed a smaller size.  The pattern pieces did not highlight where the hipline was, which was a shame, but I still made a basic alteration from the waist to one of the notches which I felt was close to the hip measurement area. The fabric was a challenge to cut out as it moves easily - I found that pattern weights and then pinning it helped.  The pattern's instructions suggested pinning the edge of the fabric too, which was a useful tip. As I was concerned about the material moving too much, I pinned and tacked at every stage.  Tacking increases the time considerably, but it did mean that I didn't have any major unpicking sessions! The pattern directions are clear and and concise.  Key terms are defined, which saves a google search part way through your make!  The only section I had to re-read again was how to do the turn-ups, and they turned out to be really simple once I focused on the directions carefully. The only bit of unpicking I had to do was related to the hook and eye.  I attached the hook so that it would meet the edge of the right hand side opening.  This caused a gape in the material when fastened.  I changed this by placing the hook on the very edge of the right hand side opening and put the bar further in on the left hand side.  Also, I didn't read the pattern carefully when attaching the facing and did a 1.5cm seam allowance instead of 1cm! I was surprised by how long it took me to make this item, but that's mainly because (a) I'm rusty at dressmaking and (b) the material required more care than a standard cotton or linen.  However I think it's well worth it and I look forward to some warmer weather soon so I can wear it!!  I would definitely complete this pattern again, and I expect I would find it even easier and faster second time round.…

Continue ReadingThe Poppy Playsuit

Upcycling jeans – the sewing pinny!

One of the projects I made during #miymarch16 was the upcycled pinny from an old pair of jeans. I got these jeans for my 21st.  I'm a bit of a hoarder, and while they had a tear in them where the fabric was so thin and worn out, I hadn't had the heart to chuck them away. When I met up with my mum and sister in March, they suggested cutting them up into something new.  Due to the location of the worn out section, a skirt was not suitable!  However, we came up with making a tool belt. One of the best parts of making something from something you're prepared to throw away is that it doesn't cost you anything and you have a lot of freedom to just go for it!  I simply placed a ruler over the jeans roughly where I thought the length would be good and took a rotary cutter to it! As you can see, I curved the back to make it more apron like, but also so I could keep the back pockets.  Jeans lend themselves to being a belt because of all the pockets!!  I added some patches to the back pockets and then added a pom pom trim and ribbon border. I wanted to add more decoration, and following my recent addiction to free machine embroidery (which I will go into more detail at some point in the future), I drew out some sewing related appliqué onto bondaweb! Et voila!  Here is the end result!  I added some random buttons to the front pockets and stitched additional detail on the appliqué.  Now I put my scissors on a bungee rope so they're always with me but I do think I need to add a scissor holster to it to improve it.

Continue ReadingUpcycling jeans – the sewing pinny!