Once again, I found myself blundering out of another month without a completed project for #sewmystyle. My flaw in April was that I completely forgot to prewash the fabric until the day I chose to cut out the pieces. I ended up washing it while I cut out pieces for another project on my list, and then with other deadlines appearing, April came and went!
I did manage to start the project in April; I just had to finish it on 1st May!
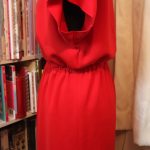
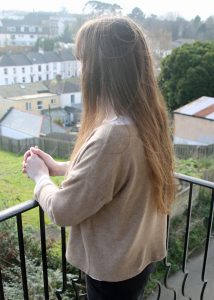
Apart from the skirt for May’s make, this is the pattern I really wasn’t sure about making as part of #sewmystyle. I would not normally choose this style of dress and I wasn’t sure whether it was worth making. I was unsure about the open back and high front neckline. But now that it’s made and I’ve worn it, I’m really happy with it. The back doesn’t gape open like I thought it would, and it’s comfortable.
I did make quite a few mistakes on this project – mainly not concentrating enough when I needed to check pieces were “right sides together” which meant a fair bit of unpicking! This is probably why it’s taken me longer to make than the other projects in this challenge so far. However, as it is a whole outfit, it’s been worth the extra time.
Details
- Pattern Name: Bridgetown backless
- Variation/Style: Dress C (you can make a tunic top too or a dress with a panel)
- Design House: Sew House Seven
- Size I made: 8
Fabric
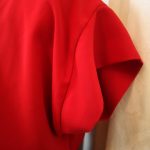
Red polyester crepe from Fabric Land.
Difficulty
You need a woven fabric which drapes well or you can make one from knit fabric. I did the woven version. I struggled with attaching the facings and ensured I pinned then tacked the different stages before machine stitching. I’d say the fabric needed for this project provides the biggest challenge.
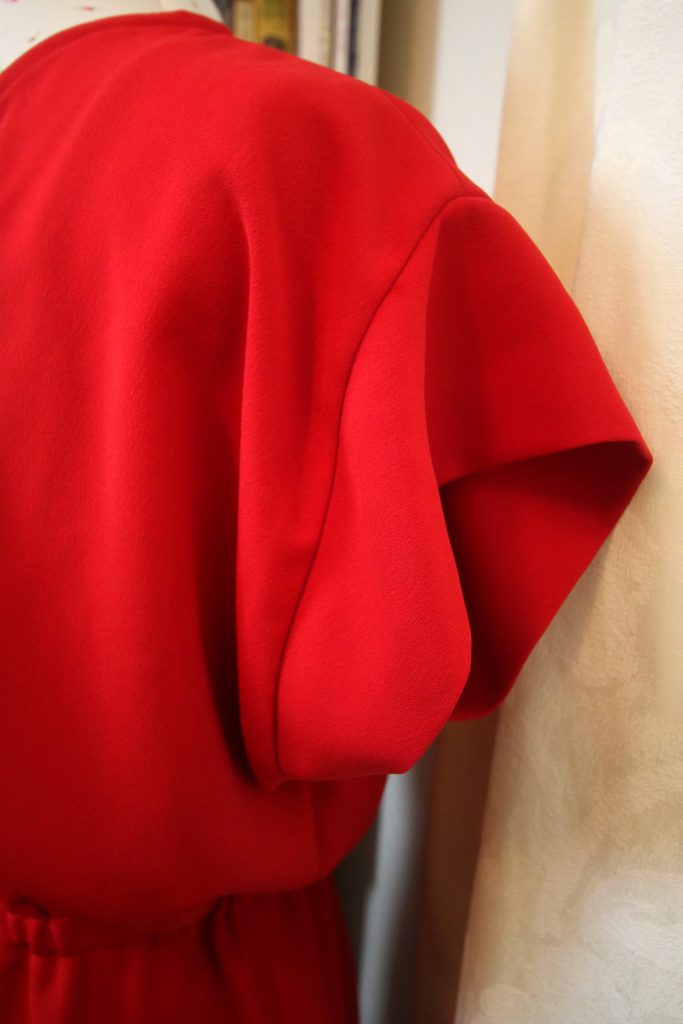
It’s an easy one to fit as it has an elasticated waist and no darts. The sleeves are simple too as you don’t need to ease them into armholes!
Clarity
I found the instructions were clear. It was useful that the seam allowance was highlighted on nearly all of the steps. I did get a bit confused with attaching the facing but I think this was just me (I think I go the two pages of instructions for this mixed up so I was reading the latter instructions first)!
Fit
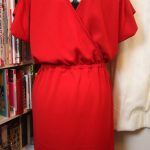
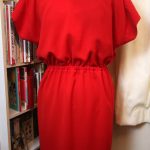
I was apprehensive about the fit, worried that it might gape too much at the back. However, it doesn’t and it fits well. The only adjustment I made was to make the length on the skirt section an inch and a half longer so that the hem sits just above the knee.
Design
This dress features a loose fitting bodice and skirt section which are gathered with an elasticated waist. It has kimono style sleeves which drop off the shoulder, a high front neckline and a cross-over draped open back.
Time taken
I made this in two sittings. I believe it took me two days to complete This includes cutting out, and tacking at every stage.
Conclusion
I really wasn’t sure about the design of this dress and would not have chosen this style if it wasn’t part of the challenge. However, now it’s made, I’m really pleased with it. It fits nicely and it’s comfortable to wear.

