Recently, my mum got into making her own dishcloths to be a bit more sustainable. Also, they’re great for using up scraps of fabric you have left from other projects!
This dishcloth is simple to make. It uses a bit of hessian (burlap) for one side for when you need a more abrasive side which won’t damage any non-stick surfaces. The softer side is simply cotton, and can be made from any of your favourite remnants.
To make them as sustainable as possible, you need to use 100% natural fibre fabrics and thread. This will ensure that the dishcloth can biodegrade. Here, I have used cotton fabric as I have loads of remnants of this, but another natural fibre such as linen would work just as well.
If you’d like to make a few dishcloths, either for yourself or to gift to others, I’d recommend making a cardboard template to make it easier to cut out a batch.
What you need
The following would make a 9cm x 14cm dishcloth
- 11cm x 16cm remnant of hessian / burlap fabric (for the non-scratch scourer side)
- 11cm x 16cm remnant of 100% plain cotton (for the middle of the cloth)
- 11cm x 16cm remnant of 100% cotton fabric (for one side of the dishcloth)
- 100% cotton thread
Seam allowances are 1cm
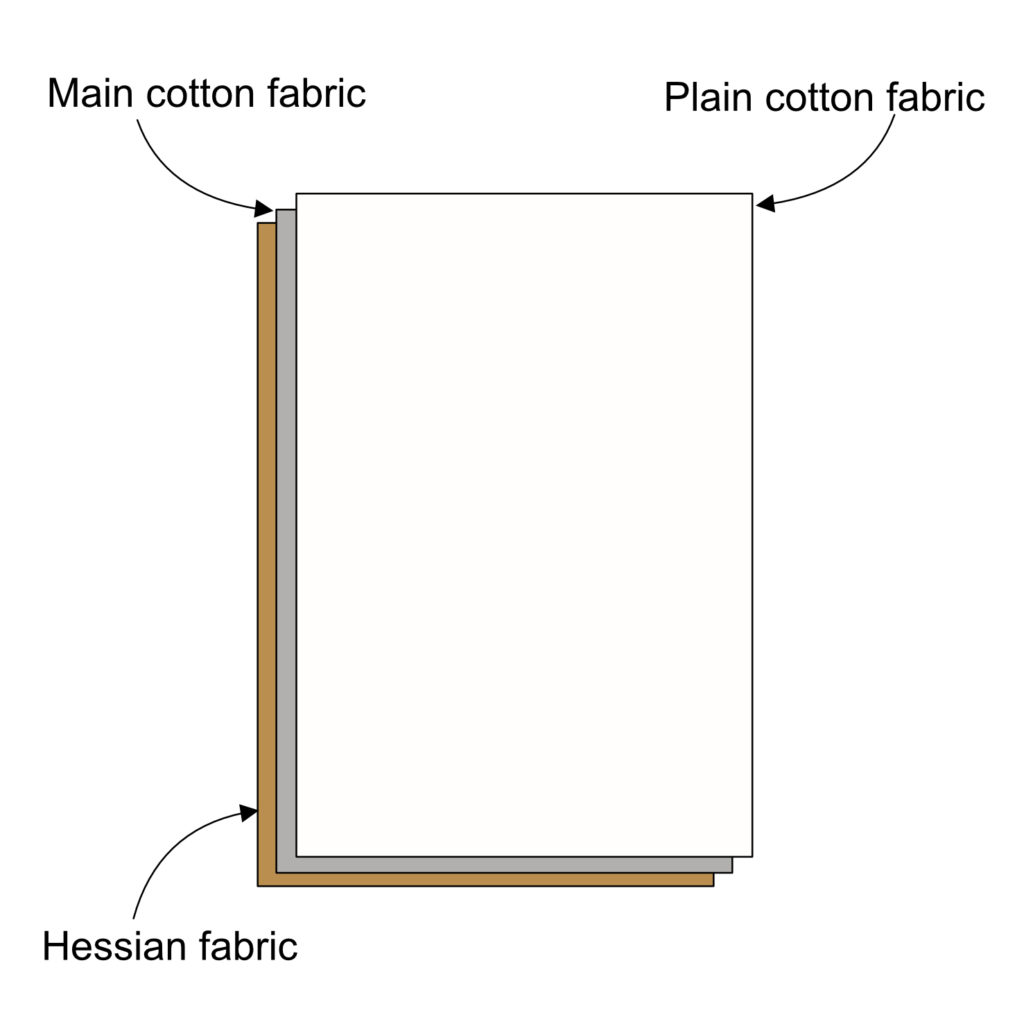
1. Layer the fabrics
Place the fabric you wish to have as the soft side of your dishcloth right side down onto the piece of hessian.
Next, place the plain piece of fabric you wish to use for the middle of the dishcloth on top so that the main cotton piece is now sandwiched between the plain cotton fabric and hessian.
Pin or peg the pieces together.
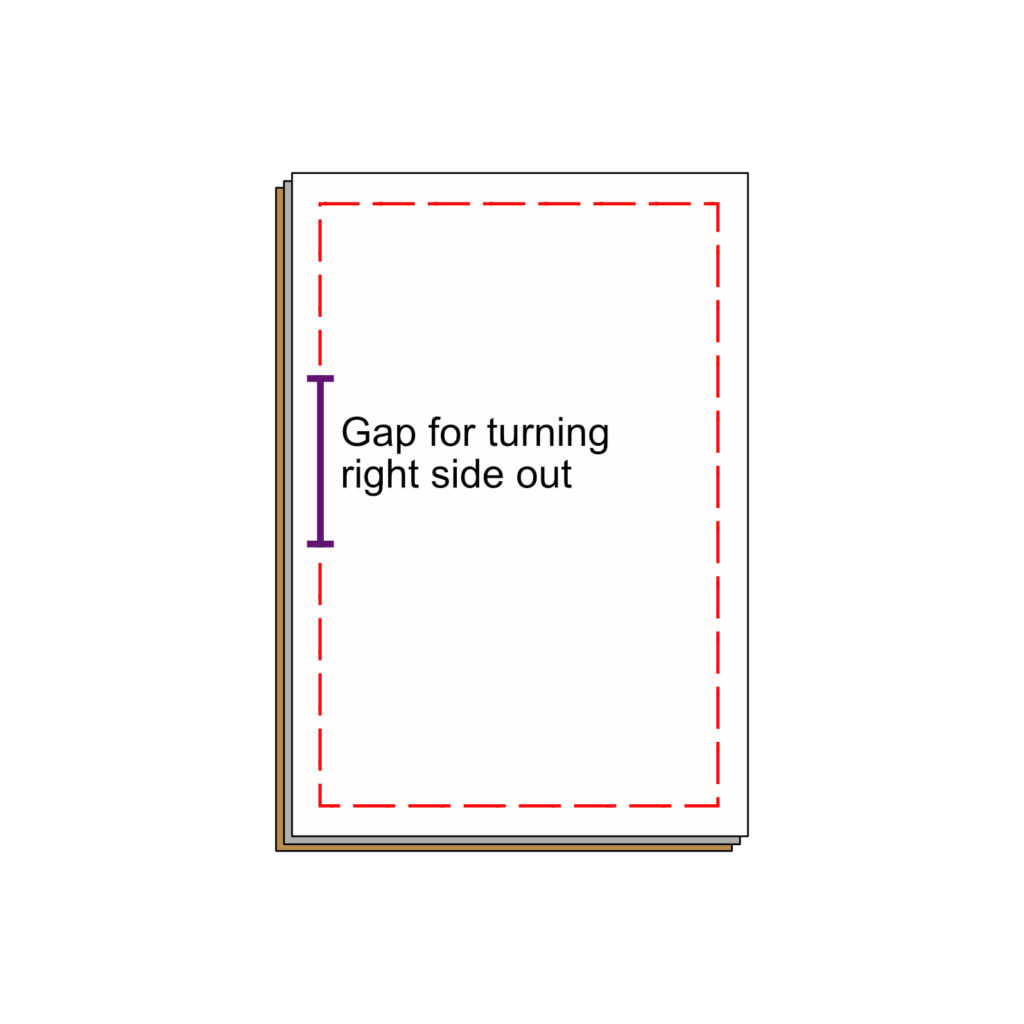
2. Sew the layers together
Leaving a large enough gap for turning right side out, sew all three layers together using a 1cm seam allowance.
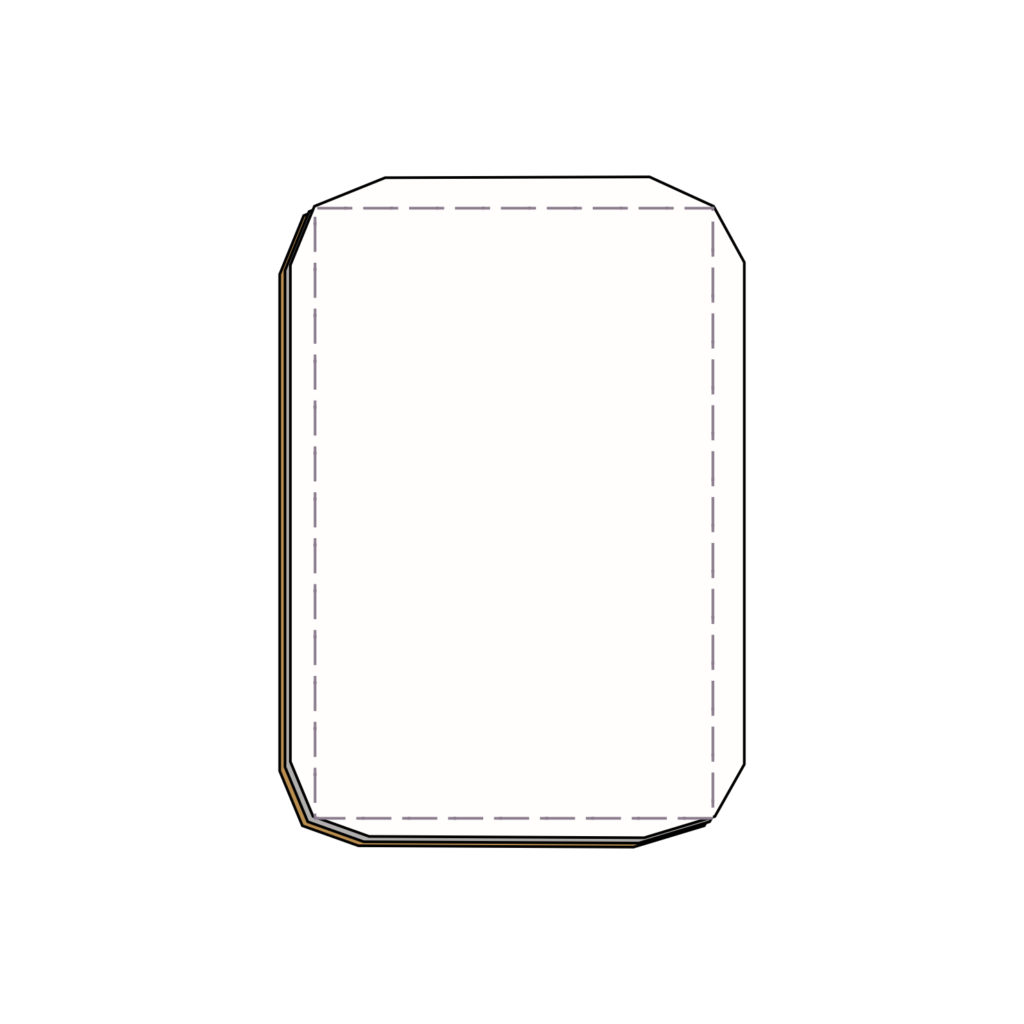
3. Clip corners and turn right side out
Clip the corners to reduce seam bulk, and then turn right side out, ensuring the corners are pushed out.
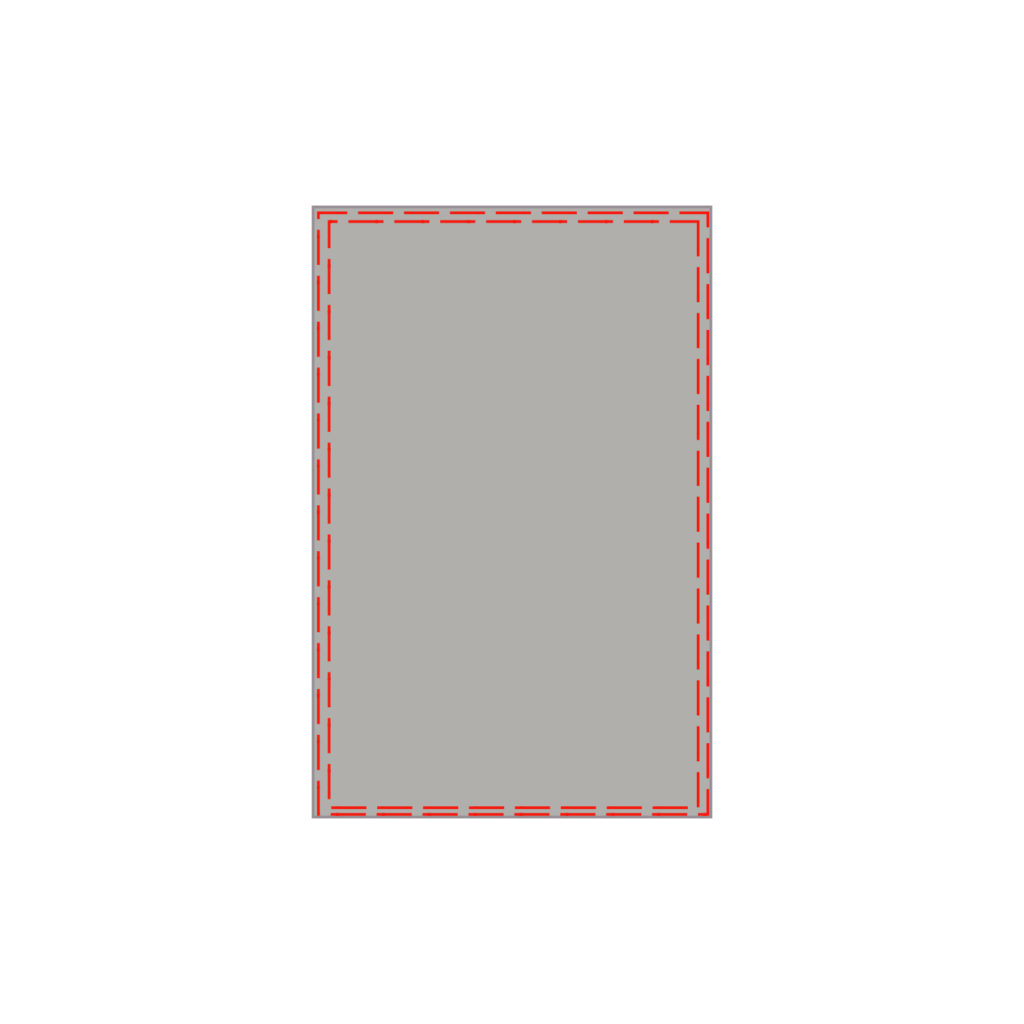
4. Top-stitch
Sew two lines of topstitching. Stitch one line close to the edge – this will mean that you won’t have to slip stitch the opening shut. The second line of stitching can be parallel to this line, furth in from the edge.
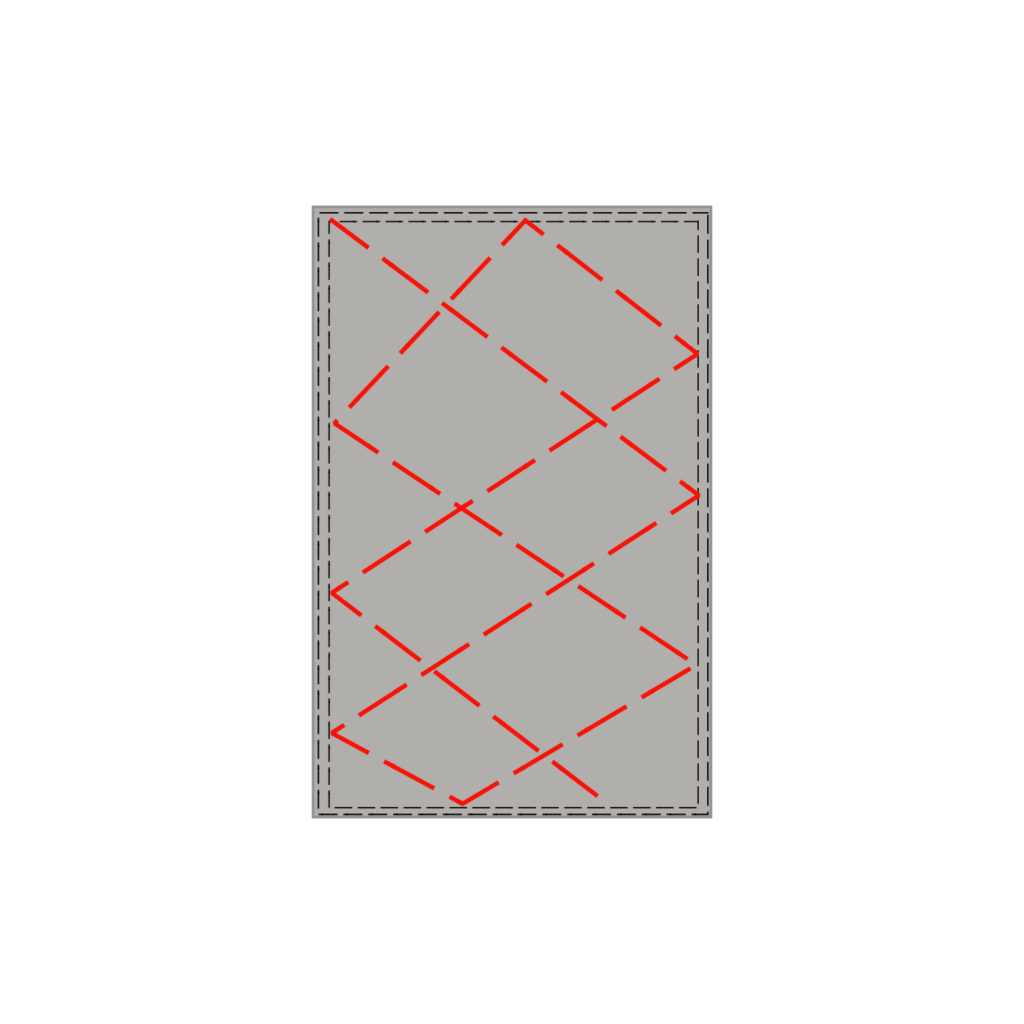
5. Add a couple (or more!) lines of stitching across the cloth
To keep the three layers secure in the middle, sew a couple of lines of stitching in whatever pattern you would like.
Watch it on the Vlog
I’ve linked my video for this tutorial below:
