Block printing
I mentioned in my post on the stitching, sewing and hobbycrafts show about my purchases for block printing and I thought I’d review the tools purchased.
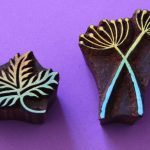
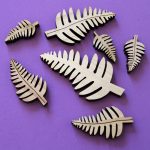
I bought two blocks from The arty crafty place stall at the show. Also, I picked up some leaf shapes from another stall which I felt could be used for block printing.
I didn’t buy the tempting starter kit, as I felt i had enough tools at home. I have fabric paints which I was inspired to buy from taking a textiles class last spring, and I have tray from a lino printing kit. I found a foam sheet to place beneath the fabric and sacrificed a new washing up sponge for the activity too.
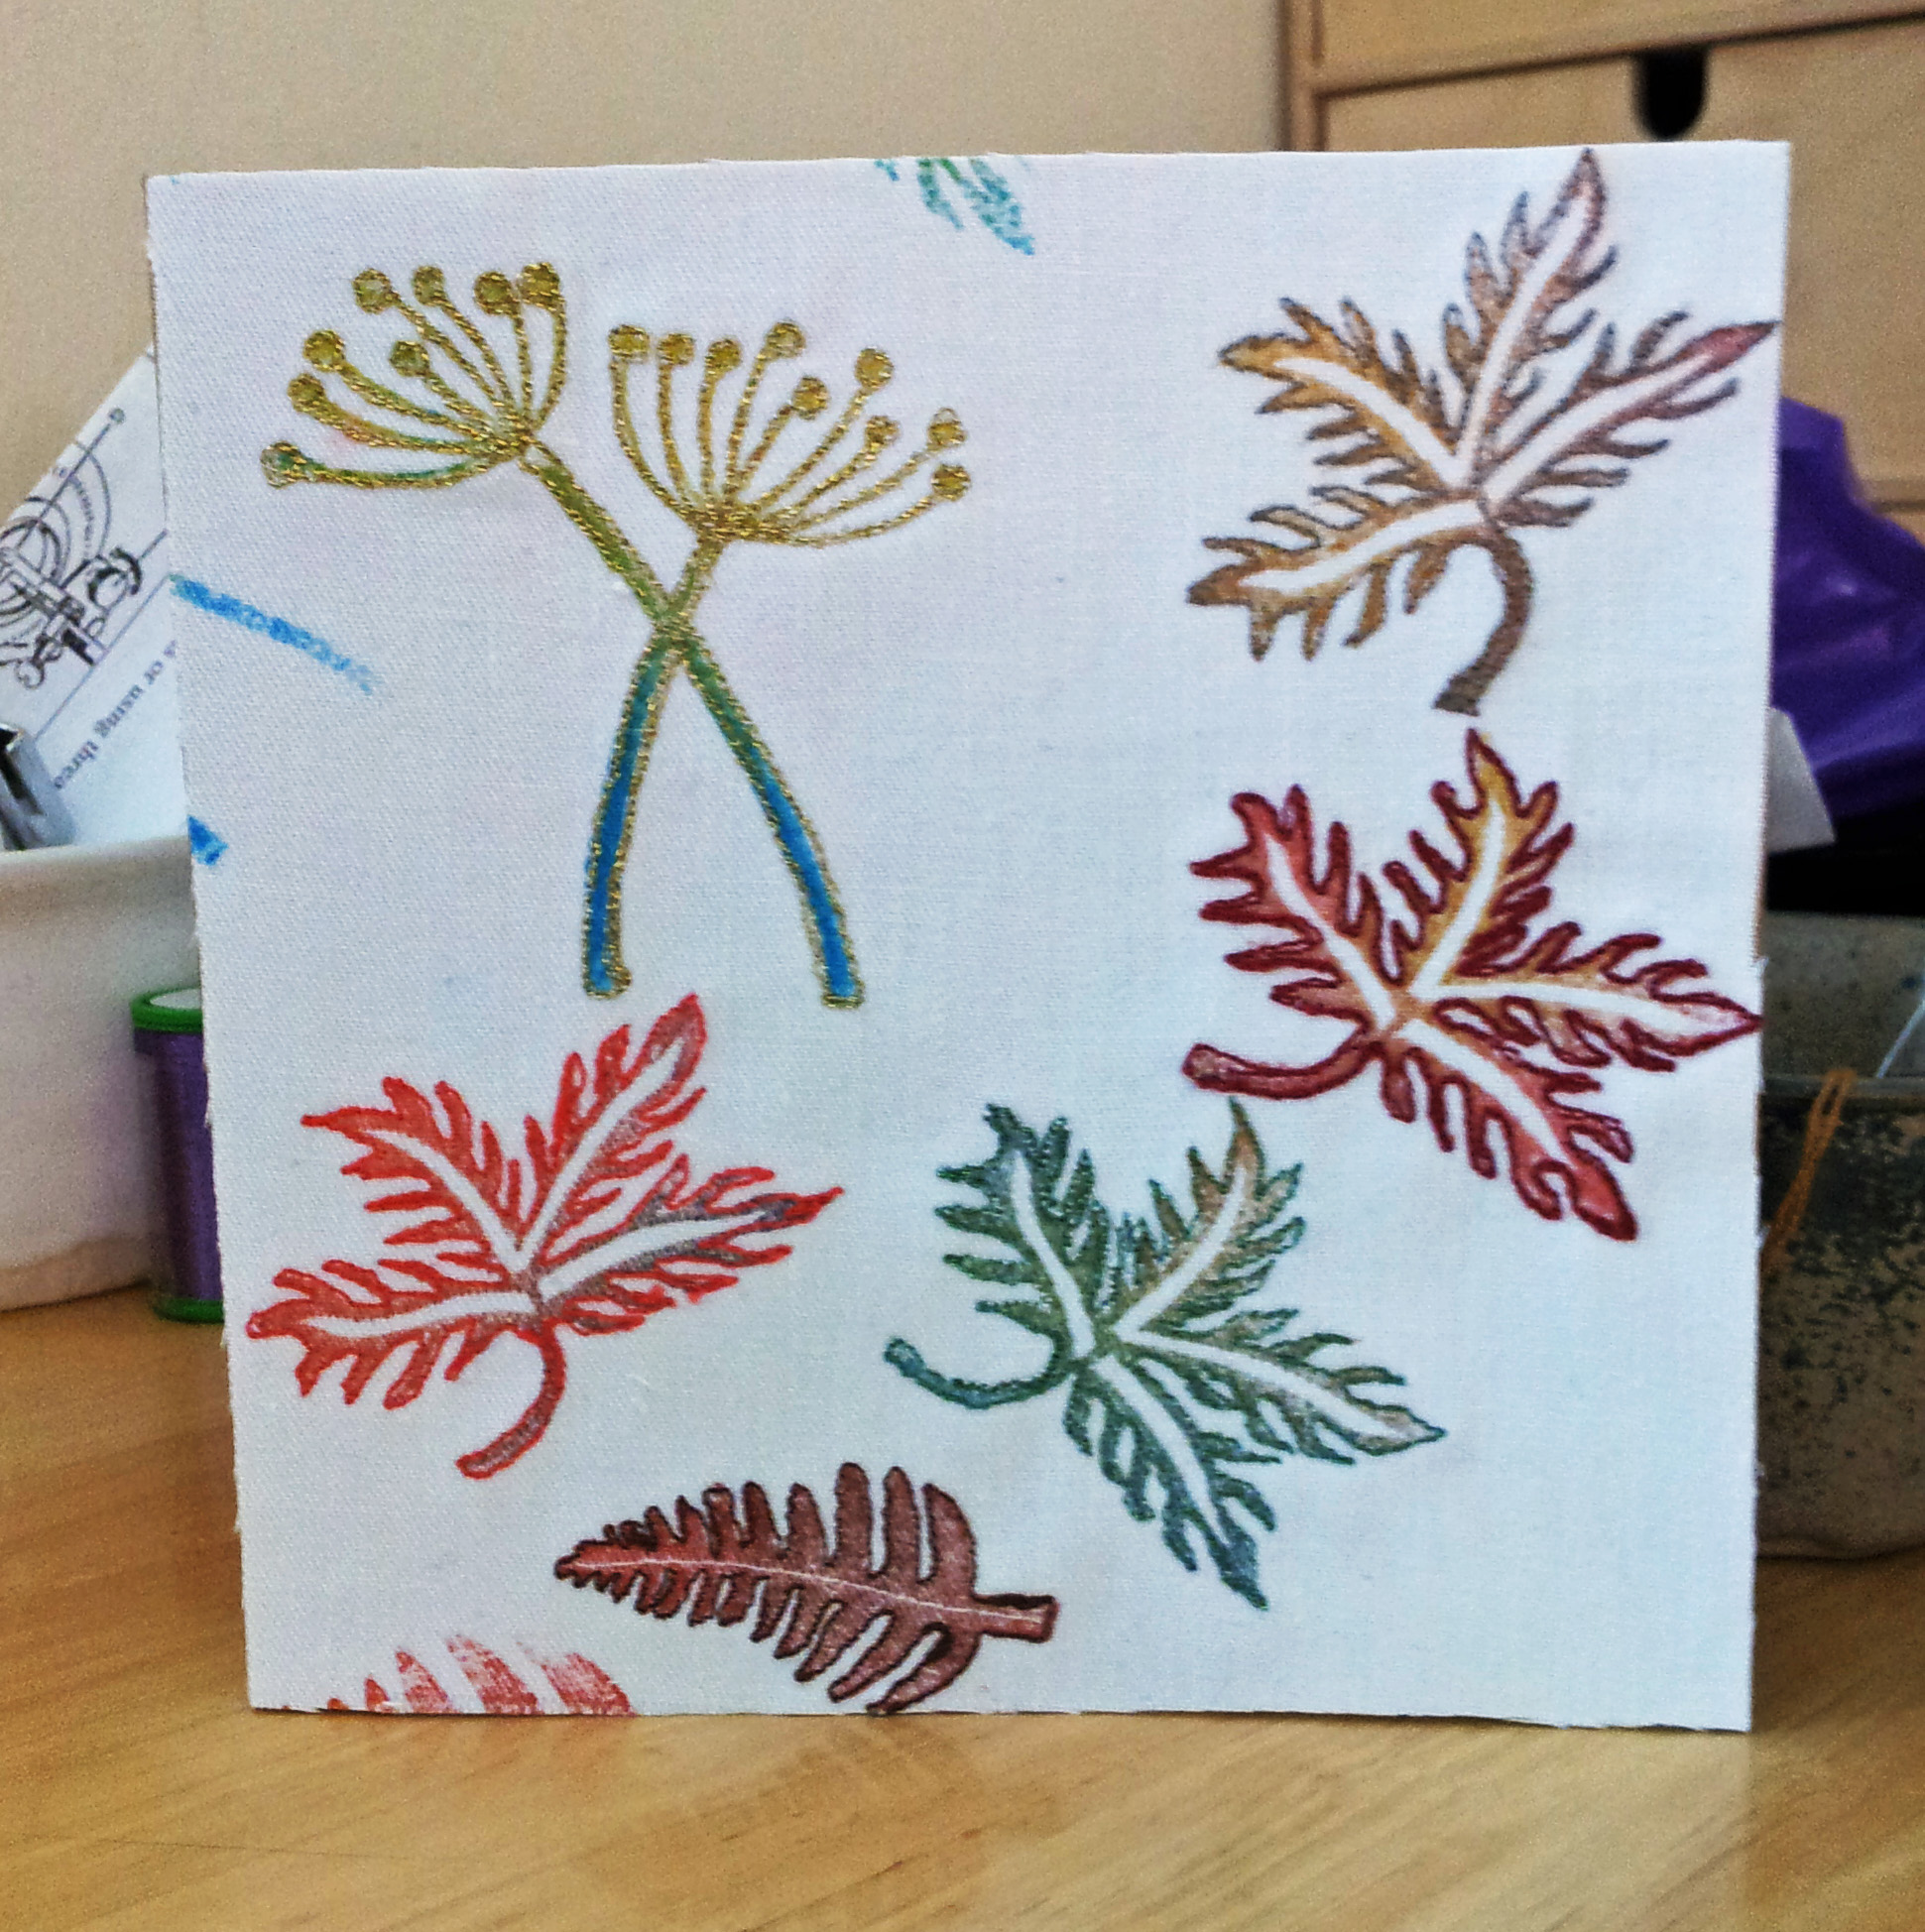
Using a tray is beneficial as you can mix your colours to produce new colours or you can create blends as you print. below is a selection of samples I produced from the blocks.
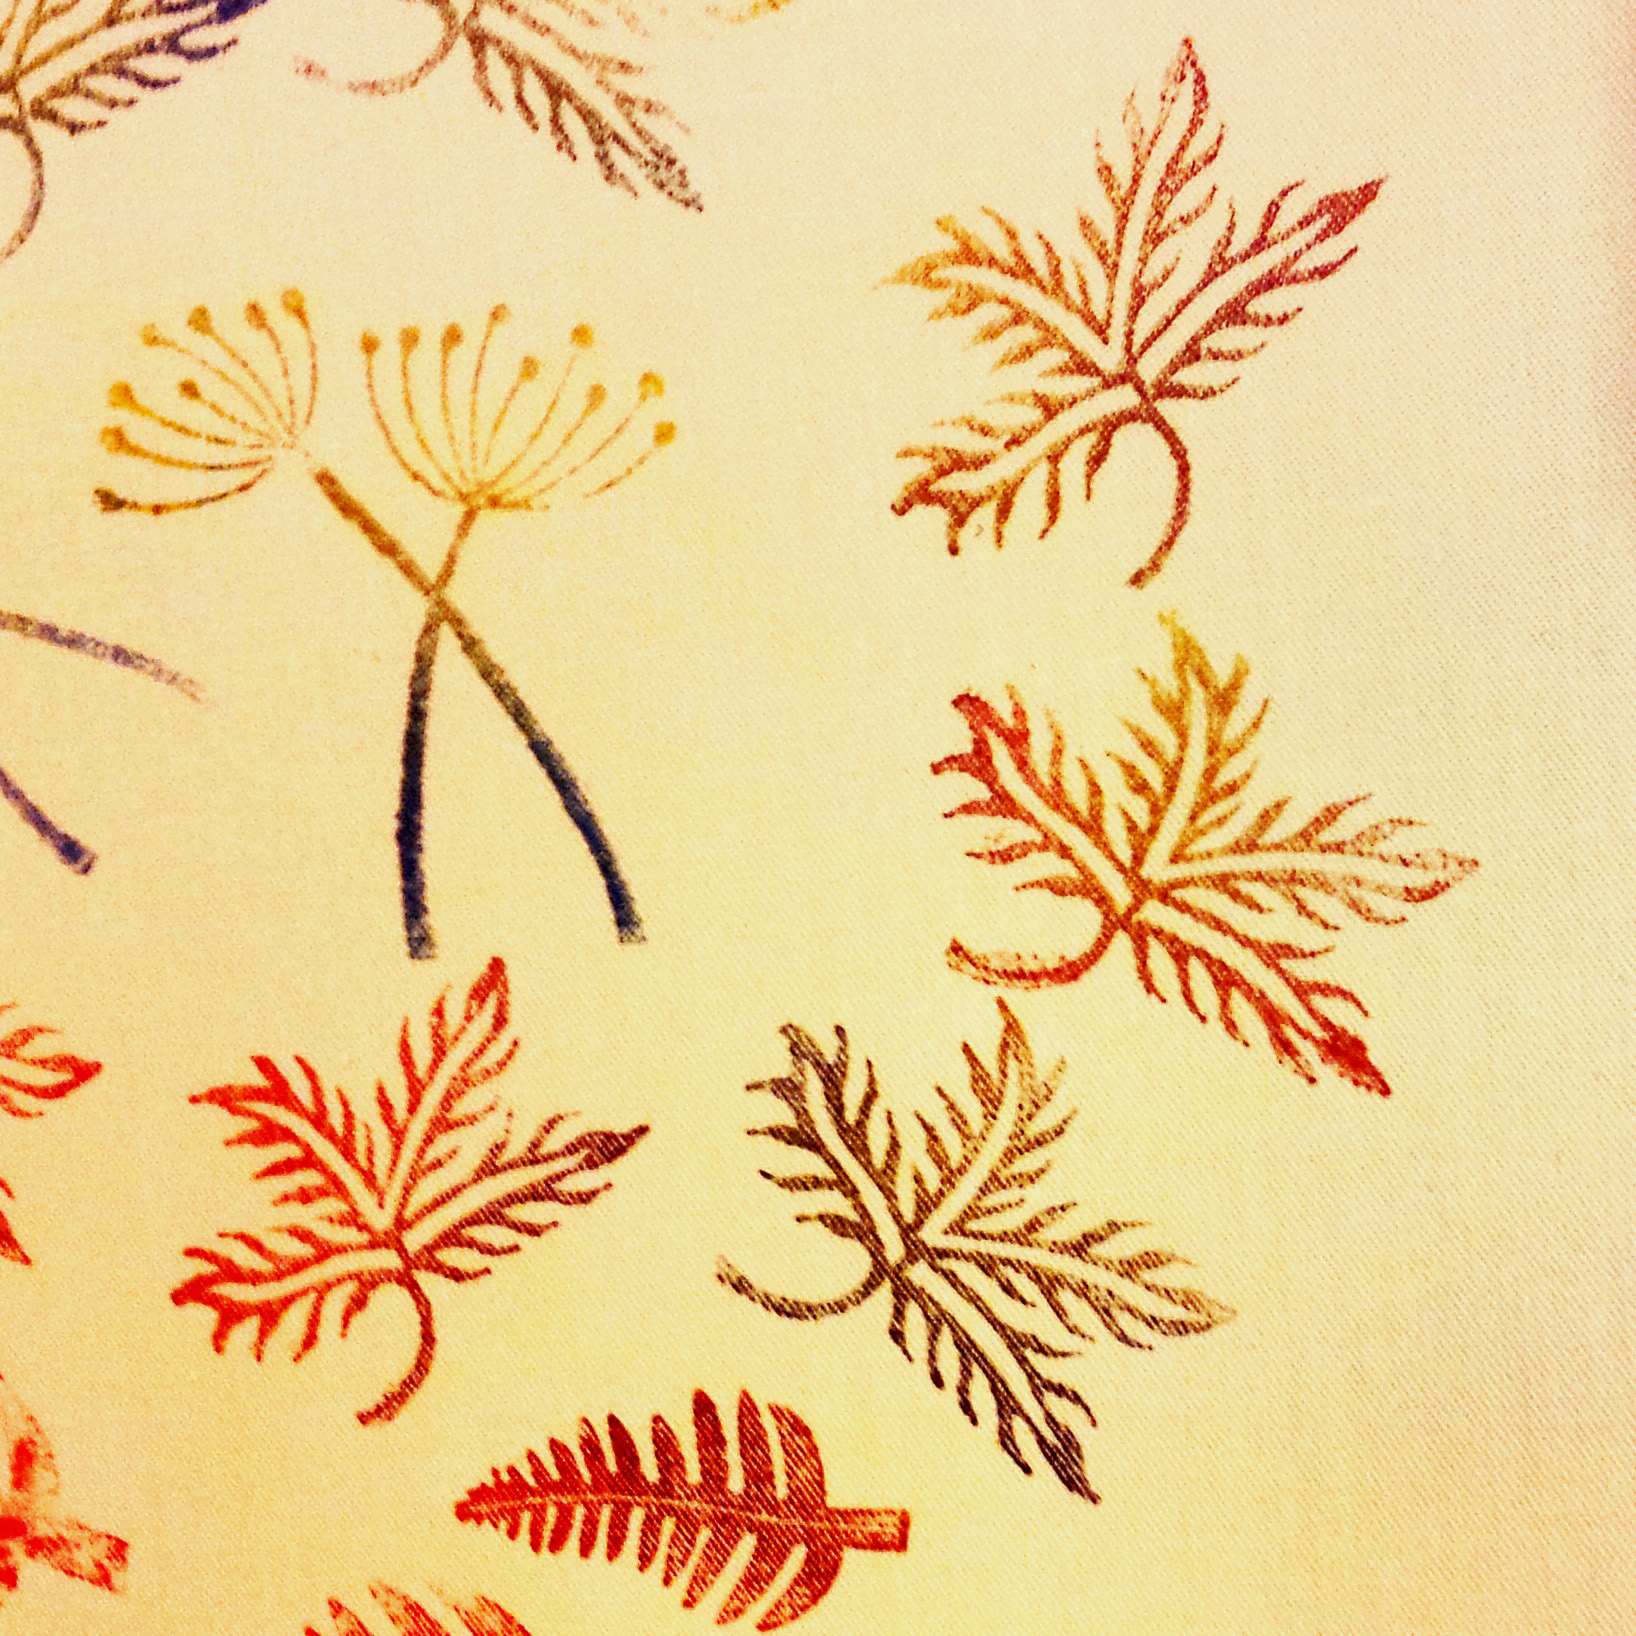
I hate to waste samples though, and I ended up transforming this sample into a birthday card. As I hadn’t intended to turn it into a card originally, I had to think about where to cut the piece.
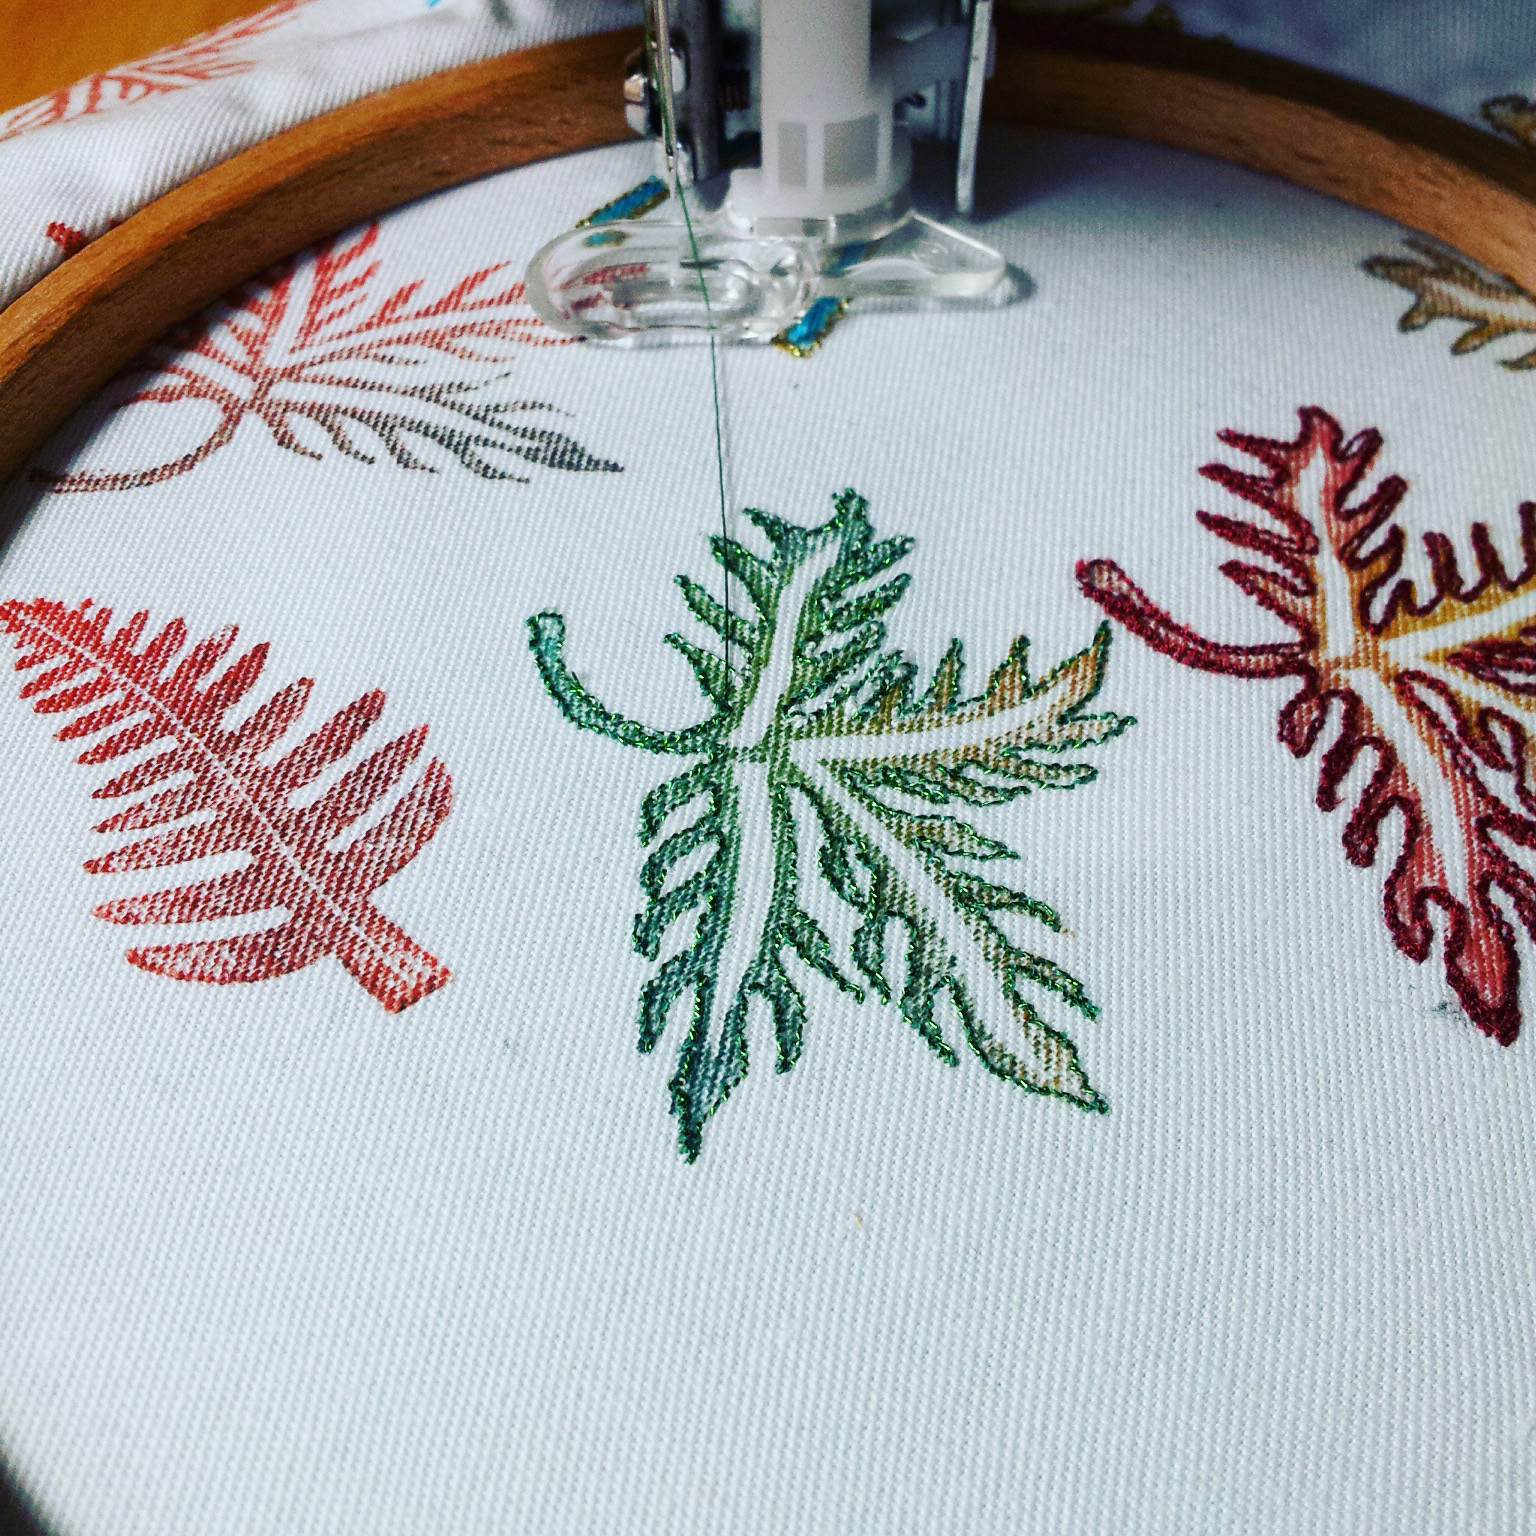
I decided to use free machine embroidery to stitch around the shapes. I began using metallic threads and then tried some others to create a bit more definition.
Naturally, the blocks from The arty crafty shop worked better and were easier to use than the cheaper leaves I bought, but they both proved to be effective with practice. The arty crafty shop have so many lovely designs and I could have easily chosen many more, but I feel that the two selected will be versatile for a range of uses.
The air erasable pen
At the end of September, I bought my first air erasable pen and thought I’d share my first few weeks’ experience with it.
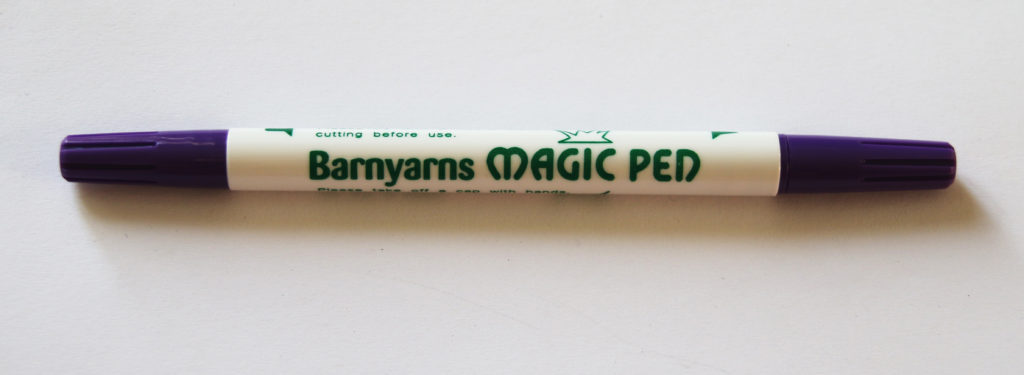
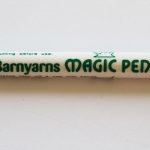
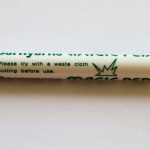
The air erasable pen I got at the the stitching, sewing and hobbycrafts show at Westpoint, Exeter, was from Barn Yarns.
As you can see from the images, there are two ends to this pen. There is a fine point and a thicker nib. the difference between these two nibs can be seen in the image below:
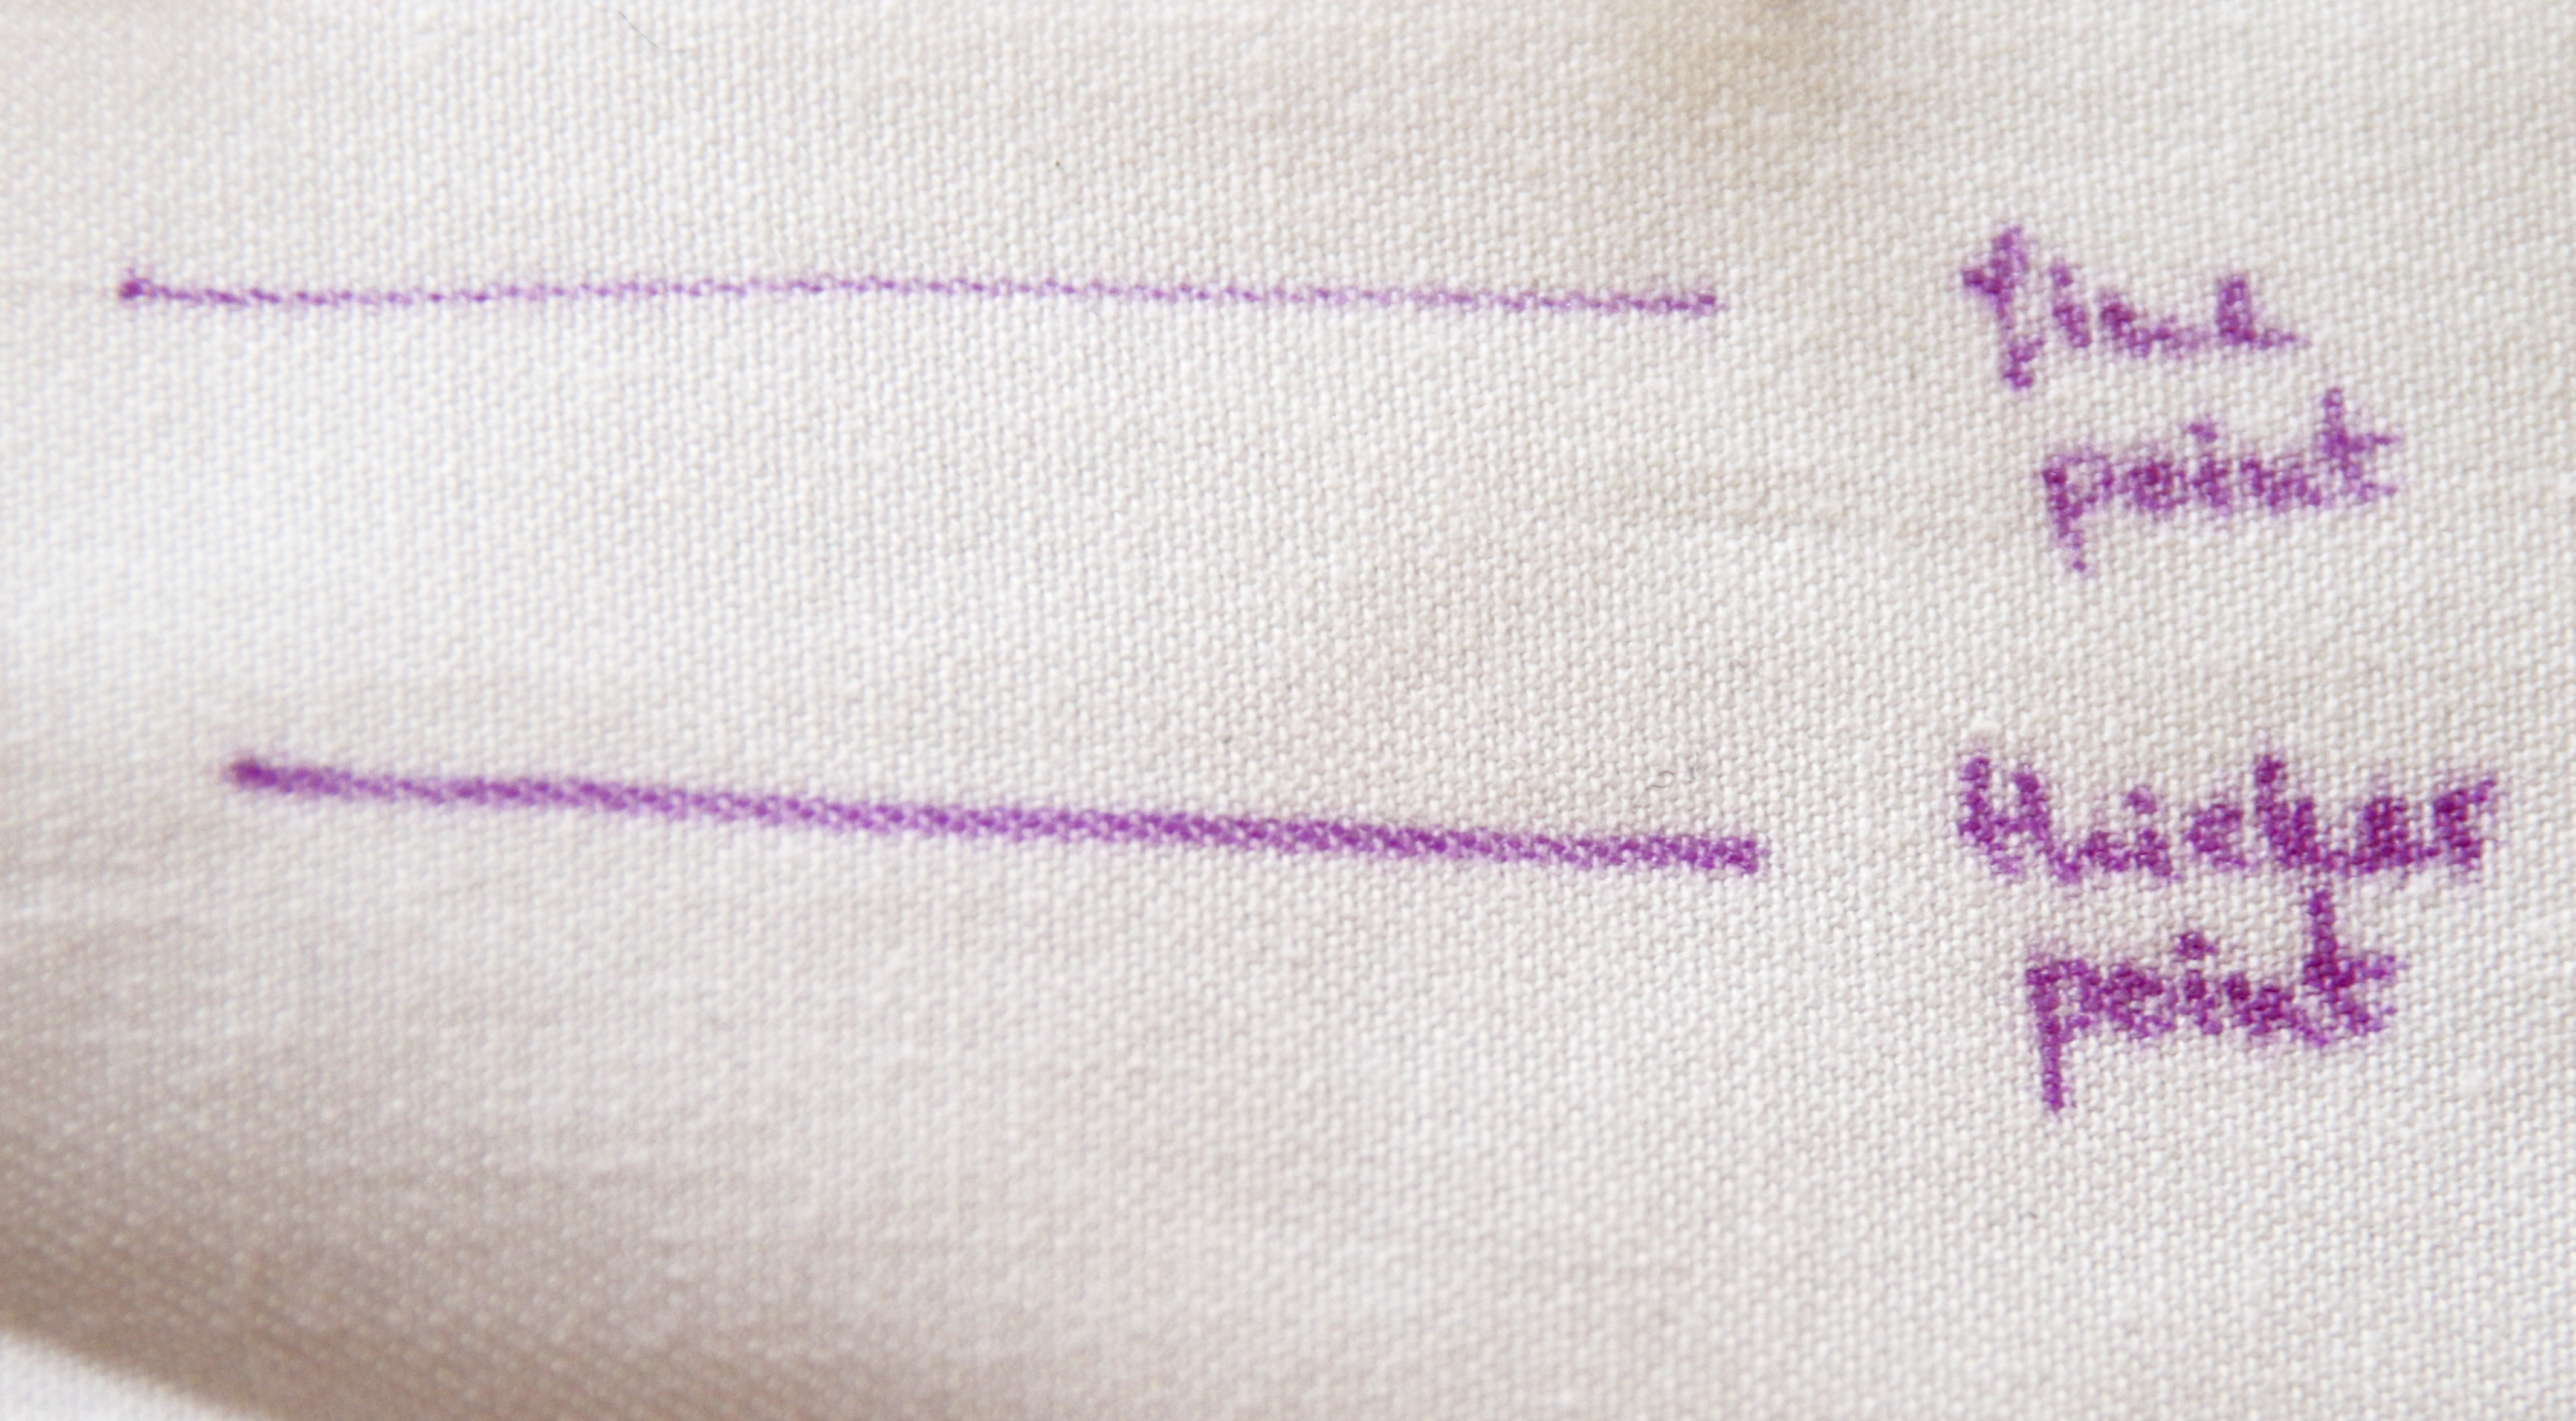
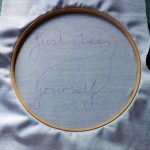
I like the use of two different thicknesses because it suits the purposes I use it for very well. I can use the finer point to create much more precision on intricate machine embroidery designs which need to be mapped out on the material before stitching. However, the thicker nib is useful for making marks dressmaking as it show up better and doesn’t disappear quite so quickly! However, I have used it for larger embroidery designs. For example, I have begun making some new tote bag designs for Christmas which include larger stitched words than I normally produce. I write with the machine freehand in general, but as the words are a lot bigger than I’m comfortable with, it was good to use the thick nib of the pen to draft it out before I began.
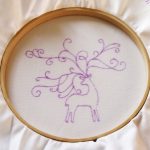
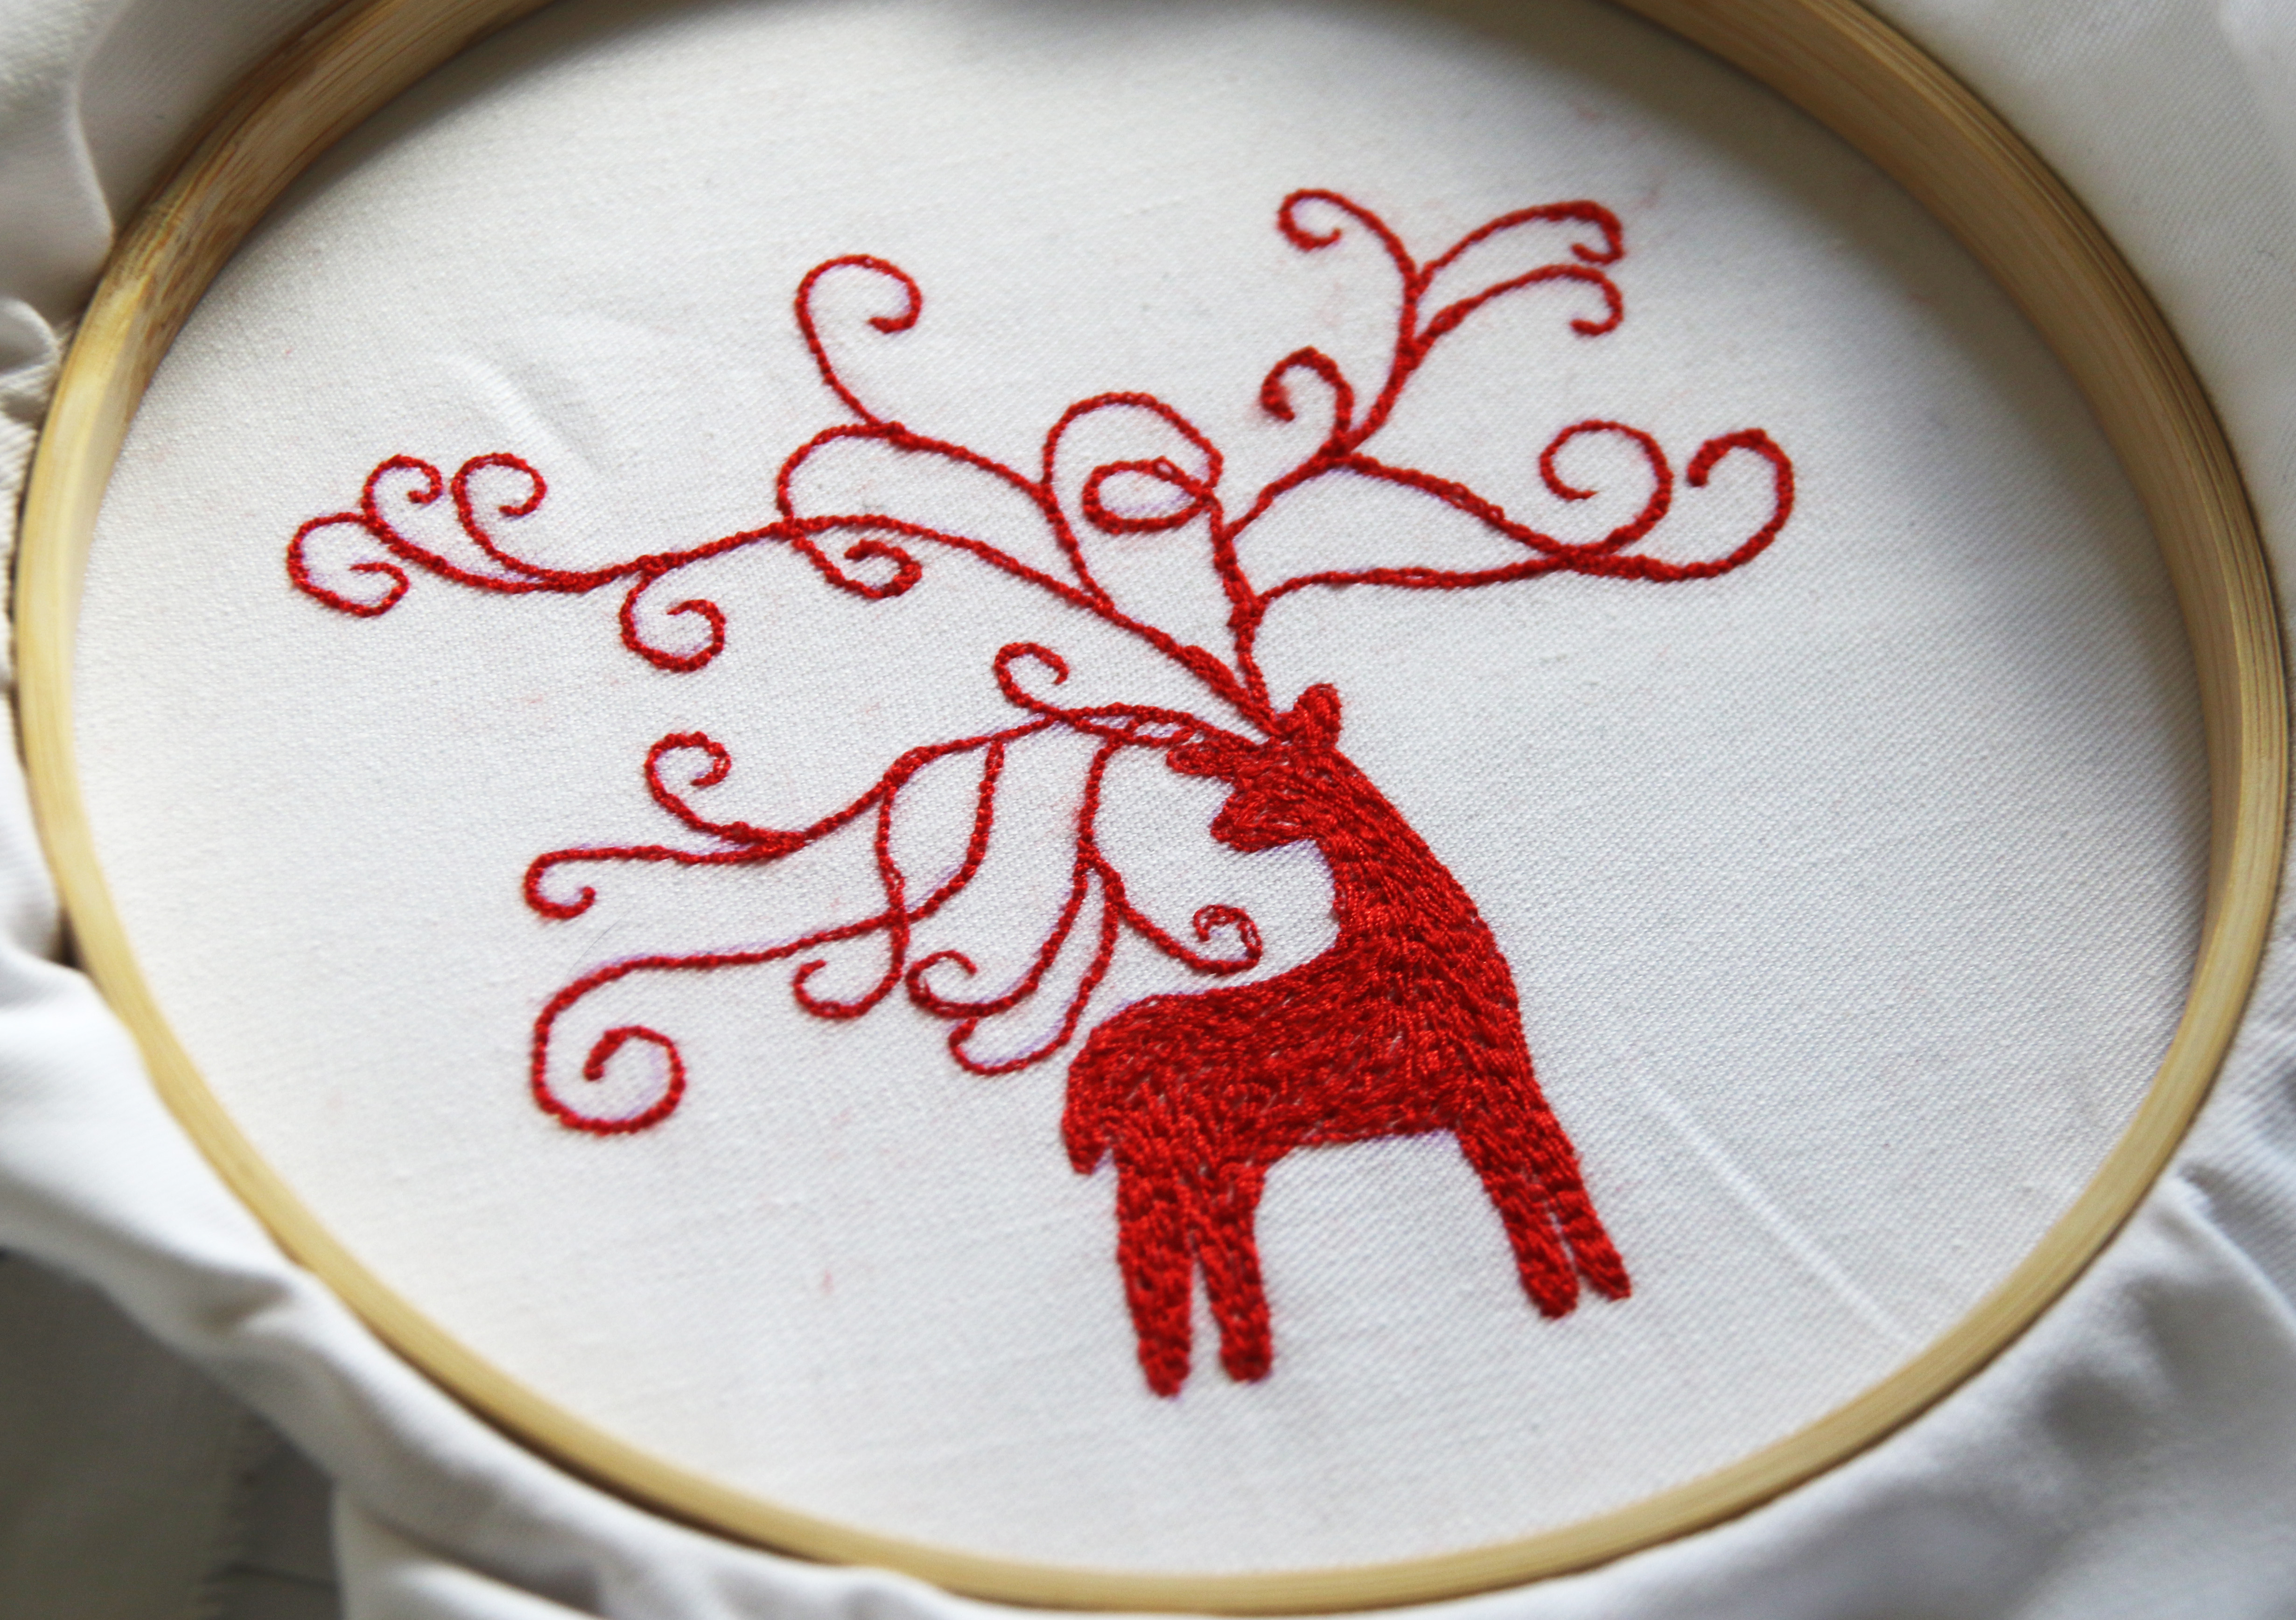
The directions for this pen advise that the markings will disappear between 24-48 hours in general, but it depends on the location. Humidity plays a factor, and I found that the stag design markings with the fine point disappeared within 24 hours. Cornwall is quite humid, so I expect that other locations may find the markings last longer! I think it depends on the fabric too.
The time it takes to disappear can be an advantage and disadvantage. For me, it’s great for a project I am going to make straight away, as the markings are there for as long as I need, and will disappear on their own without the need of water, which removes the risk of shrinking the fabric (if it gets to wet) or causing the thread to run. However, it would not be so good if you used it for a dressmaking project which you could not complete within a weekend, as there’s a good chance your markings will disappear if you take too long! In this instance, I’d probably stick to the water soluble pen variety, which tends to last much longer in my experience.
Overall though, this pen has improved the way I make certain items and I have used it a lot in a short space of time. It will be interesting to see how long it lasts before I need to purchase a new one!
Bee Themed!
One of the best parts about handmade is that you can make whatever it is you’re making personal!
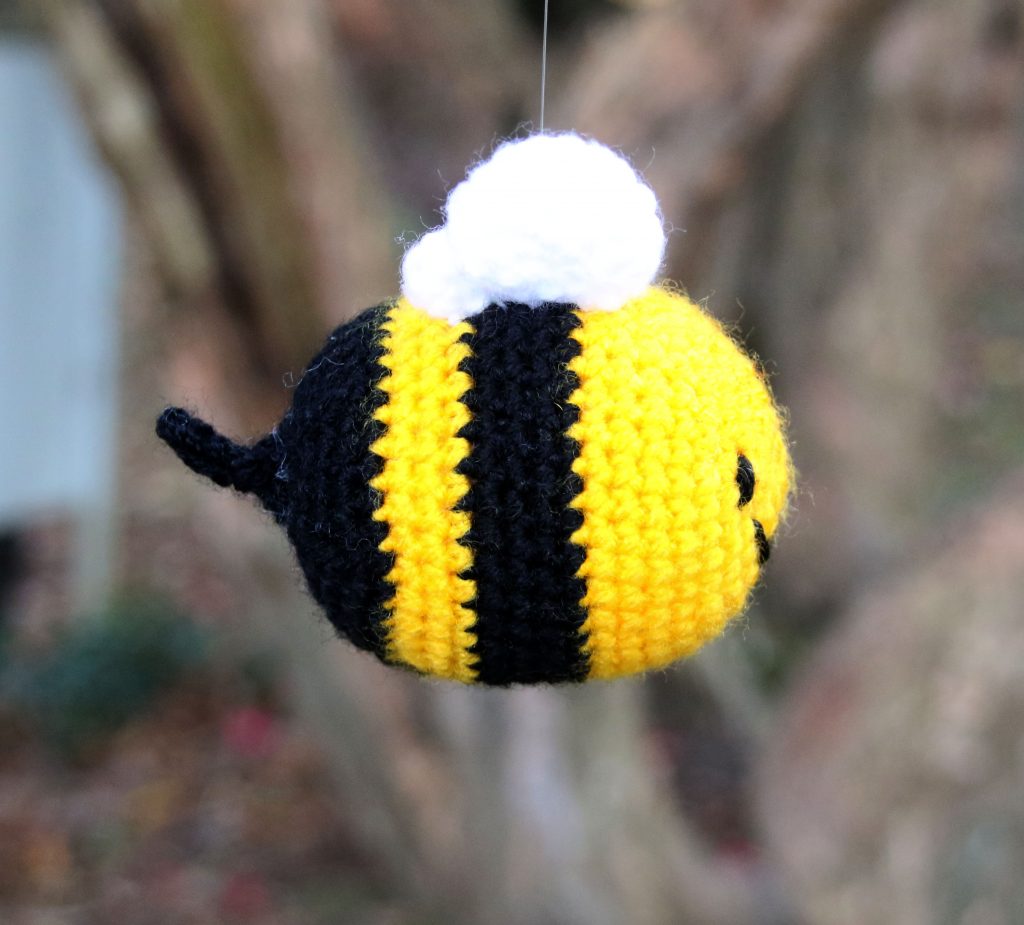
This is how my bee themed gift and card came about when a couple my partner’s friends with had a baby recently. As the father currently does work relating to bees, the gift became centered around this!
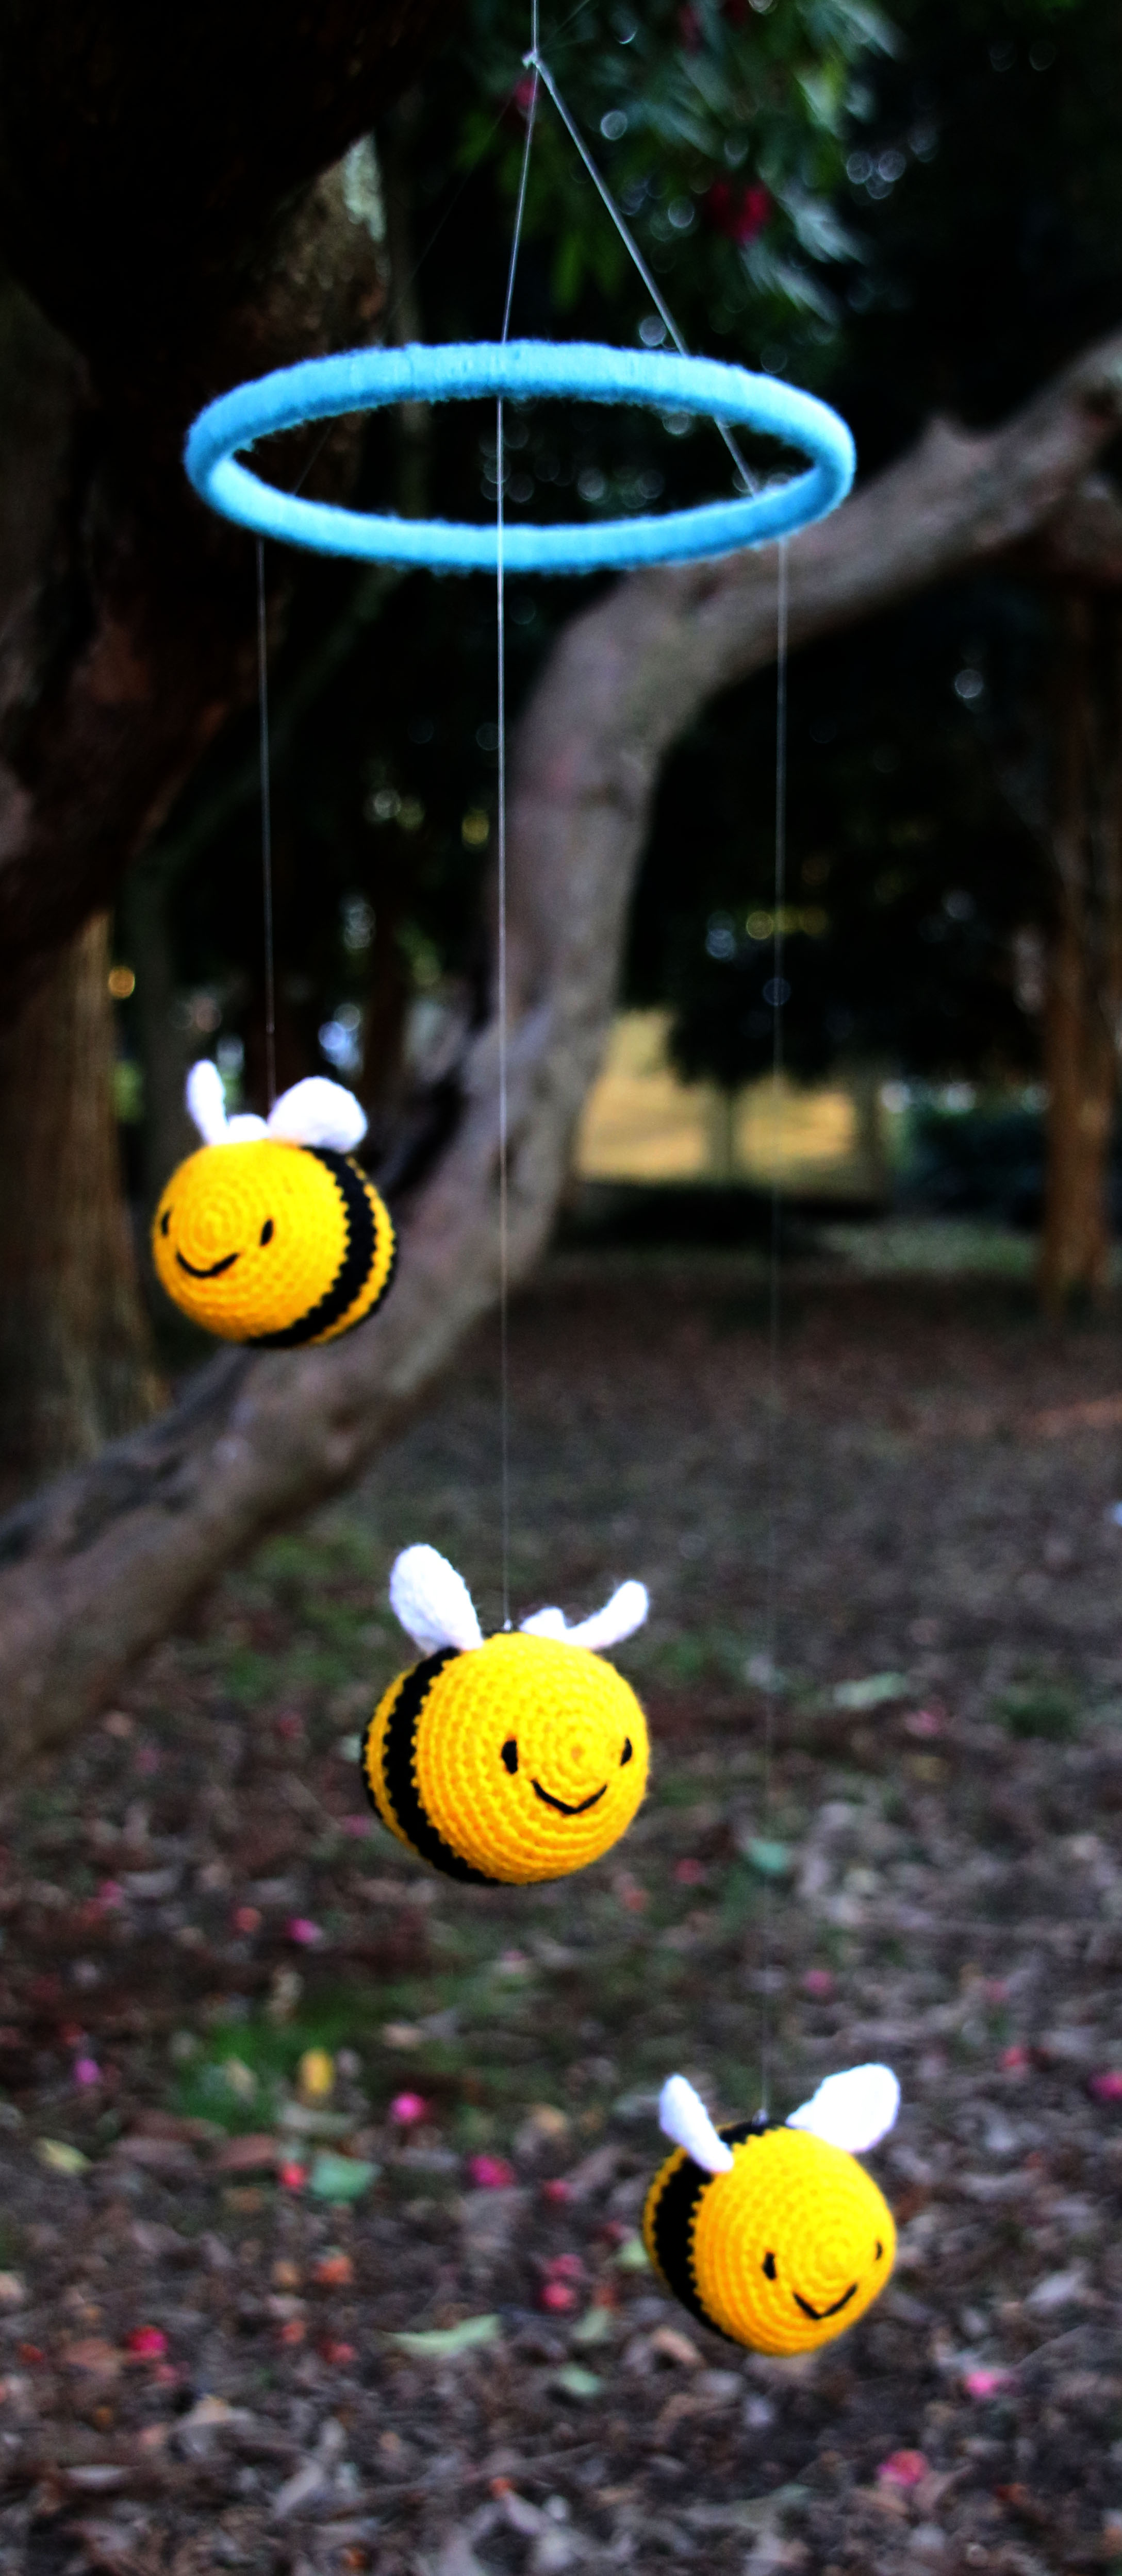
The crocheted bee mobile was a lot of fun to make. I used clear nylon string to attach them to an embroidery hoop for the top of the mobile. Acrylic yarn was used so it should be hard-wearing.
I love the little sting detail too! They were made on the round which meant no seams to sew up!
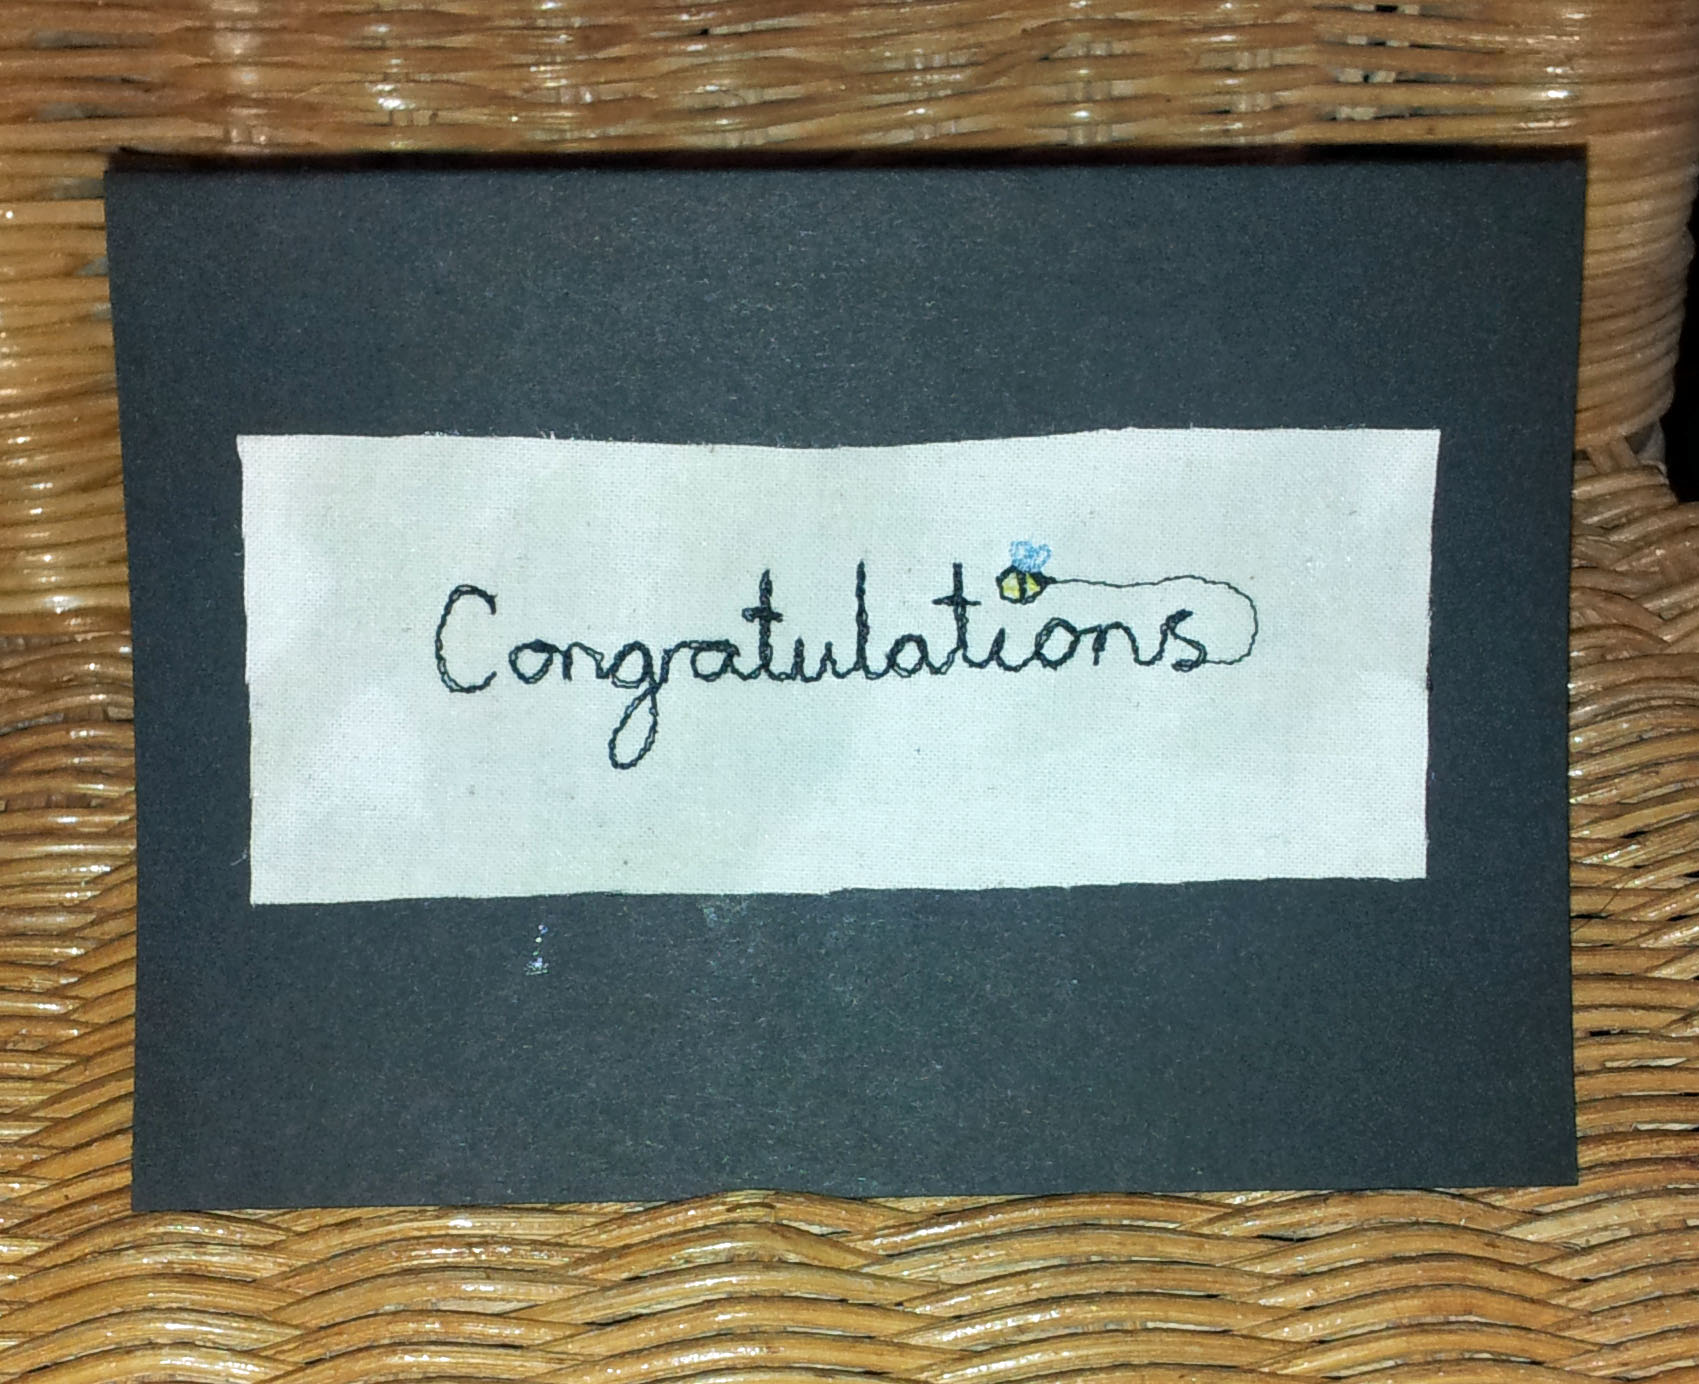
I’ve been learning how to free machine embroider this year so I used this technique to create a simple card. I’ll be adding an improved version of this card to my etsy shop in the next week.
