Wabi Sabi – embracing the beauty of natural imperfections
Wabi Sabi – the Japanese art of embracing the beauty of natural imperfections – is something I’ve stumbled across this month.
Wabi Sabi in craft terms appears to be finding the beauty in the handmade elements. I wish I’d discovered this art while I was learning ceramics earlier in the year as I could have defended my wobbly pots when compared to the much more symmetrical looking results from other students in the class! It’s nice to know there is a philosophy which prizes the uneven glazing, wall thickness and overall performance of the complex ceramic process.

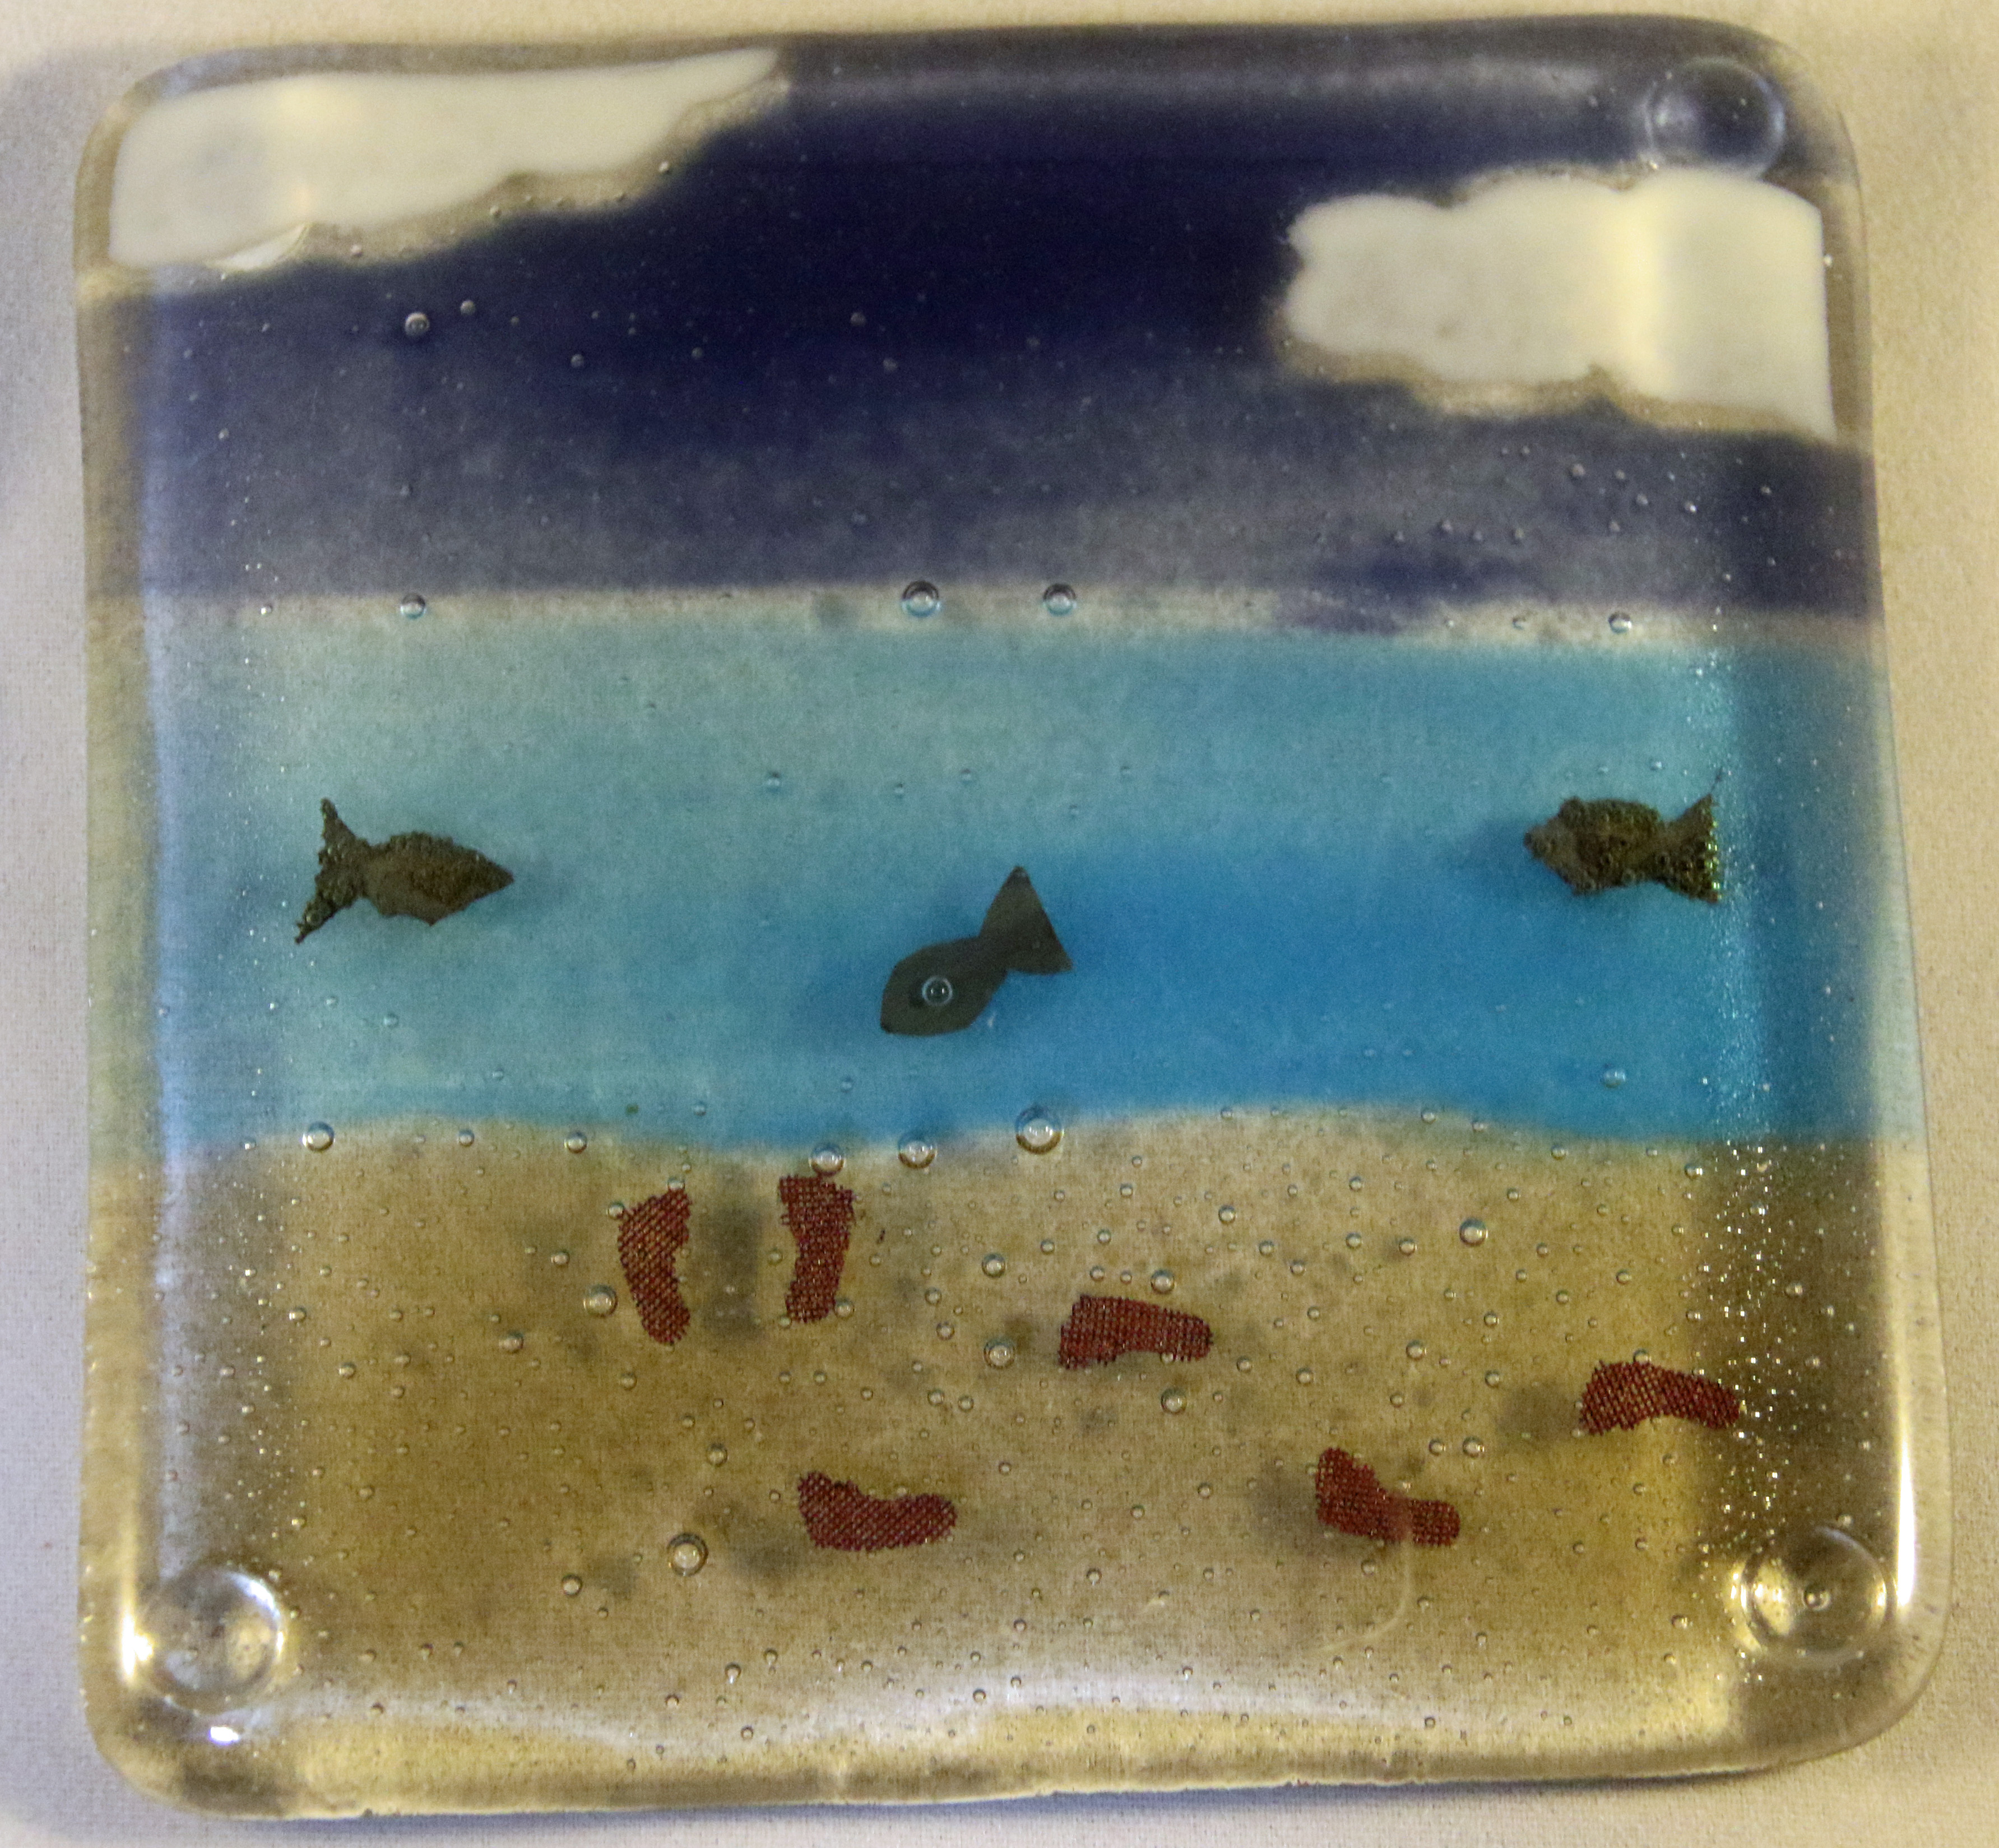
I’ve also explored glass fusing this year, and in this class we embraced the imperfections of our pieces as we understood how these elements distinguished them from a production line. For example, bubbles within a piece can be seen as inaccuracy, but they make a piece individual.
I will reflect on this philosophy as I complete my next set of projects. For example, I have almost completed all of the pieces to create a crocheted bunny toy. Instead of avoiding the construction process, which I don’t enjoy very much in knitting/crochet, I will remind myself that it doesn’t need to be sewn in exactly the right place as you might expect from purchasing one from a shop. It just needs to be completed so that it can become a cherished, handmade toy.
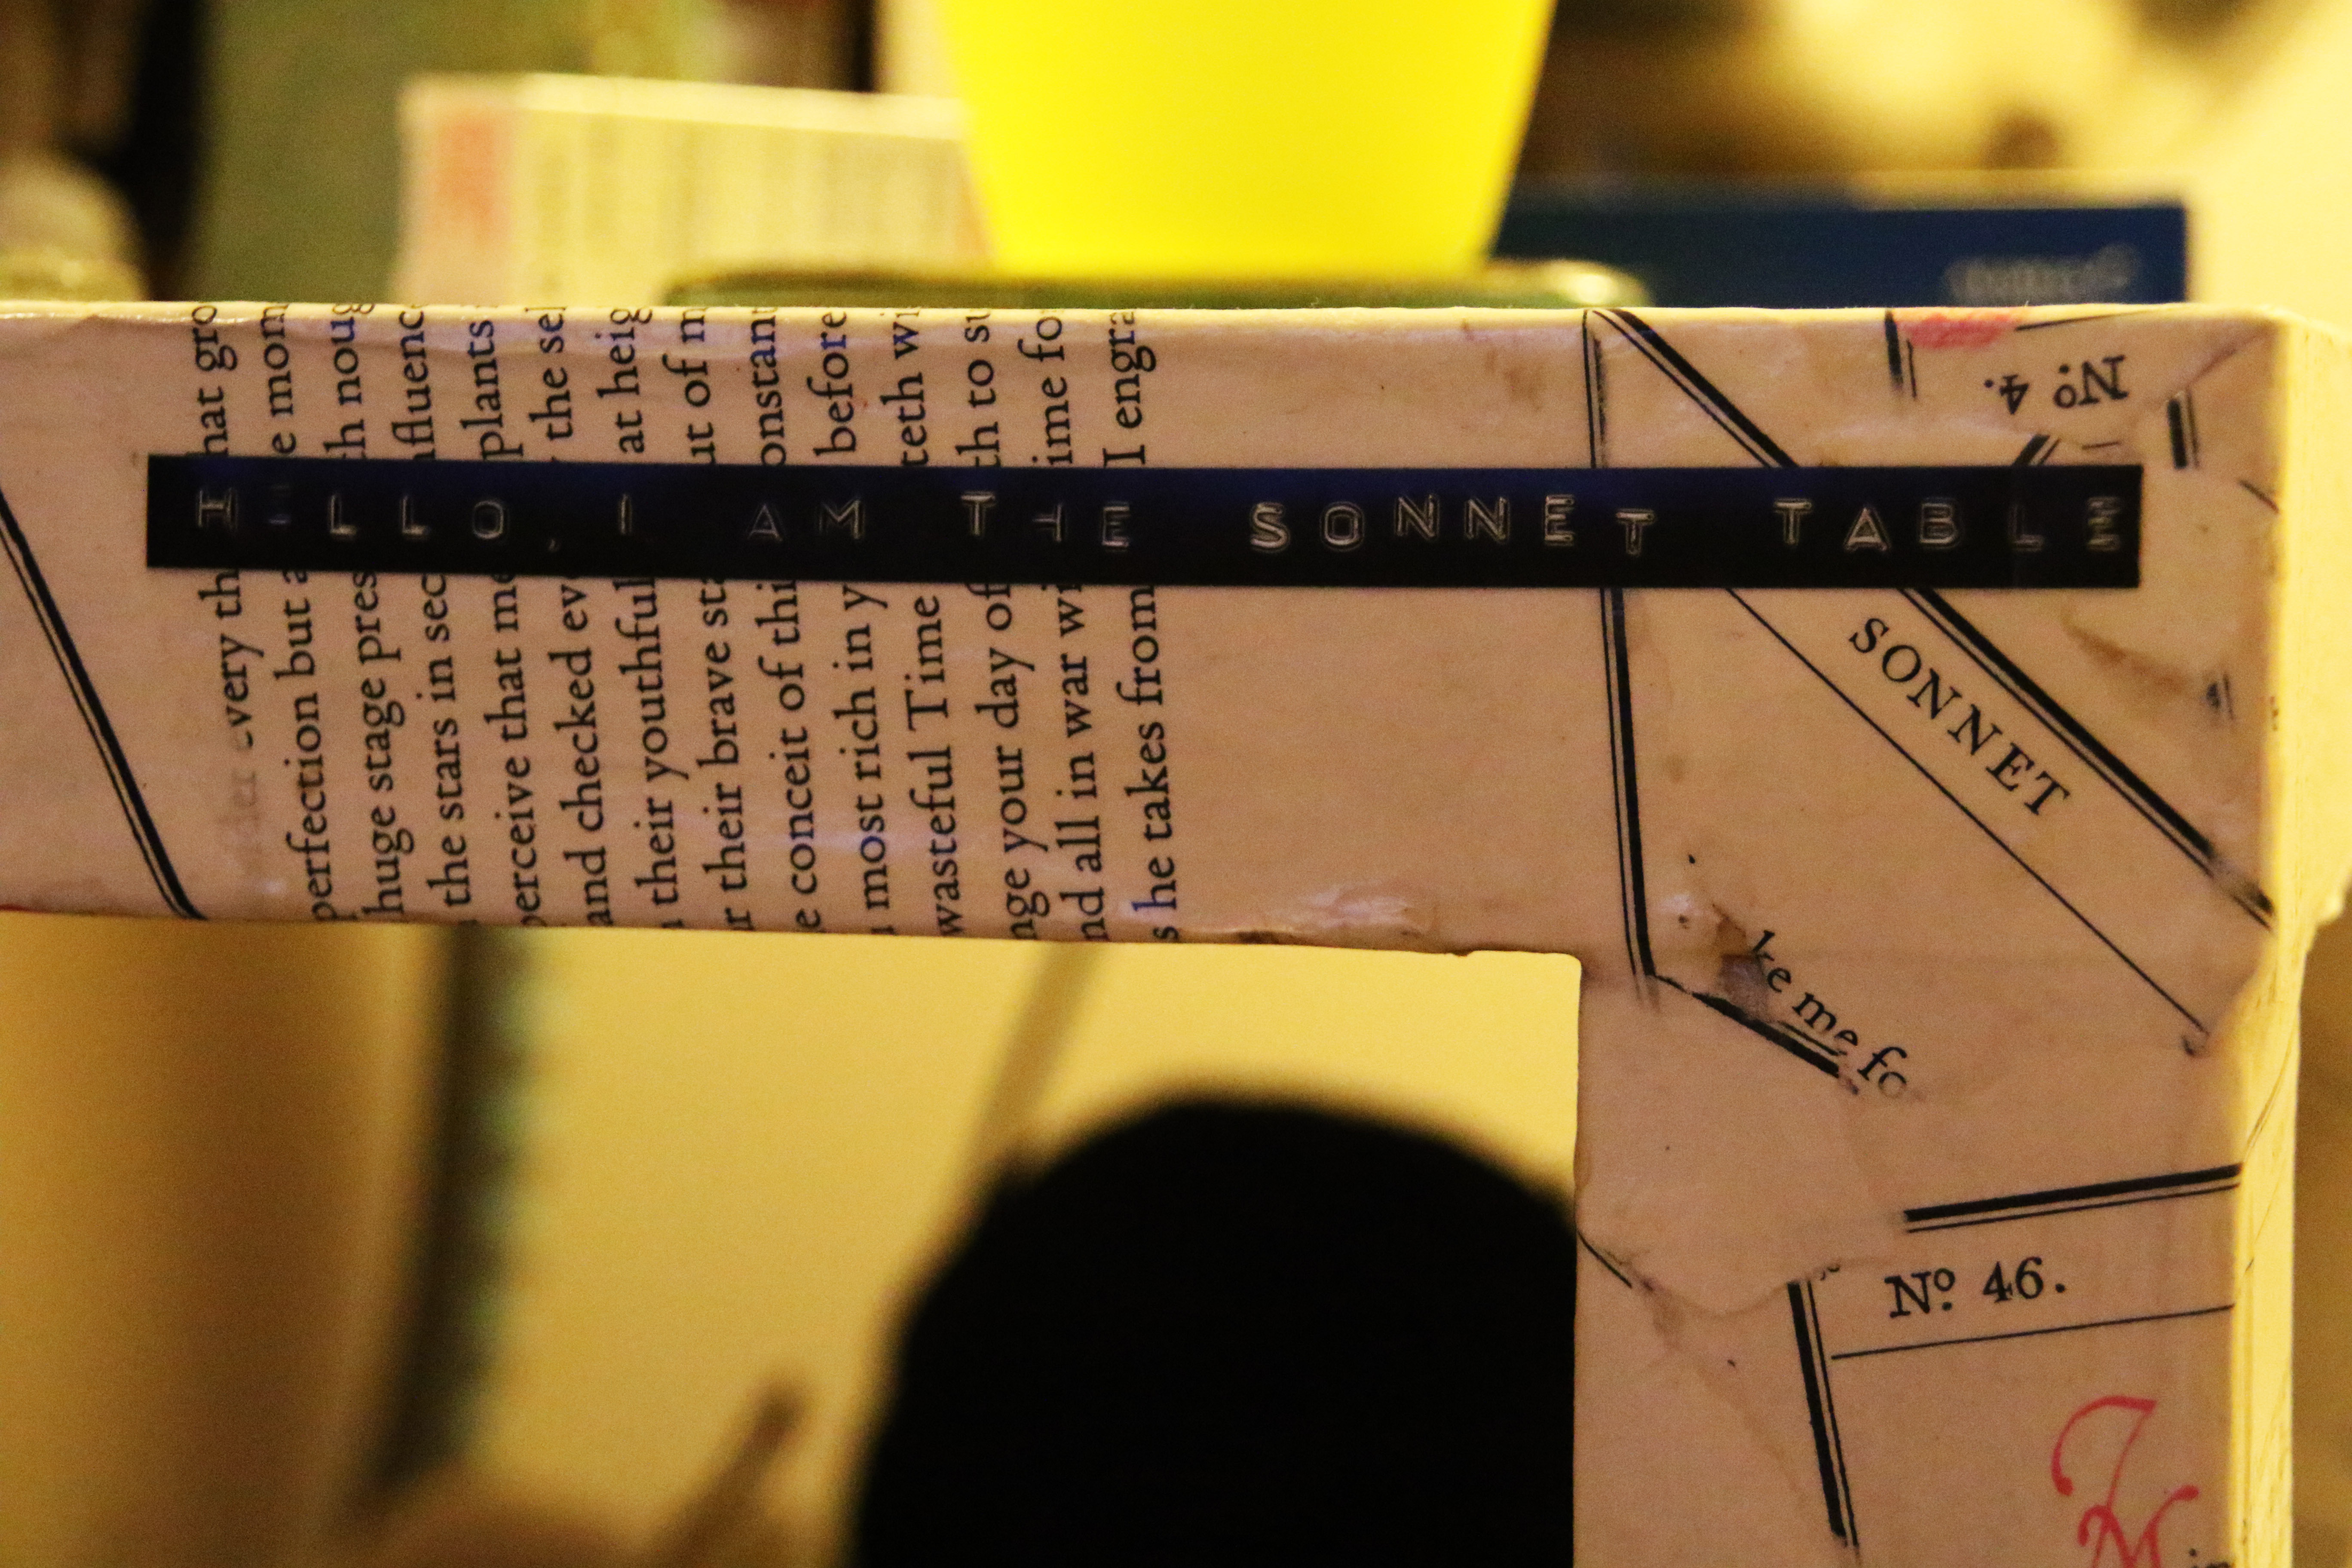
Reflecting on the Whole Living article on wabi sabi in the home, I realise that I incorporate this into my home already. The furniture we have is predominantly hand-downs from family members who no longer want them or need them. The table I use for sewing is my grandparent’s old kitchen table. We have a table in the lounge which we bought from a café in Southampton when it was closing down and they were selling them for £10. They had covered it in pages from a book of Shakespeare’s sonnets and there’s a slight tear on the lower self where a customer must have brushed their shoe on it. In the kitchen hardly any of our cookery items and chinaware matches. They’re not handmade but they’ve turned into something individual and imperfect through time.
Wabi sabi seems to me to encourage you to stop and appreciate what you have rather than seek something newer or more pristine. However, it doesn’t
If you would like to look at techniques in which you can embrace Wabi Sabi to let go of some of your perfectionist tendencies, the Whole Living website has a useful article on how you can abandon perfect to enhance everyday life.
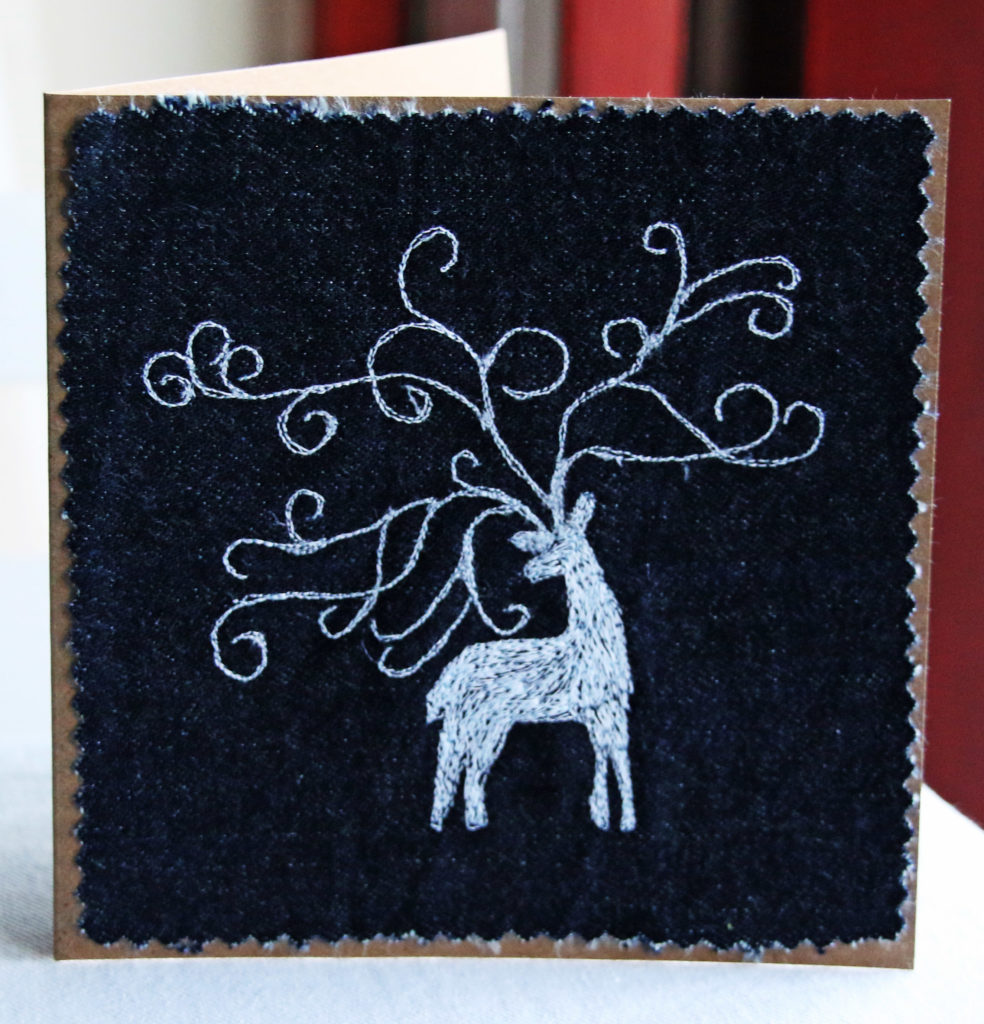
Recording a card design – the stag card
This week I’ve been quite industrious (well, more than I have been anyway!) and have managed to complete quite a few things for Clobber Creations ranging from fruit protectors to bath hats! However, I want to reflect on the process of recording my free machine embroidery.
I find recordings of free machine embroidery quite mesmerising, and I’d voiced an interest in having a go at some point. My dad pointed out that my camera could record video as well as take pictures, so the lack of video camera was not an issue. I just needed to think about what I wanted to record and when to do it.
I thought that this aspiration was something I would play around with in September. However, I began to put a Christmas card design into practice this week and thought, “why not record it?”
Fortunately, I have a tripod, which meant I could set up the camera behind me to one side. I began with a full recording of the design make, from tracing the design to stitch ‘n’ tear, to colouring in. However, I noticed the image was quite far away, so I had a go at recording zoomed in too.
A few things I learnt from this experience:
- Manual focus. I thought that I would want my camera to do auto focus, but for the close up version, it kept focusing on my hands instead of the design. manual focus meant that the camera stayed focused on the area surrounding the machine’s needle.
- Time Stretch. This is what it’s called in Adobe Premier Elements. I wanted the clips to fit into the length of a song and my free machining speed is not quite on par with this! Using time stretch helped. The close up video was sped up by 250%, which is a nice speed (and meant that people didn’t believe it was sped up), but the main video had to be sped up by 600%, which is a bit jarring…
- Public domain music. I figured that most people wouldn’t want to hear the loud thuds coming from my sewing machine, so I searched for music which I could use for free, which I found at Free Music Archive. I was surprised and delighted to find songs which were appropriate.
It is very early for Christmas but I couldn’t resist publishing the videos and card straight away. You can view the close up and start to finish stag videos on youtube. The card is available on etsy.
Free Motion Embroidery – drawing and writing with my sewing machine
Got your eye on an expensive yet impressive embroidery sewing machine? Think again!
I’ve been admiring the lovely embroidery machines with their numerous stitch options and the possibility of embellishing handmade gifts with a name at the touch of a button (or a few). I remember watching a demonstration of someone programming in a word and then watching in awe as the machine punched out the letters perfectly. All I wanted to do was justify the cost of buying a sewing machine which did this!
Well, my bank budget (and boyfriend) will be relieved to know that I no longer have this impulse! While embroidery machines are amazing – especially the ones where you can put your design into the computer and then transfer it to the machine to stitch it – I discovered free machine embroidery this year through a local course.
I signed up to this course without much thought about what it entailed. I’ve always wanted to do a textile based course, but they’ve always been a long commute away or I hadn’t been able to justify the cost at the time. This course was a reasonable price, within walking distance, and with my new working hours, I could make the time of the session.
Free machine embroidery (also known as free motion embroidery) is when you drop the dog teeth on your sewing machine, which normally propel your fabric in one direction (away from you). You attach a new type of foot – a darning foot – and reduce the upper thread tension a little. You can do it without a presser foot attached, but it’s a lot safer with one! You use an embroidery hoop to keep your material firm and you’re ready to go!
It’s best to move the hoop really slowly and have a play at first. It takes time to learn to keep your hands smooth and steady as you stitch. Originally, I practised drawing lines with the machine, then made loop patterns and some basic shapes.

In the course, we learned shading, appliqué, writing and using water soluble fabric (which is a whole other aspect to discuss another time).


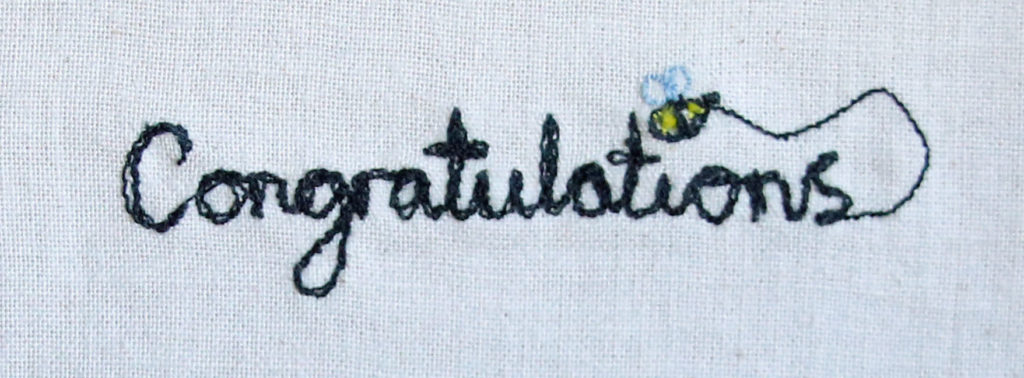
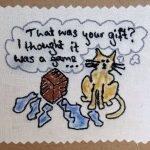
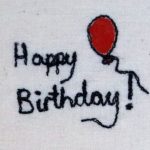
I really enjoyed all of it, but I am quite fond of writing with stitch. I love looking at people’s handwriting, and I used to enjoy writing stories as a kid, which may explain my fondness of handwriting. I have used writing in combination with other free motion embroidery techniques in producing the designs for some of my Etsy items– cards in particular.
Ultimately, the reason I’m addicted to free motion embroidery is that it is creates personality and individuality in makes. Embroidery sewing machines are programmed to be perfect, but I am always going draw something with stitch a bit different every time I use it, which makes it more interesting.
It’s also a great stash buster!
Here are some useful resources and artists to look at if you fancy a go:
- Craftsy has a useful ‘how to’ on creating embroidered works of art. It’s very clearly laid out in simple steps
- Poppy Treffrey does some lovely free machine embroidered items, focusing mainly on the seaside and animals
- Lou Gardiner is another amazing free machine embroiderer and describes how she creates her work well on the introductory video on her site
- Jane Hall focuses on nature in her work
- Rosie James has a lovely book on drawing with stitch
Bee Themed!
One of the best parts about handmade is that you can make whatever it is you’re making personal!
This is how my bee themed gift and card came about when a couple my partner’s friends with had a baby recently. As the father currently does work relating to bees, the gift became centered around this!
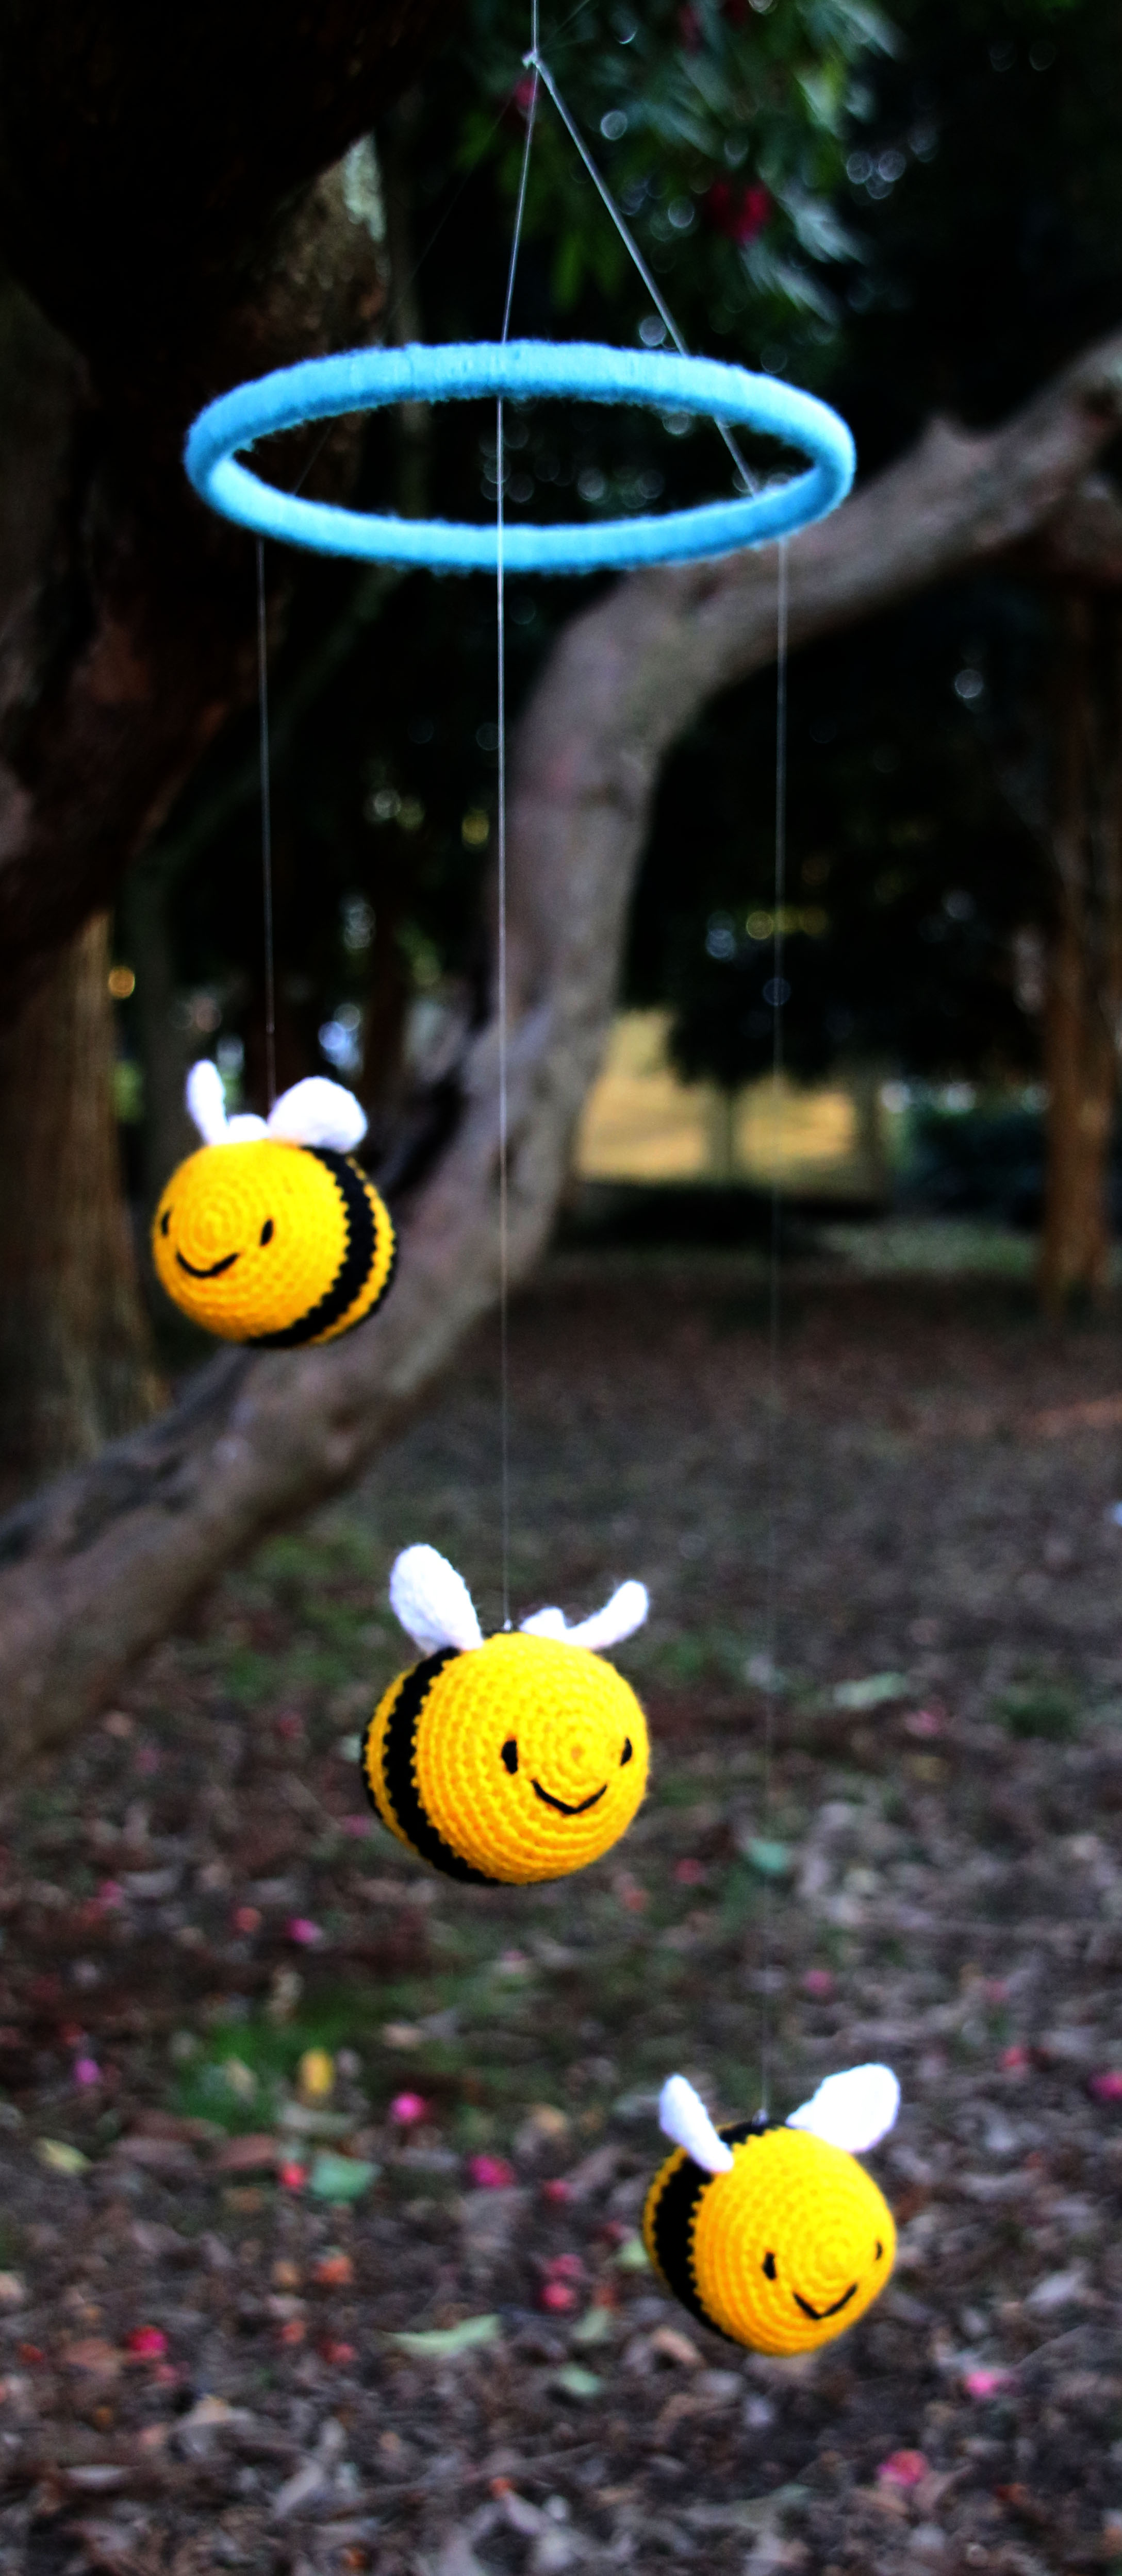
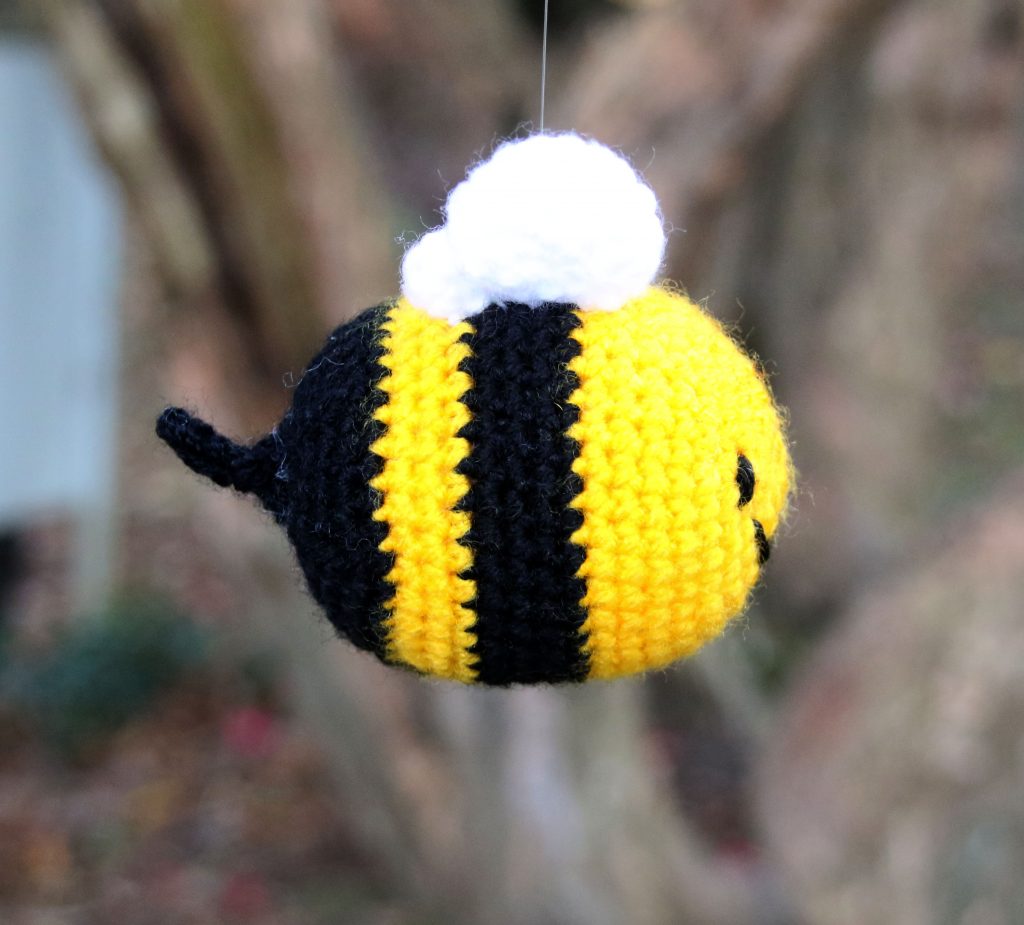
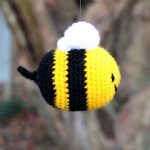
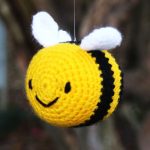
The crocheted bee mobile was a lot of fun to make. I used clear nylon string to attach them to an embroidery hoop for the top of the mobile. Acrylic yarn was used so it should be hard-wearing.
I love the little sting detail too! They were made on the round which meant no seams to sew up!
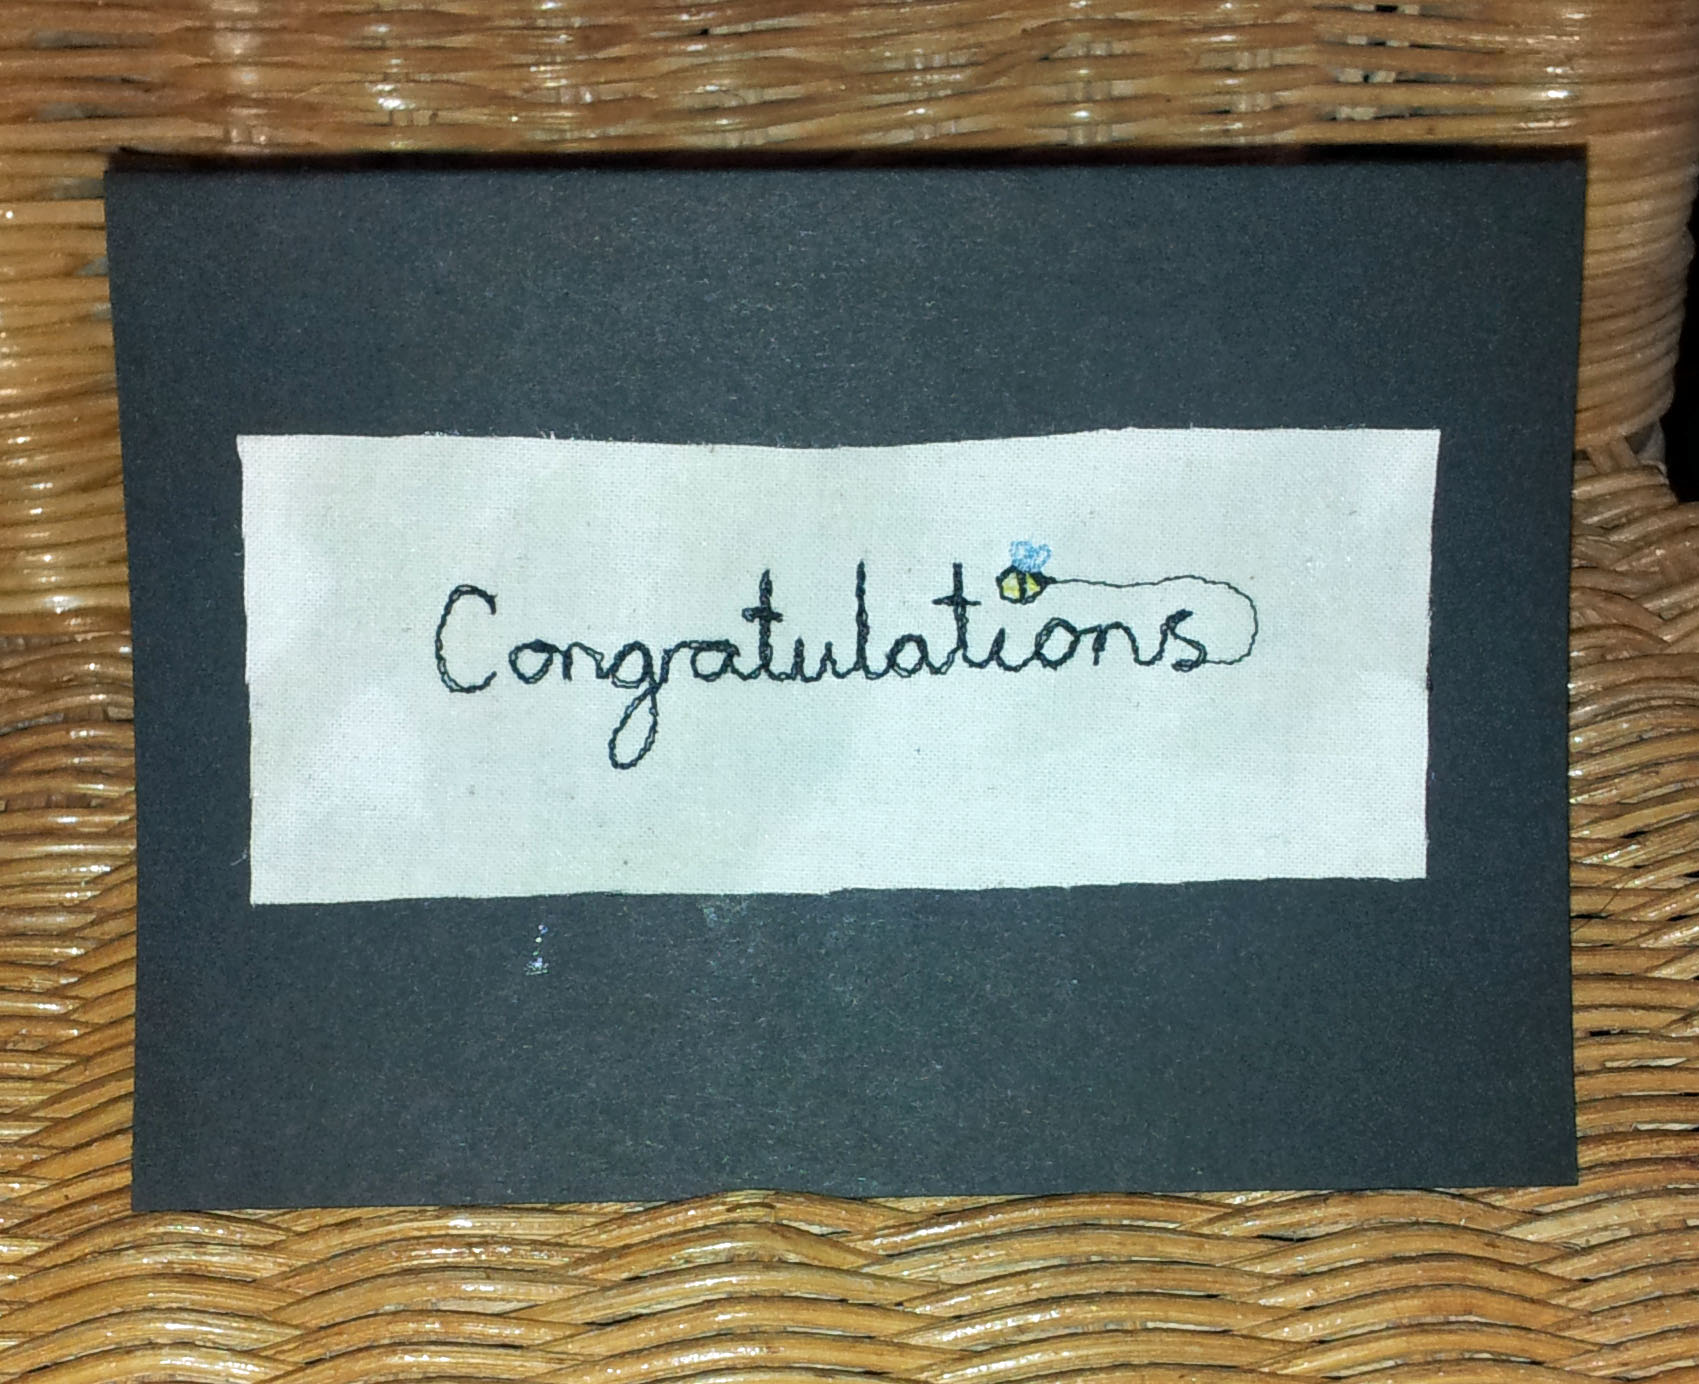
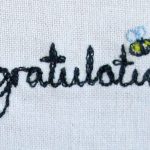
I’ve been learning how to free machine embroider this year so I used this technique to create a simple card. I’ll be adding an improved version of this card to my etsy shop in the next week.
