Free Motion Embroidery – drawing and writing with my sewing machine
Got your eye on an expensive yet impressive embroidery sewing machine? Think again!
I’ve been admiring the lovely embroidery machines with their numerous stitch options and the possibility of embellishing handmade gifts with a name at the touch of a button (or a few). I remember watching a demonstration of someone programming in a word and then watching in awe as the machine punched out the letters perfectly. All I wanted to do was justify the cost of buying a sewing machine which did this!
Well, my bank budget (and boyfriend) will be relieved to know that I no longer have this impulse! While embroidery machines are amazing – especially the ones where you can put your design into the computer and then transfer it to the machine to stitch it – I discovered free machine embroidery this year through a local course.
I signed up to this course without much thought about what it entailed. I’ve always wanted to do a textile based course, but they’ve always been a long commute away or I hadn’t been able to justify the cost at the time. This course was a reasonable price, within walking distance, and with my new working hours, I could make the time of the session.
Free machine embroidery (also known as free motion embroidery) is when you drop the dog teeth on your sewing machine, which normally propel your fabric in one direction (away from you). You attach a new type of foot – a darning foot – and reduce the upper thread tension a little. You can do it without a presser foot attached, but it’s a lot safer with one! You use an embroidery hoop to keep your material firm and you’re ready to go!
It’s best to move the hoop really slowly and have a play at first. It takes time to learn to keep your hands smooth and steady as you stitch. Originally, I practised drawing lines with the machine, then made loop patterns and some basic shapes.

In the course, we learned shading, appliqué, writing and using water soluble fabric (which is a whole other aspect to discuss another time).


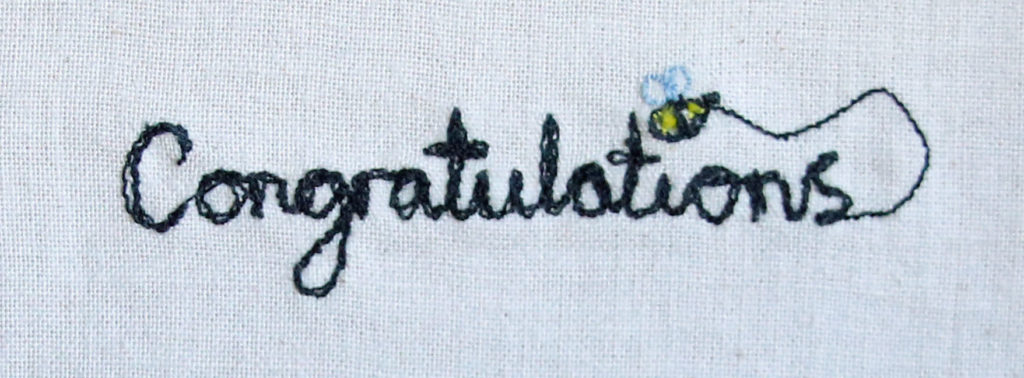
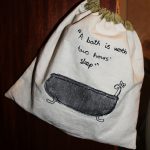
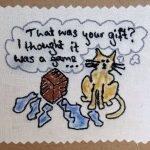
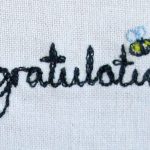
I really enjoyed all of it, but I am quite fond of writing with stitch. I love looking at people’s handwriting, and I used to enjoy writing stories as a kid, which may explain my fondness of handwriting. I have used writing in combination with other free motion embroidery techniques in producing the designs for some of my Etsy items– cards in particular.
Ultimately, the reason I’m addicted to free motion embroidery is that it is creates personality and individuality in makes. Embroidery sewing machines are programmed to be perfect, but I am always going draw something with stitch a bit different every time I use it, which makes it more interesting.
It’s also a great stash buster!
Here are some useful resources and artists to look at if you fancy a go:
- Craftsy has a useful ‘how to’ on creating embroidered works of art. It’s very clearly laid out in simple steps
- Poppy Treffrey does some lovely free machine embroidered items, focusing mainly on the seaside and animals
- Lou Gardiner is another amazing free machine embroiderer and describes how she creates her work well on the introductory video on her site
- Jane Hall focuses on nature in her work
- Rosie James has a lovely book on drawing with stitch


 We discussed a possible focus the the meet up beforehand. The main focus was dolls. We have a few doll patterns in our stash, but I found a free magazine kit and decided to complete this instead (from Crafts Beautiful Magazine). This was a fast make as all of the detail was printed onto the fabric and the limbs were not joined separately.