Picnic Blanket Workshop
- Post author:clobbercreations
- Post published:June 7, 2023
- Post category:Stash Busting
- Post comments:0 Comments
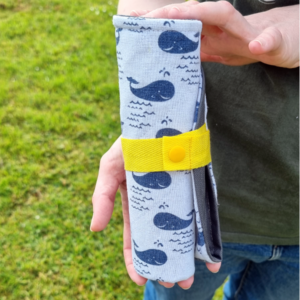
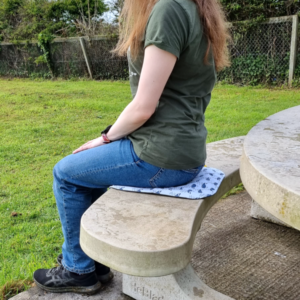
I haven’t sewn a lot this year so far. Fortunately, I had a free sewing workshop booked locally to give me a nudge to sew again, plus use up some scraps.
Sew a Wheat Warmer
- Post author:clobbercreations
- Post published:March 19, 2023
- Post category:Sewing/Stash Busting
- Post comments:0 Comments
I had some lovely leftover fleece from making one of my niece’s a leopard print cape last Christmas, so I decided to use it to make some lavender wheat warmers for myself and others.
I find wheat warmers are really useful when you feel a bit sore or stiff and I had been using a very old shop bought one for years to manage my chronic health symptoms before getting round to making this one.
Once you have made it, all you need to do is pop it in the microwave for up to 120 seconds if less than 800 Watt, or up to 100 seconds if your microwave is 800-1000 Watt. It can help to put a small mug filled with water in the microwave at the same time to provide a bit of moisture (just in the microwave with it, not poured over it!)
Sew your own dishcloths
- Post author:clobbercreations
- Post published:March 5, 2023
- Post category:Sewing/Stash Busting/Upcycling
- Post comments:0 Comments
Recently, my mum got into making her own dishcloths to be a bit more sustainable. Also, they’re great for using up scraps of fabric you have left from other projects!
This dishcloth is simple to make. It uses a bit of hessian (burlap) for one side for when you need a more abrasive side which won’t damage any non-stick surfaces. The softer side is simply cotton, and can be made from any of your favourite remnants.
To make them as sustainable as possible, you need to use 100% natural fibre fabrics and thread. This will ensure that the dishcloth can biodegrade. Here, I have used cotton fabric as I have loads of remnants of this, but another natural fibre such as linen would work just as well.
If you’d like to make a few dishcloths, either for yourself or to gift to others, I’d recommend making a cardboard template to make it easier to cut out a batch.
DIY Laundry Mesh Bags
- Post author:clobbercreations
- Post published:November 6, 2022
- Post category:Accessories/Craft Skills/Sewing
- Post comments:0 Comments
Here is a simple way to make your own laundry bags/pouches. They are useful for providing a bit of extra protection for items in the washing machine.
Pattern Review: GBSB Simple T-Shirt
- Post author:clobbercreations
- Post published:October 1, 2022
- Post category:Sewing
- Post comments:0 Comments
Here is another top I made a while ago and had not gotten round to reviewing.
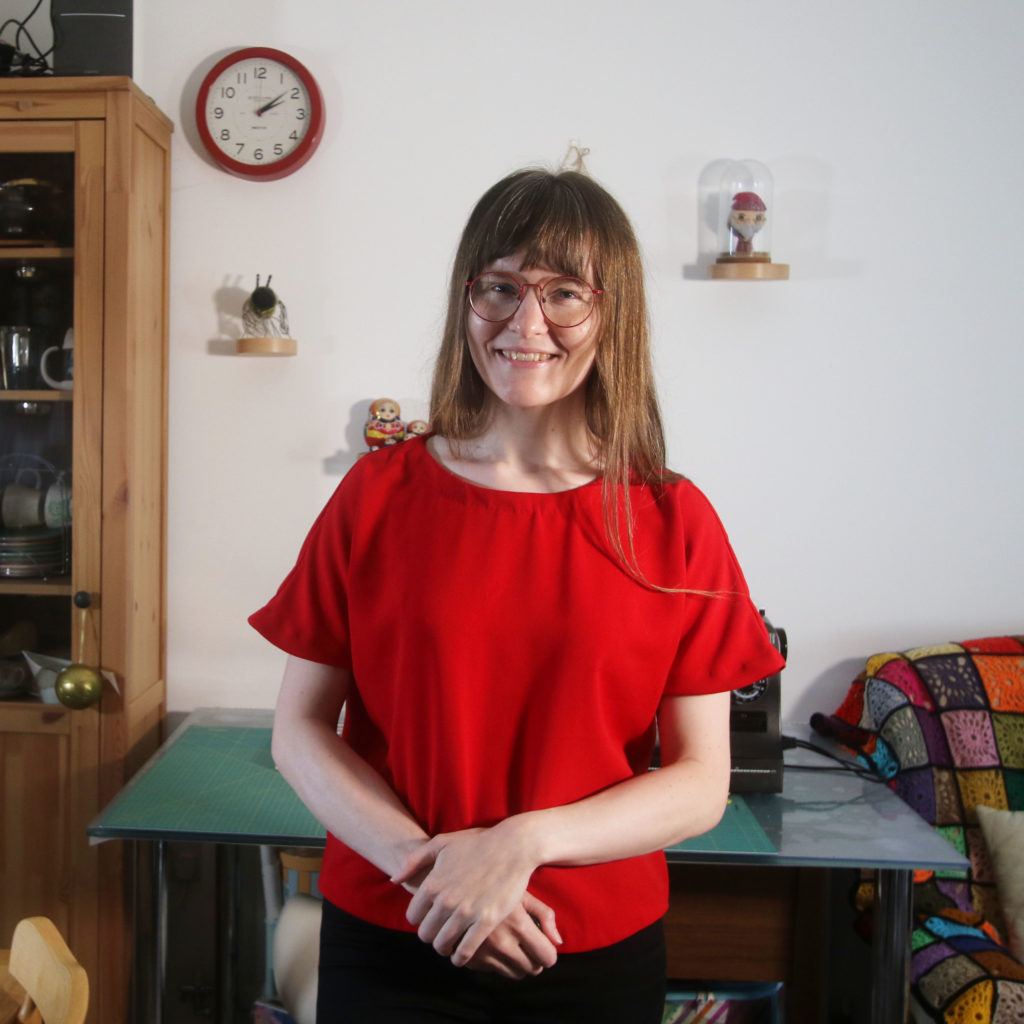
Details
- Name: Simple T-Shirt
- Variation: N/A
- Design House: Book – The Great British Sewing Bee: Sew Your Own Wardrobe
- Size I made: 14
Fabric
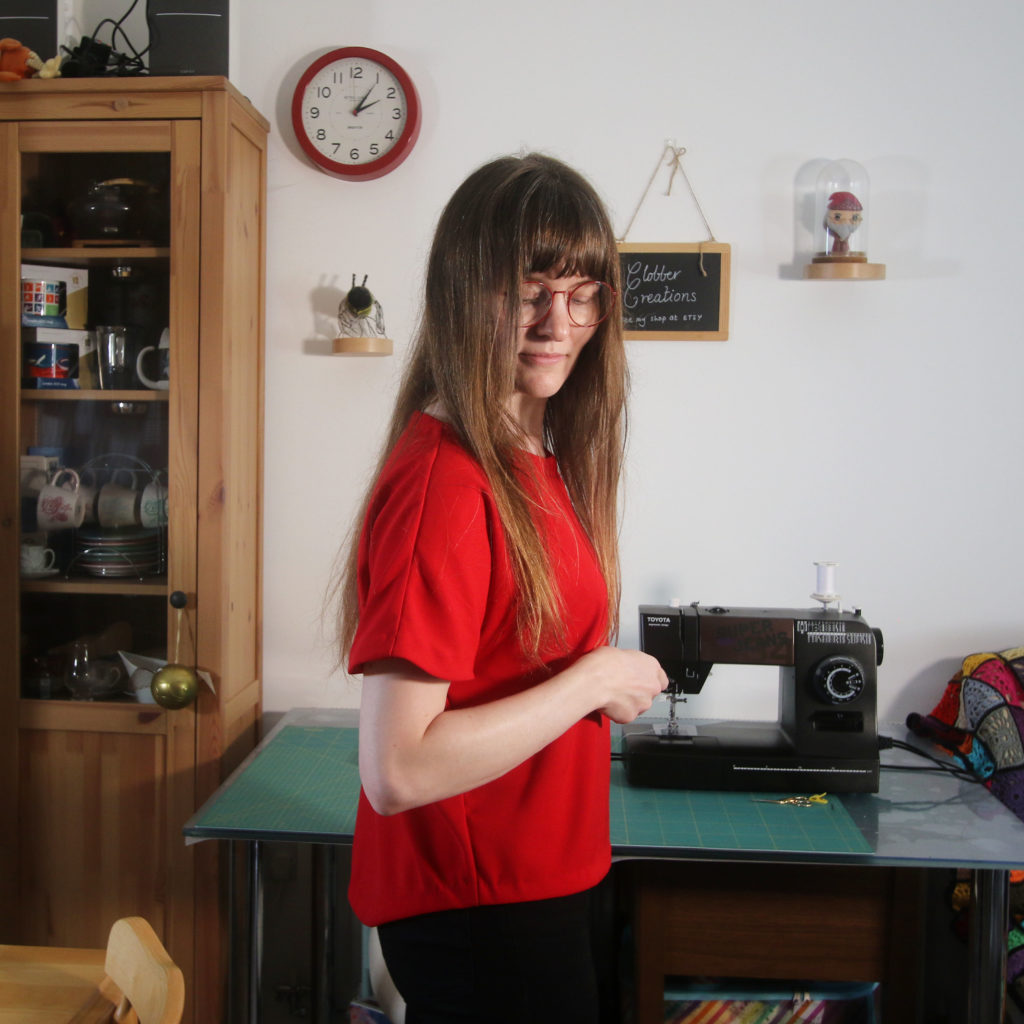
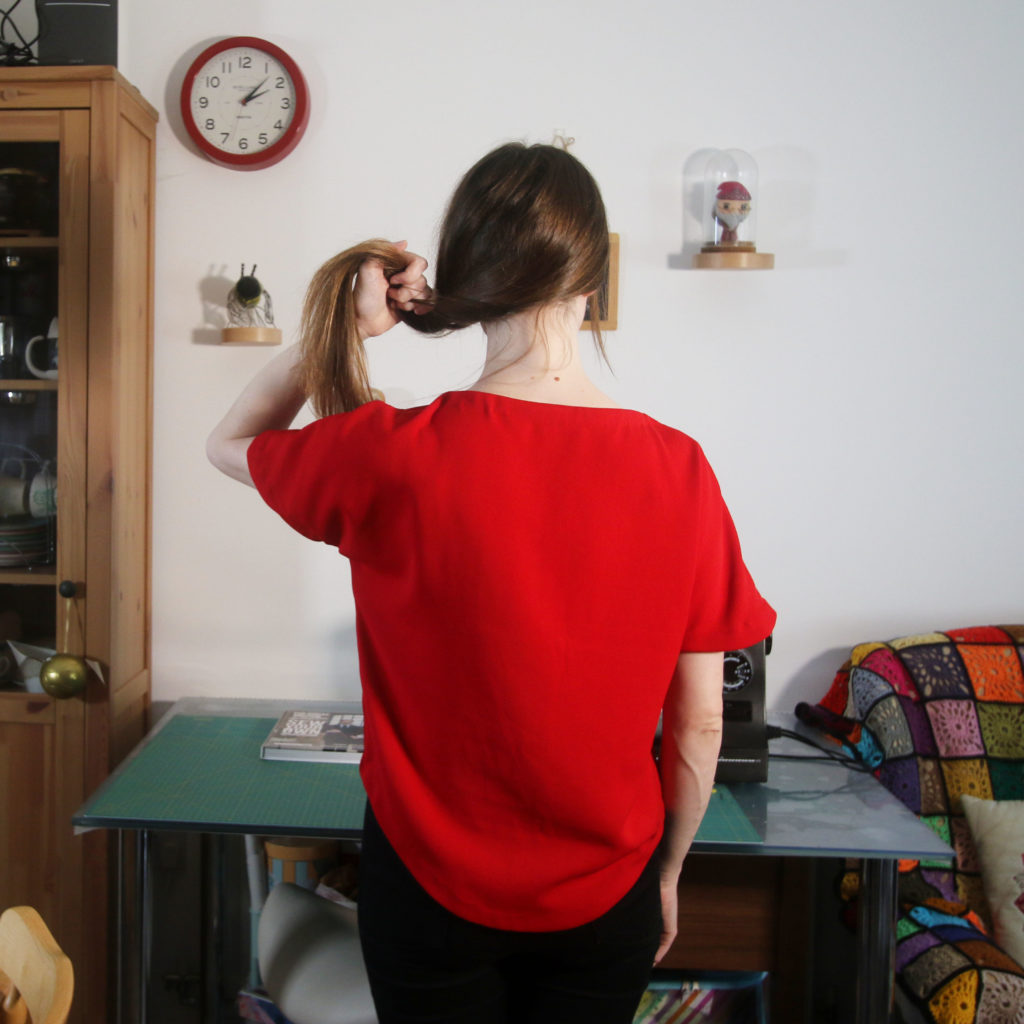
I used some leftover polyester crepe I had which in hindsight was not that suitable for this garment. While the crepe quality meant it drapes nicely, it meant that it was a thicker fabric than the I feel the pattern intended for it. As a result, I had issues with binding the edges using the same fabric cut on the bias.
Difficulty
The hardest aspect of this garment is the fabric you must use. This top would not work with a stable woven fabric, so you must choose a more challenging fabric.
The other challenging part is binding all the edges with bias binding. If you are not familiar with binding edges with this method, it could be very difficult, and I would recommend taking your time!
Clarity
The illustrations in the book are clear and there is a masterclass section on how to make your own bias binding as will as how to apply it.
Design and Fit
I like the neckline on this top and I think the overall shape of it, with the high-low hem is nice. I find it really comfy to wear and I’m sure that if it was made in a finer fabric it would be even nicer to wear.
Time Taken
This took me a couple of days – mainly because the bias binding part went badly first time and I had to unpick and start over. A confident sewist could make this comfortably in a day.
Conclusion
I would consider making this top again. The issues I had were completely related to the fabric choice and I would like to try it out using a more suited, thinner fabric.
Pattern Review: GBSB Breton Tee
- Post author:clobbercreations
- Post published:September 4, 2022
- Post category:Sewing
- Post comments:0 Comments
Hello! It’s been a while, but here is a pattern review for a top I made a while ago…
Details
- Name: Breton
- Variation: ‘Hack: Breton Tee’
- Design House: Book – The Great British Sewing Bee: From Stitch to Style
- Size I made: 12
Fabric
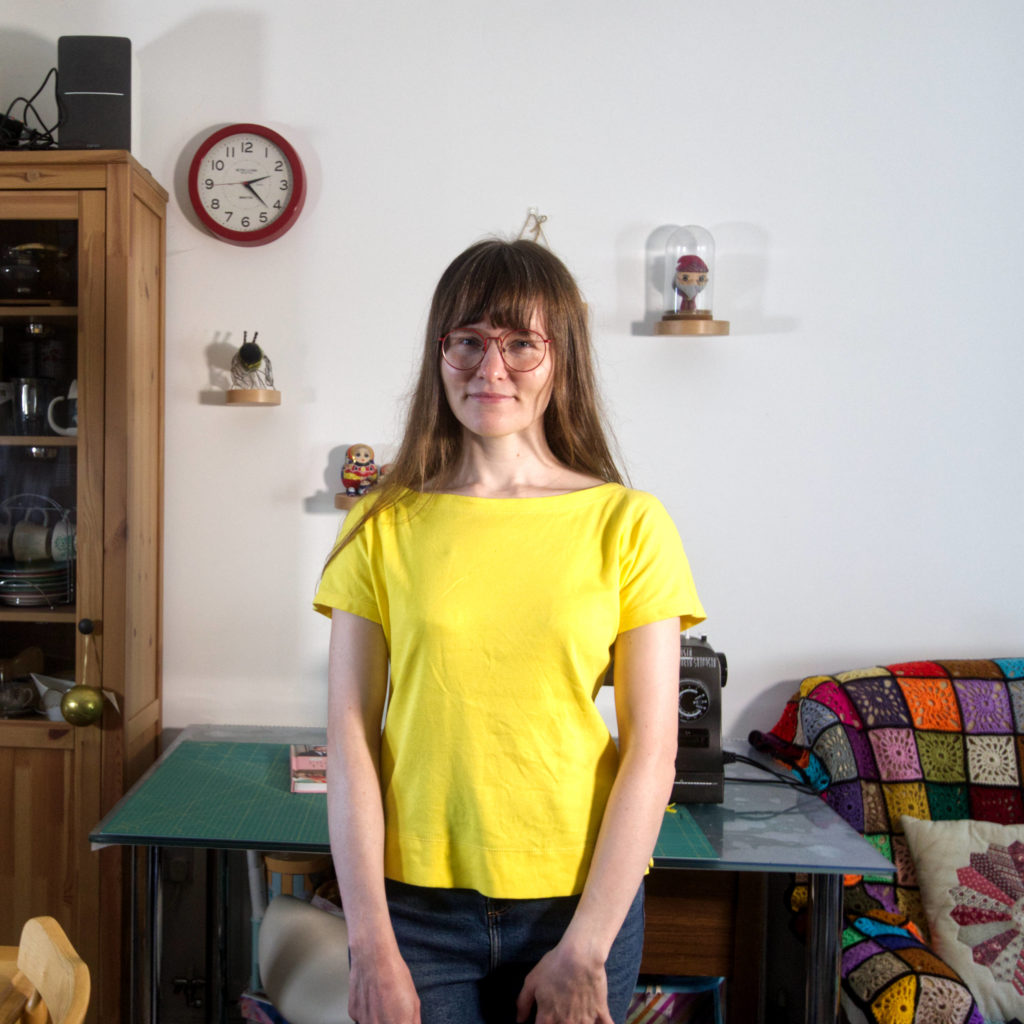
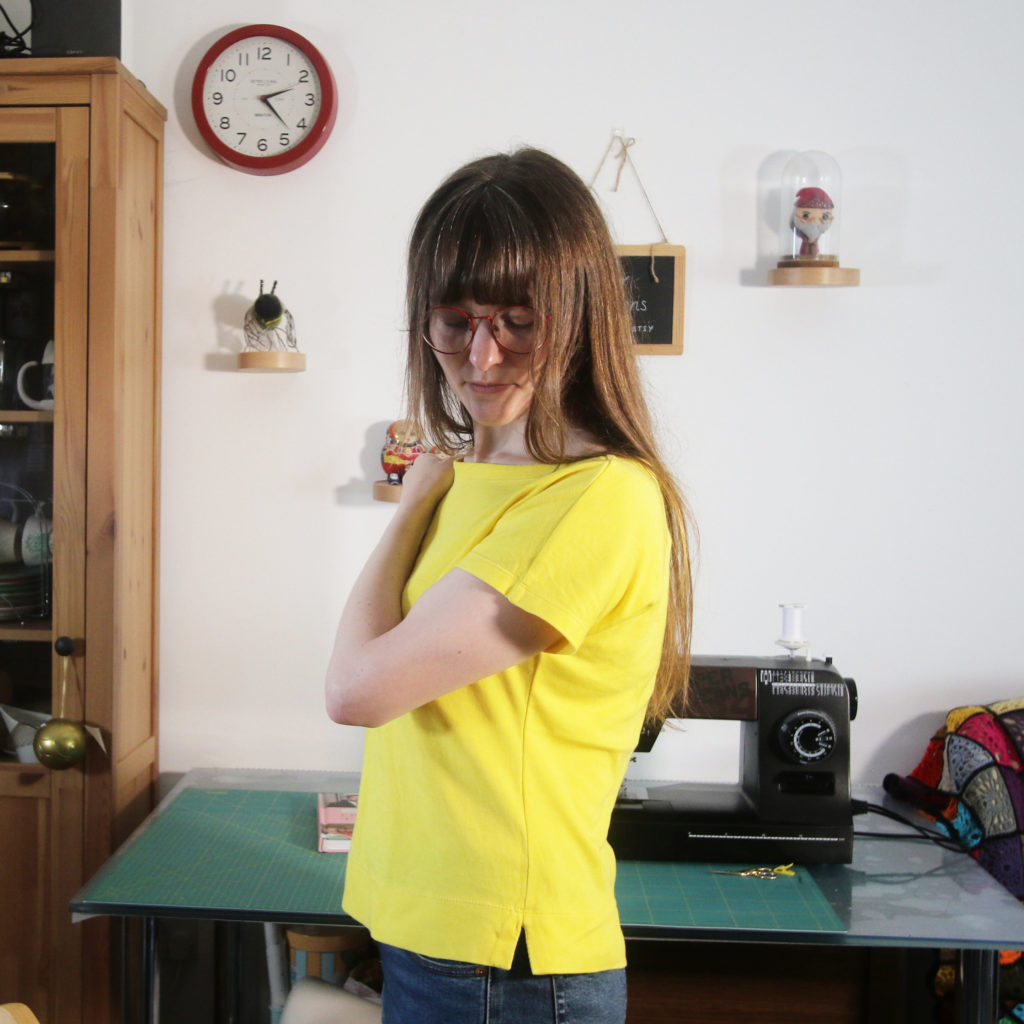
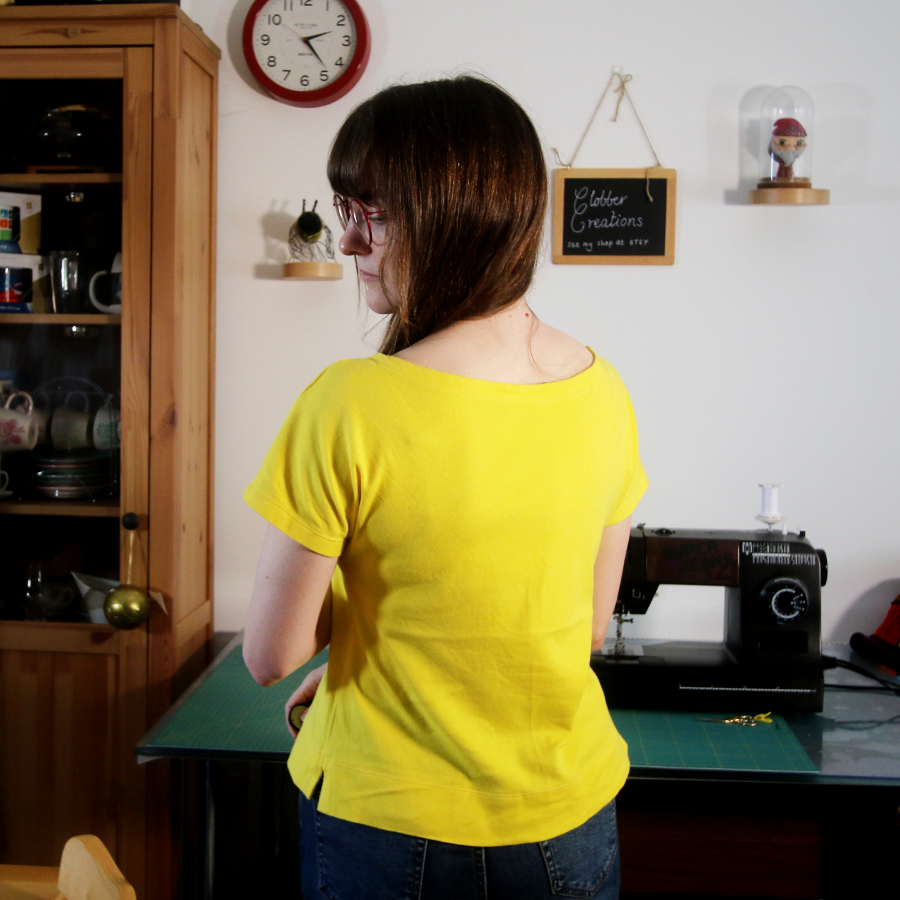
I used a lemony-yellow cotton knit fabric. I do not think it has any stretch and I think there is a reasonable risk that the garment will become distorted and stretch over time.
Difficulty
I would say that this pattern is straightforward to make, especially if you have tried sewing with knit fabric before. The hem is a bit different as it has side seam slits but it’s a nice new technique to learn if you haven’t tried this type of finish before.
Clarity
I found both the illustrations and written instructions clear for this make.
Design and Fit
I was drawn to the neckline and grow on sleeves but now I have made it, I’m not as much of a fan of the neckline. If I made it again, I would make the neckline not so wide. However, it is worth highlighting that it might be my fabric choice which has made the neckline feel quite so uncomfortable. As I mentioned, my fabric doesn’t appear to have any elastane in it, so it might be stretching width-ways!
Time Taken
This top can be made in a day. As the sleeves are part of the front and back pieces, there is not much to cut out.
Conclusion
I’m not sure that I would make it again. If I did, I would choose a better-quality fabric and possibly adjust it a bit to fit better. For example, I could try to stabilise the neckline a bit better.
Tutorial: Waterproof Sitting Mat
- Post author:clobbercreations
- Post published:May 23, 2022
- Post category:Accessories/Sewing
- Post comments:1 Comment
100 Day Project
- Post author:clobbercreations
- Post published:January 1, 2021
- Post category:Free Machine Embroidery
- Post comments:0 Comments
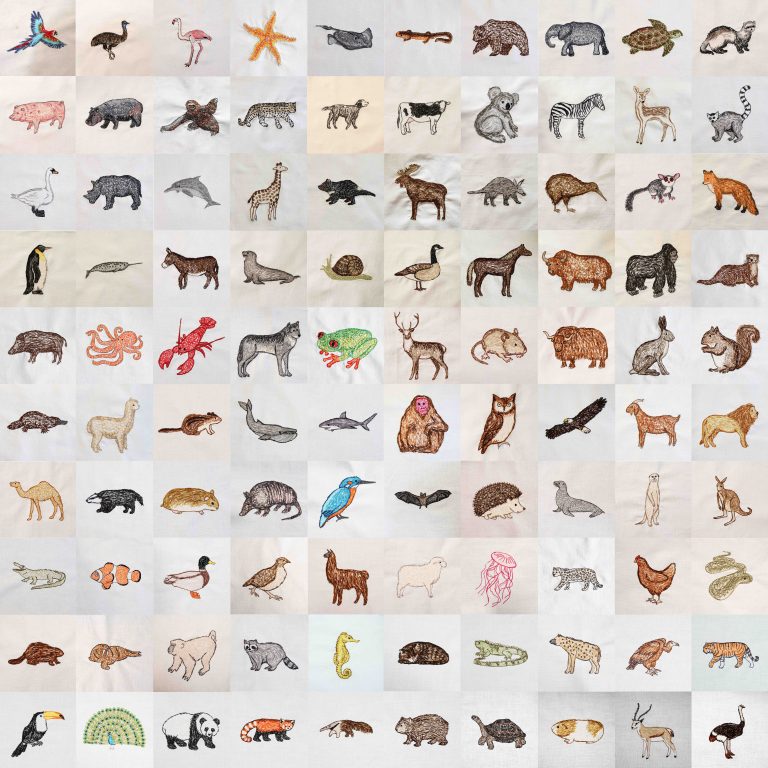
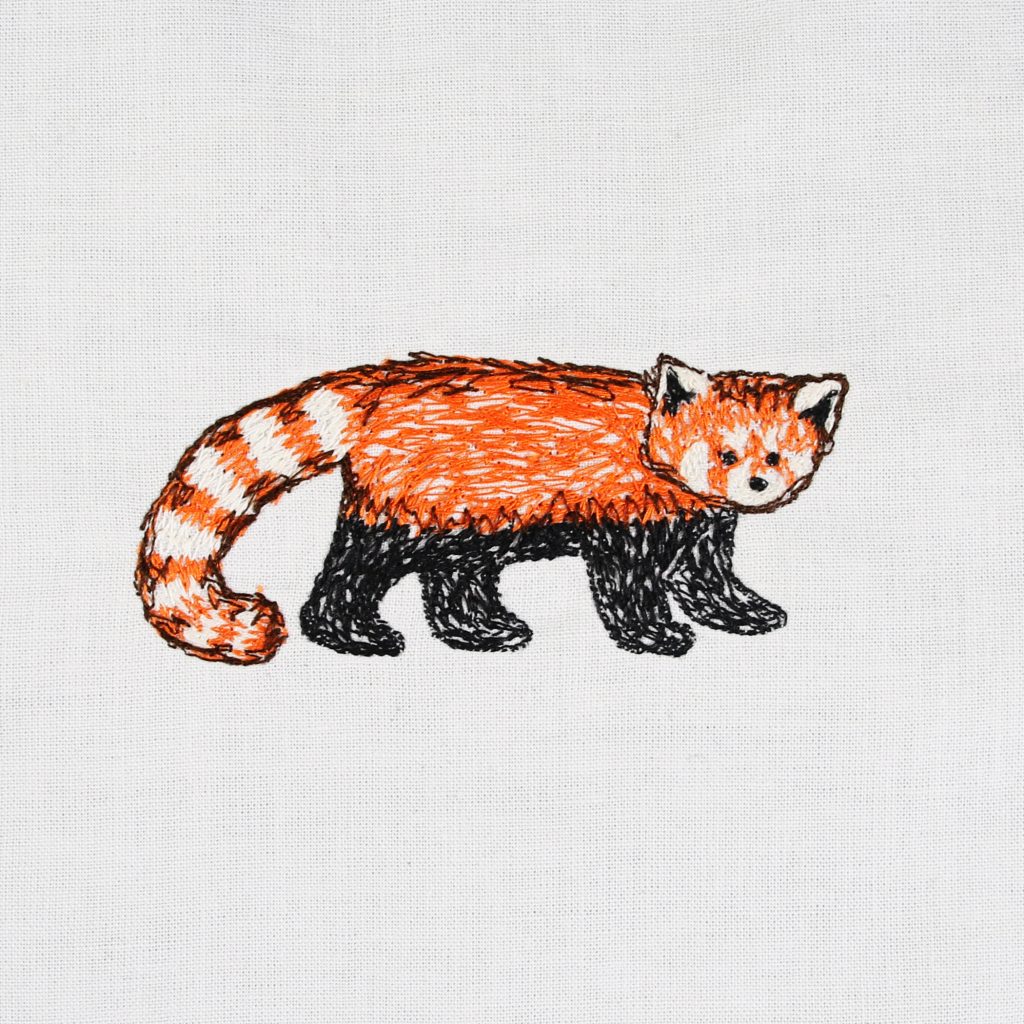
One of my achievements in 2020 was completing the 100 day project.
The 100 Day Project is a challenge I had my eye on for a few years, but while the UK was in lockdown, it seemed the best opportunity I would get to complete it, particularly when I intended to use the sewing machine.
As the project pans over 3.5 months, it tends to be best to pick a challenge which you can achieve no matter your travel plans. Naturally, lockdown removed this potential issue! While I don’t travel on holiday much, I do normally visit relatives, and they all live a decent distance away. I don’t usually pack a sewing machine unless an intentional sewing weekend has been planned!
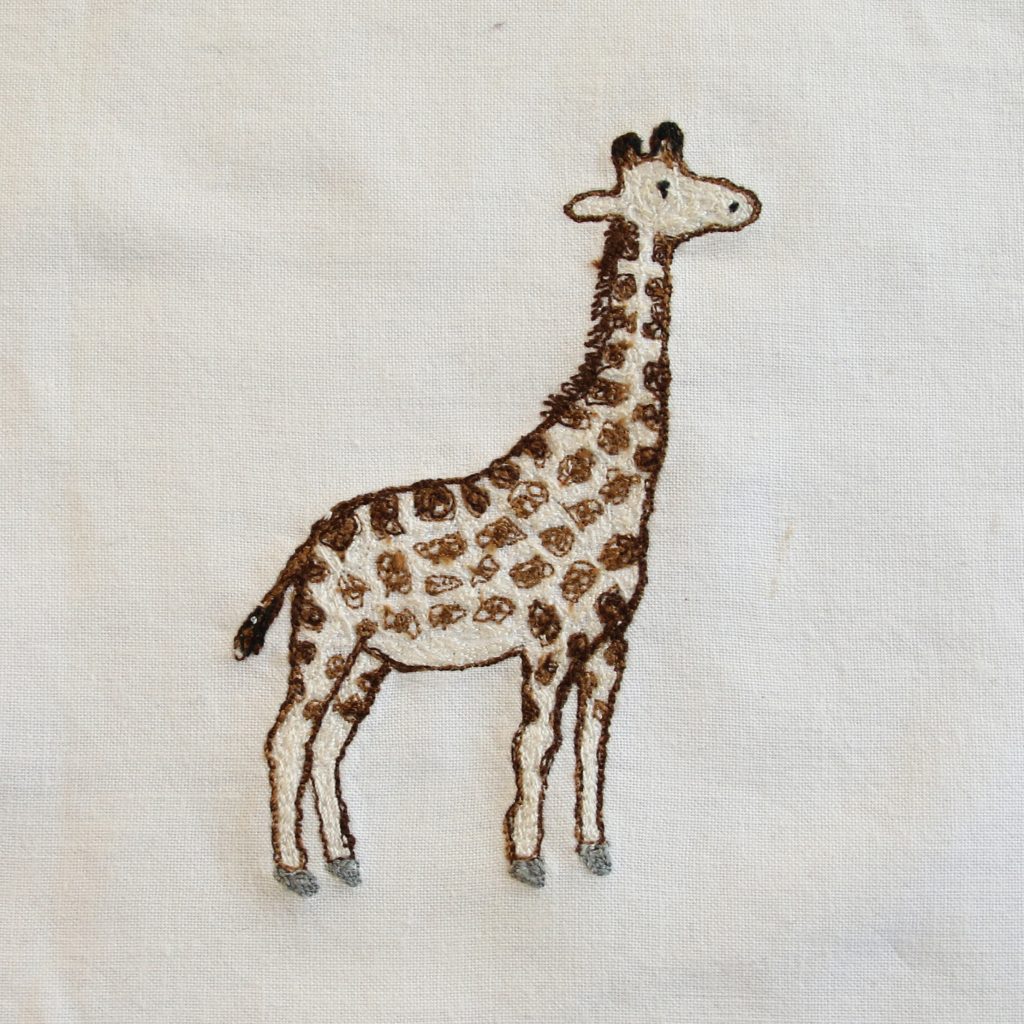
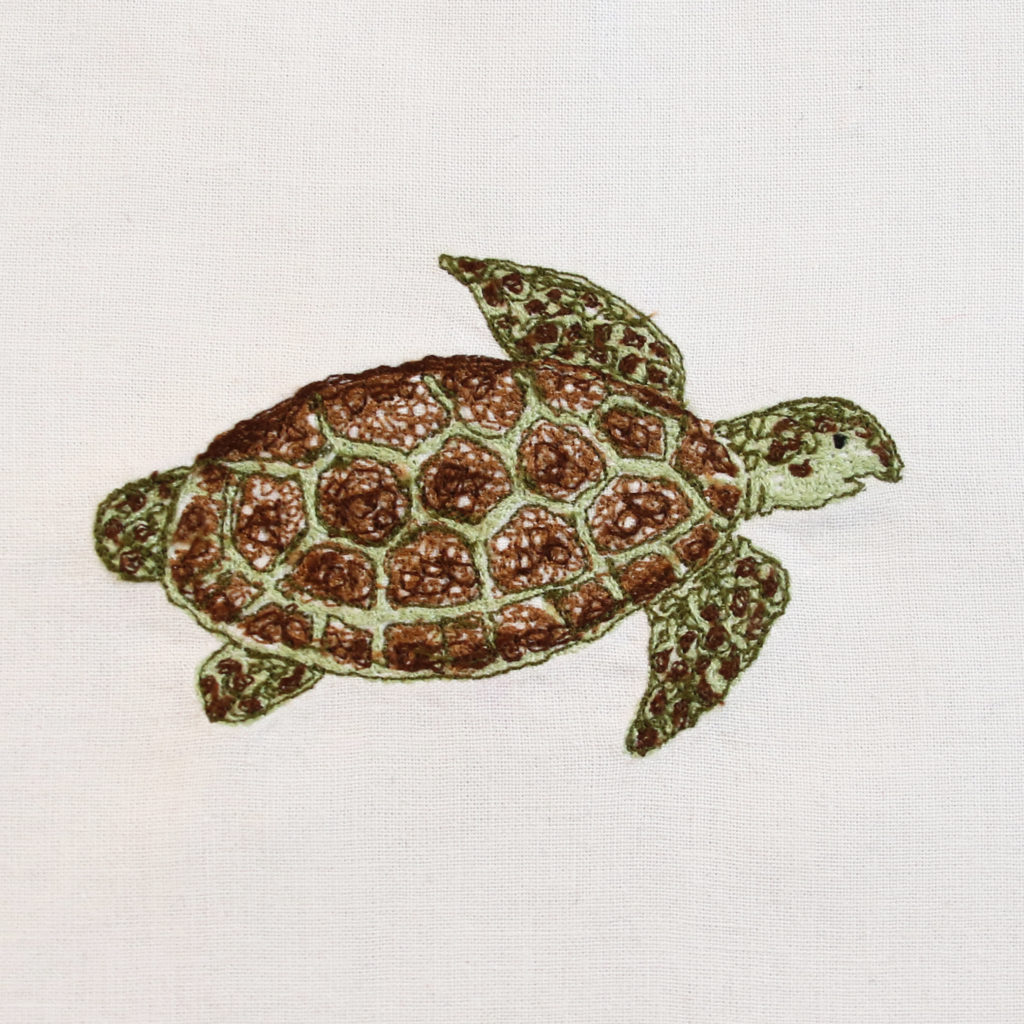
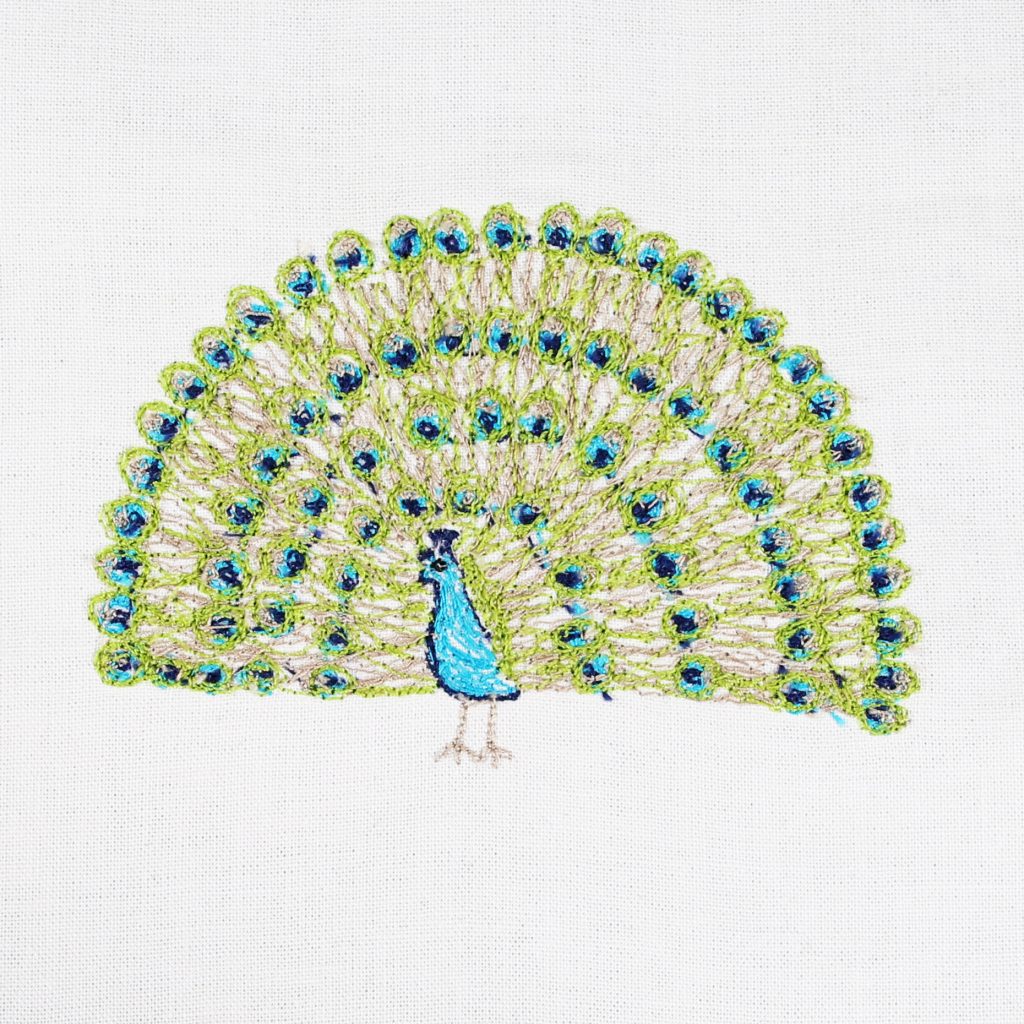
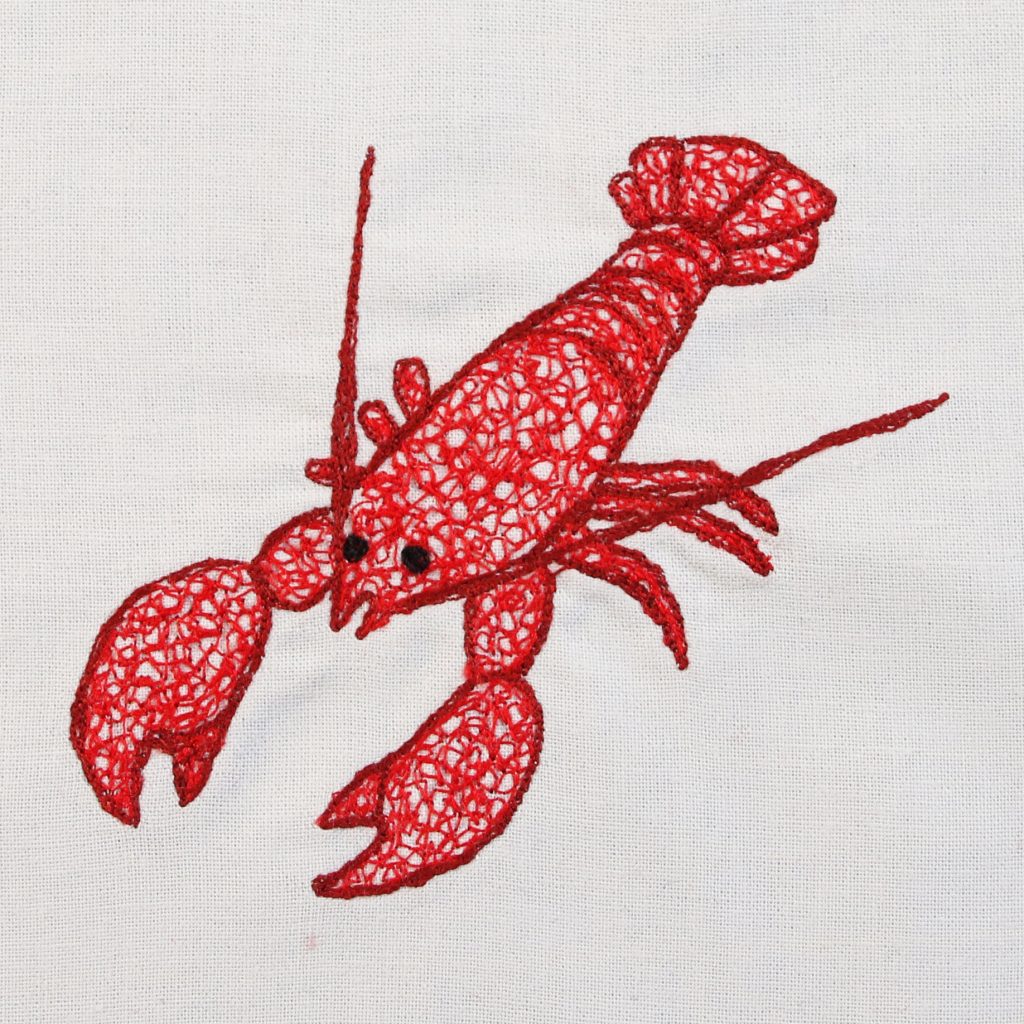
Free machine embroidery is something I learned at my local adult education centre here in Cornwall. I was drawn to stitching animals during this introduction. Nevertheless, I had never concentrated too much on this theme beyond the odd birthday card.
What I learned from The 100 Day Project
Despite being really challenging, it was worth learning the following:
- If you show up every day and spend 30 minutes on a project, it builds up into something substantial
- If you repeat something regularly, you become more confident and knowledgeable in what you are doing (e.g. for me in this challenge – have I added enough detail on the animal? By the end, I queried this a lot less)
- Just start. Some days, I dragged my heels and other days I woke up and got on with it. The animal was still completed but I saved much more time when I got on with it.
- Some days you won’t want to show up. There were days when I wondered why I was adding this project to my list at a particularly challenging time. However, this feeling did not last long, and it was the best year to complete the challenge.
- Make time to do what you enjoy. Since the project, I took a break from free machine embroidery and sewing in general. However, I see how valuable taking the time to craft is in my day and how it boosts other areas of my life such as work and family. It is important to have different areas of your life to focus on so that when things are challenging or not working out in one remit, you have the others the bolster you.
Planning and Preparation
I knew that one of the potential pitfalls of the challenge was getting caught up in which animal to create each day, and making sure I did not repeat them. Therefore, I did some research in advance, selected 100 animals and wrote them down on scrap pieces of paper, folded them up and popped them in a box.
I had wanted to research all the animals in advance as well to save time on the day, but I ran out of time, and in a way, doing the research bit by bit helped to make the challenge more manageable.
Day by Day: learning and evolving
It is worth noting that while completing the project, I had a couple of other priorities:
- Starting a new job
- Finishing two adult education courses
While I was saving time not having to commute to work, I was adapting to a new role and trying to complete work on a couple of classes I started. I found it easiest to complete the challenge early in the morning, aiming to complete most of it before I began work, and finishing off the rest after I finished work. I had added the extra challenge of recording all the animals and posting a video on Youtube, which made it more time intensive. However, some days, I managed to research the animal, stitch it, photograph, edit the footage and schedule all before work, which was a great accomplishment.
The Hundred Day Project: Days 1-20
- Post author:clobbercreations
- Post published:April 28, 2020
- Post category:Free Machine Embroidery
- Post comments:0 Comments
This year I decided that I would take part in The Hundred Day Project and embark on a project which has been on my mind for a while…
