Bee Themed!

One of the best parts about handmade is that you can make whatever it is you’re making personal!

This is how my bee themed gift and card came about when a couple my partner’s friends with had a baby recently.  As the father currently does work relating to bees, the gift became centered around this!

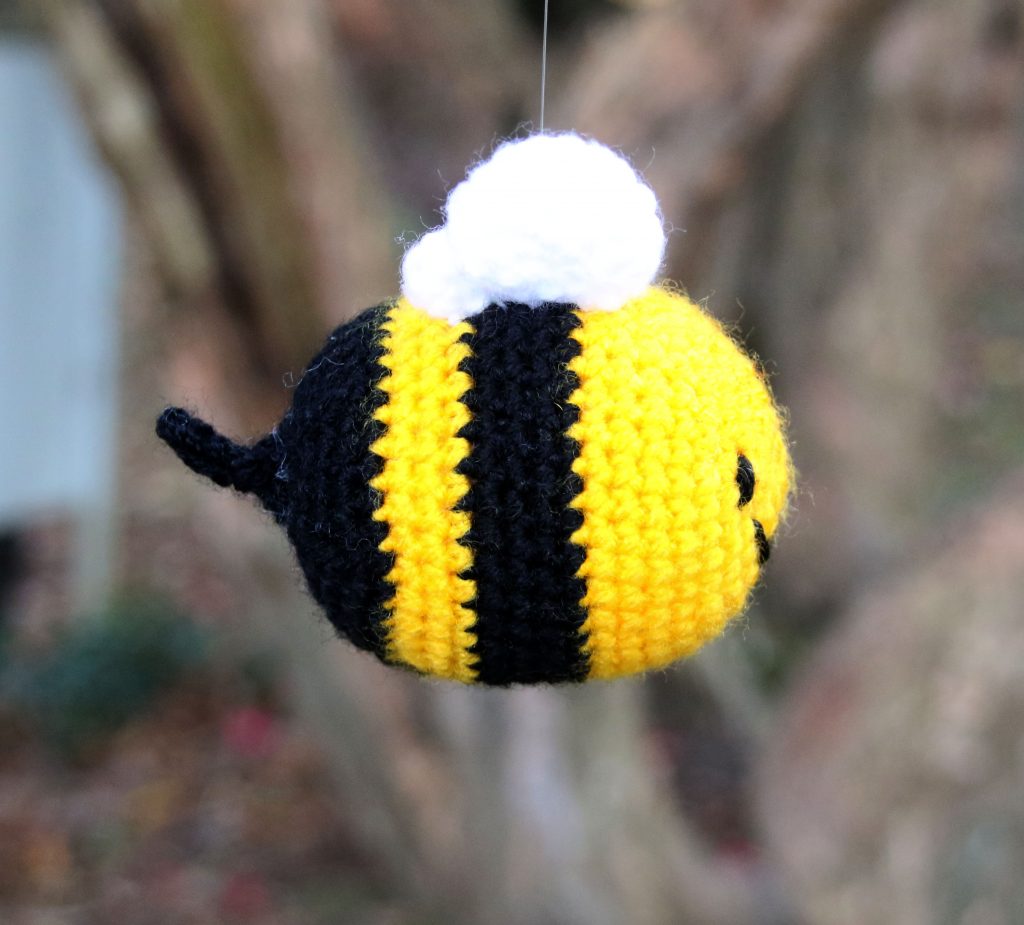
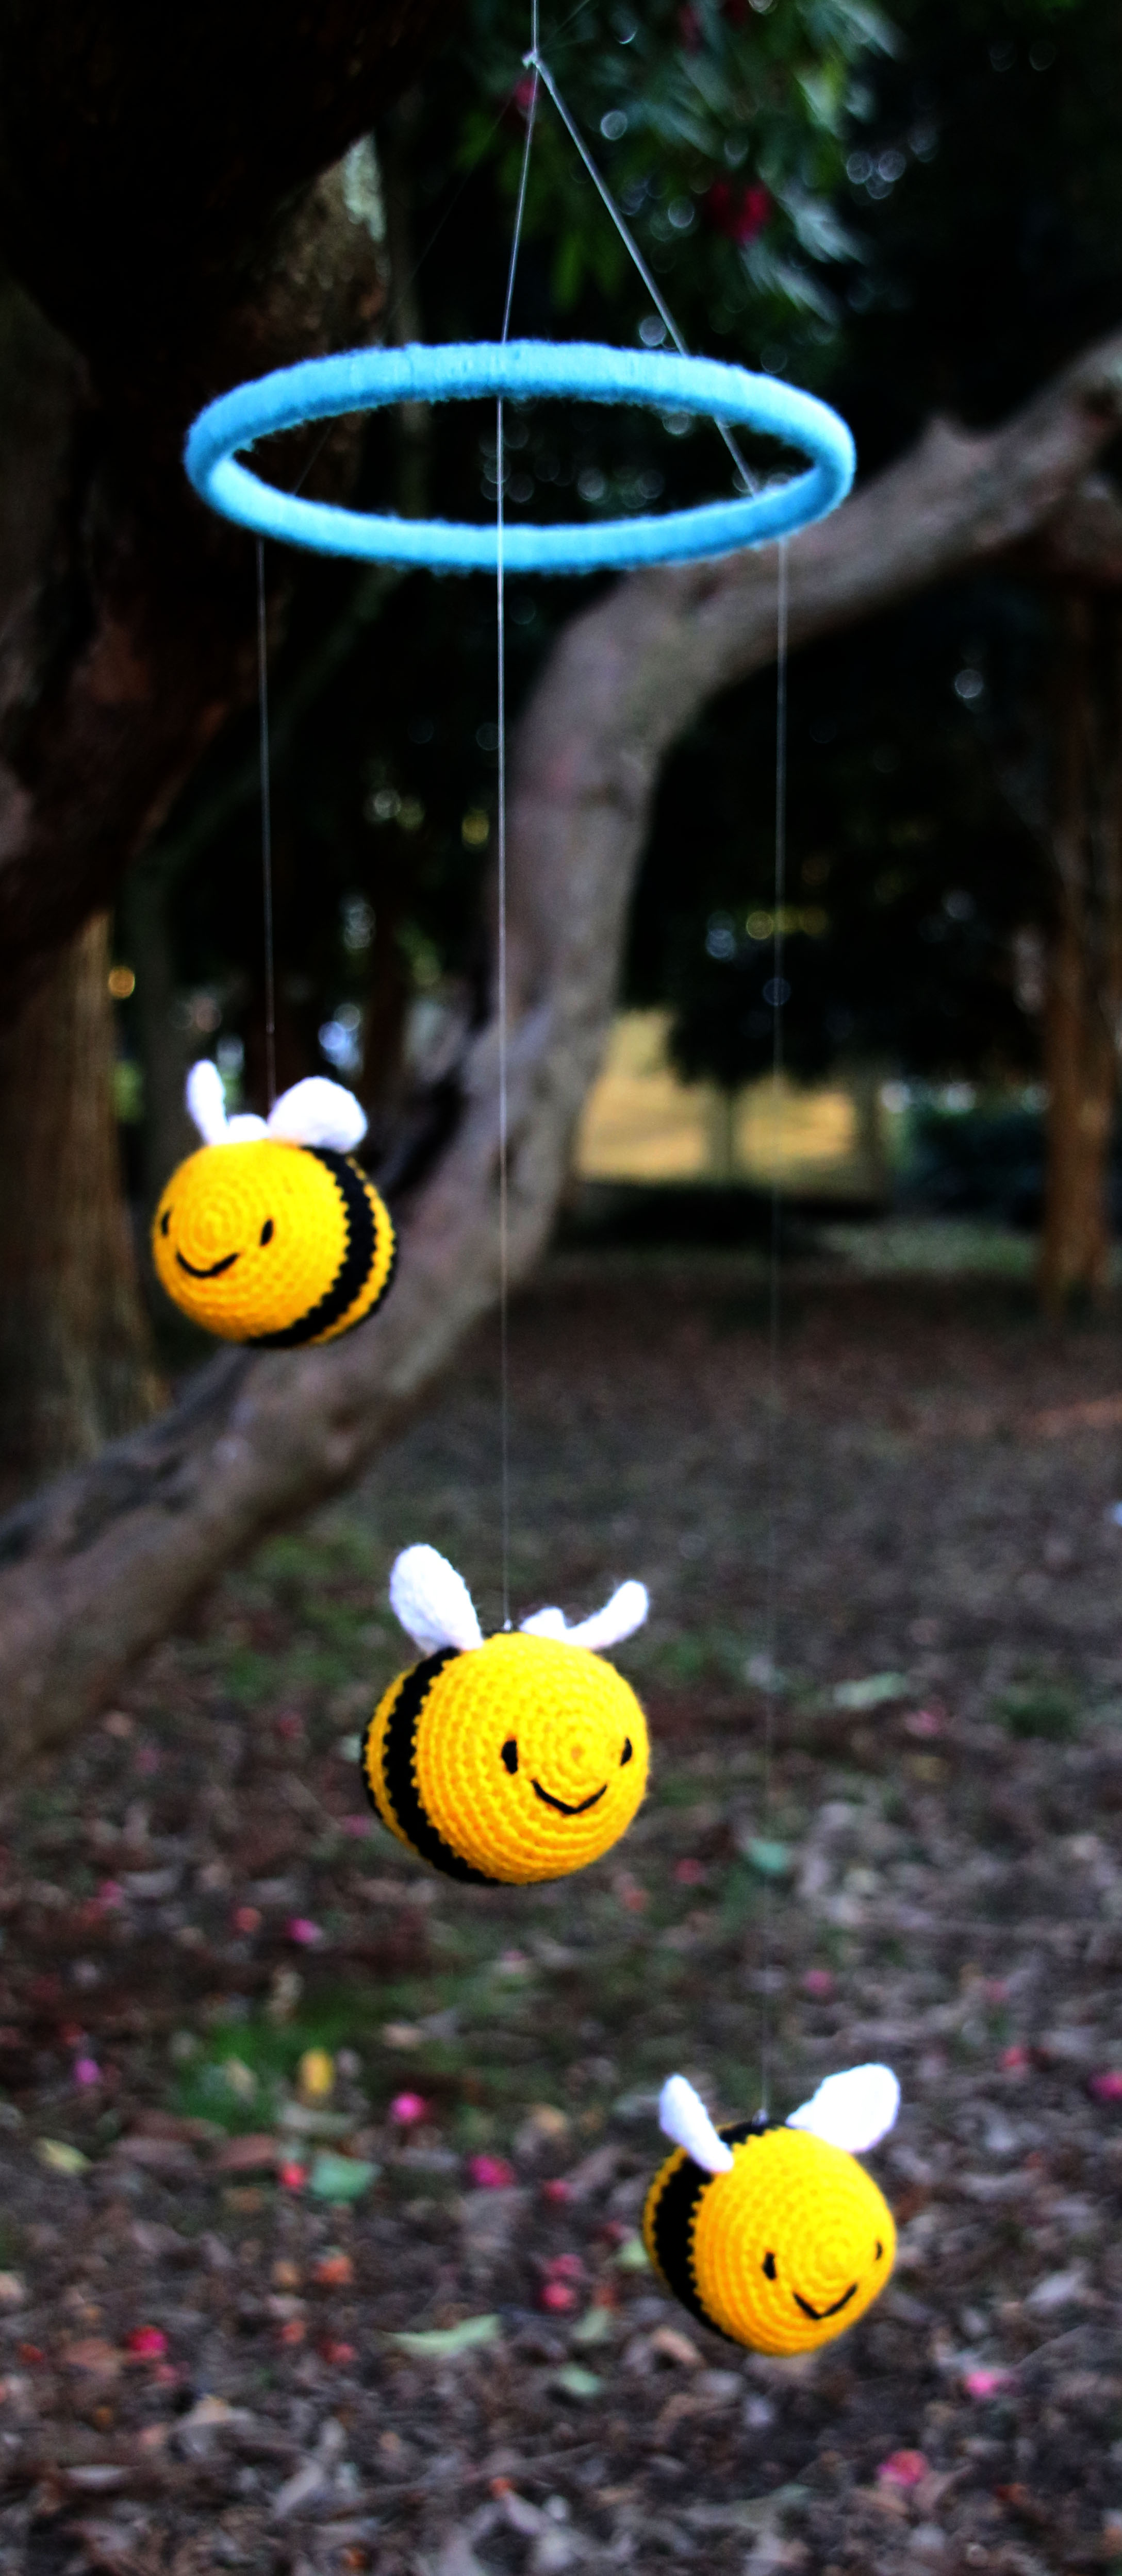
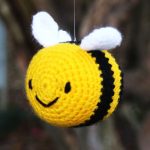
bee mobile

The crocheted bee mobile was a lot of fun to make.  I used clear nylon string to attach them to an embroidery hoop for the top of the mobile.  Acrylic yarn was used so it should be hard-wearing.

I love the little sting detail too!  They were made on the round which meant no seams to sew up!

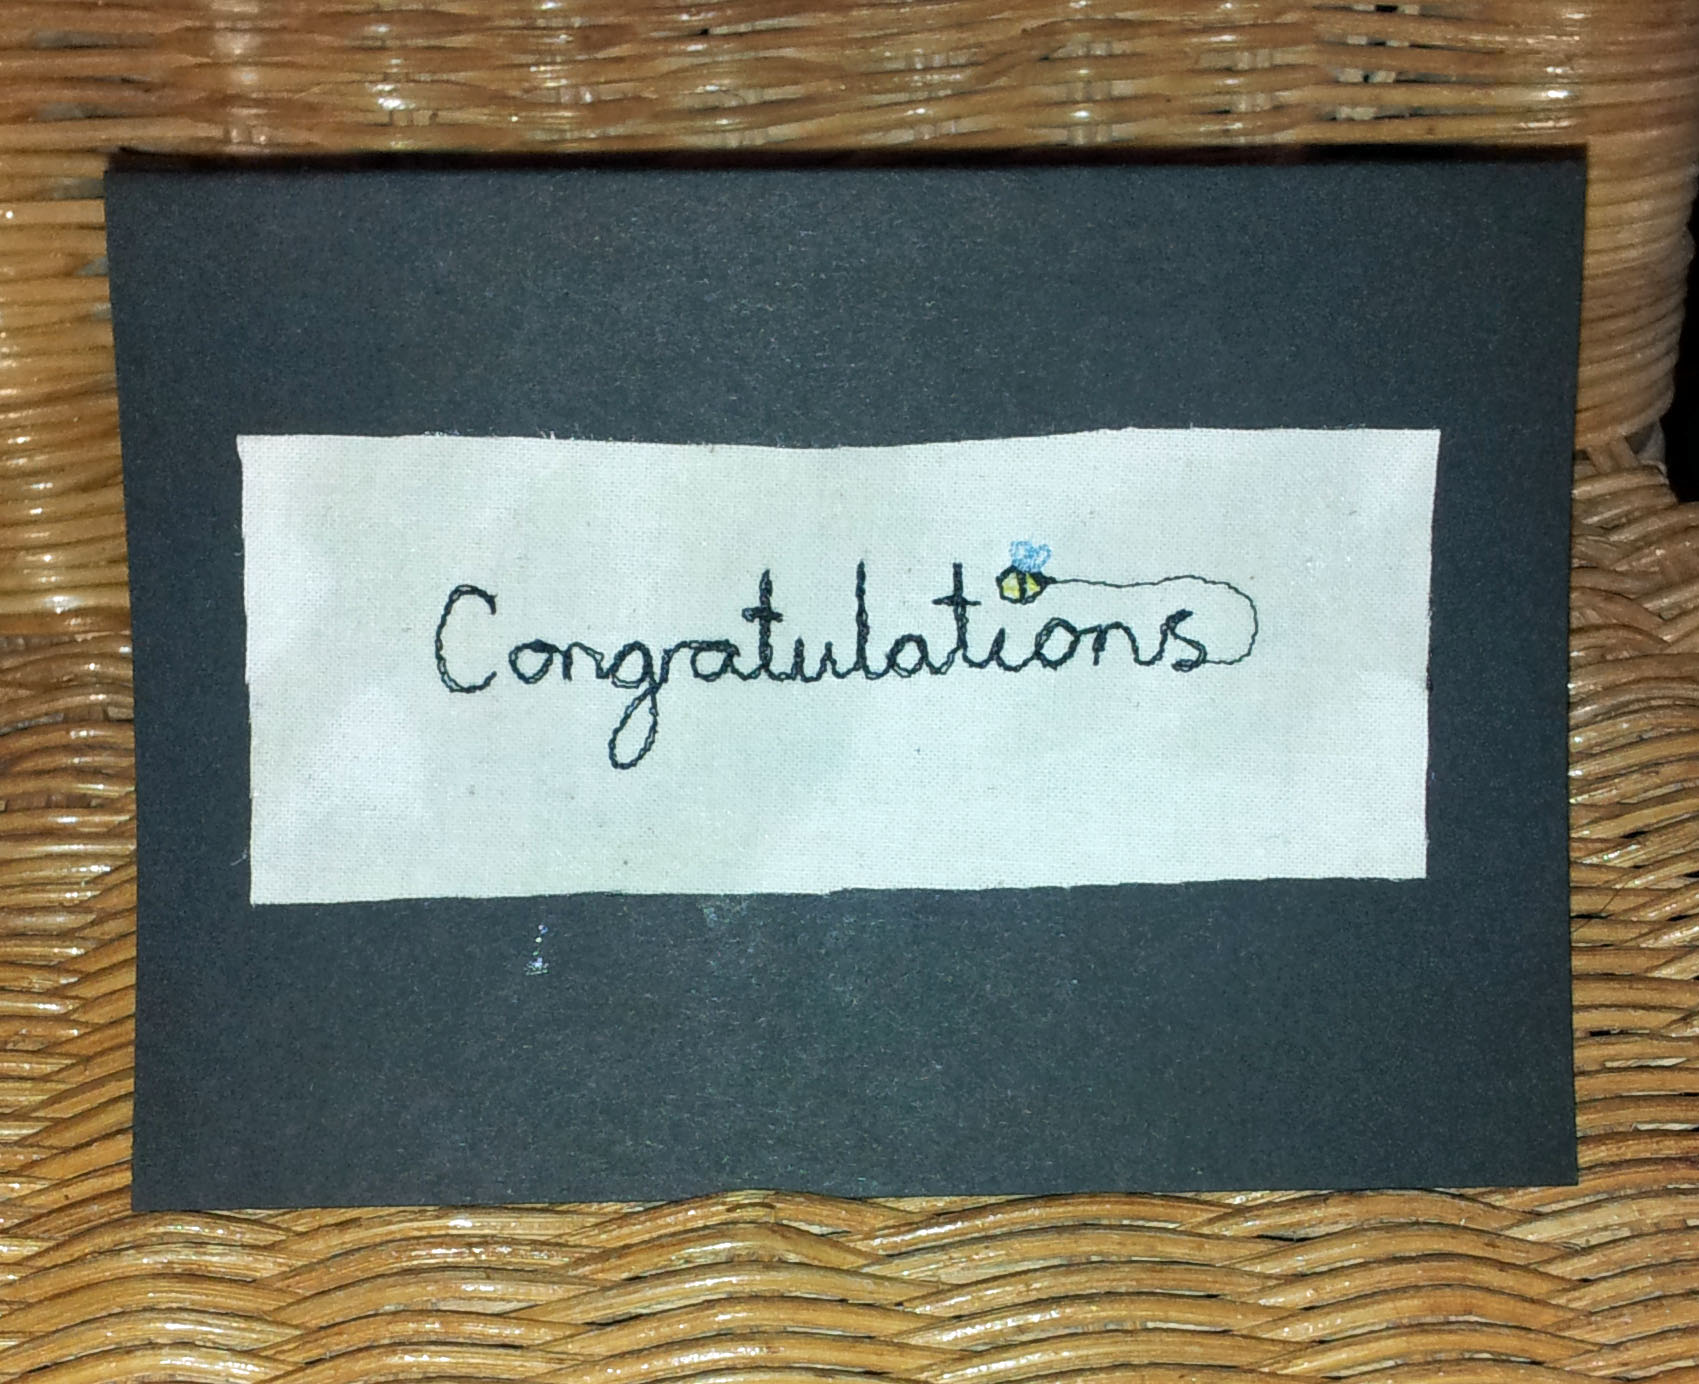
bee card

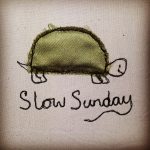
I’ve been learning how to free machine embroider this year so I used this technique to create a simple card.  I’ll be adding an improved version of this card to my etsy shop in the next week.

Continue ReadingBee Themed!

Crafting with Family – March

It’s been a while since I have posted and my post is all about a craft meet up two months ago!

Mum’s house is quite a good meeting point for her, my sister and I to meet up.  We managed to meet up in March and here’s what we got on with:

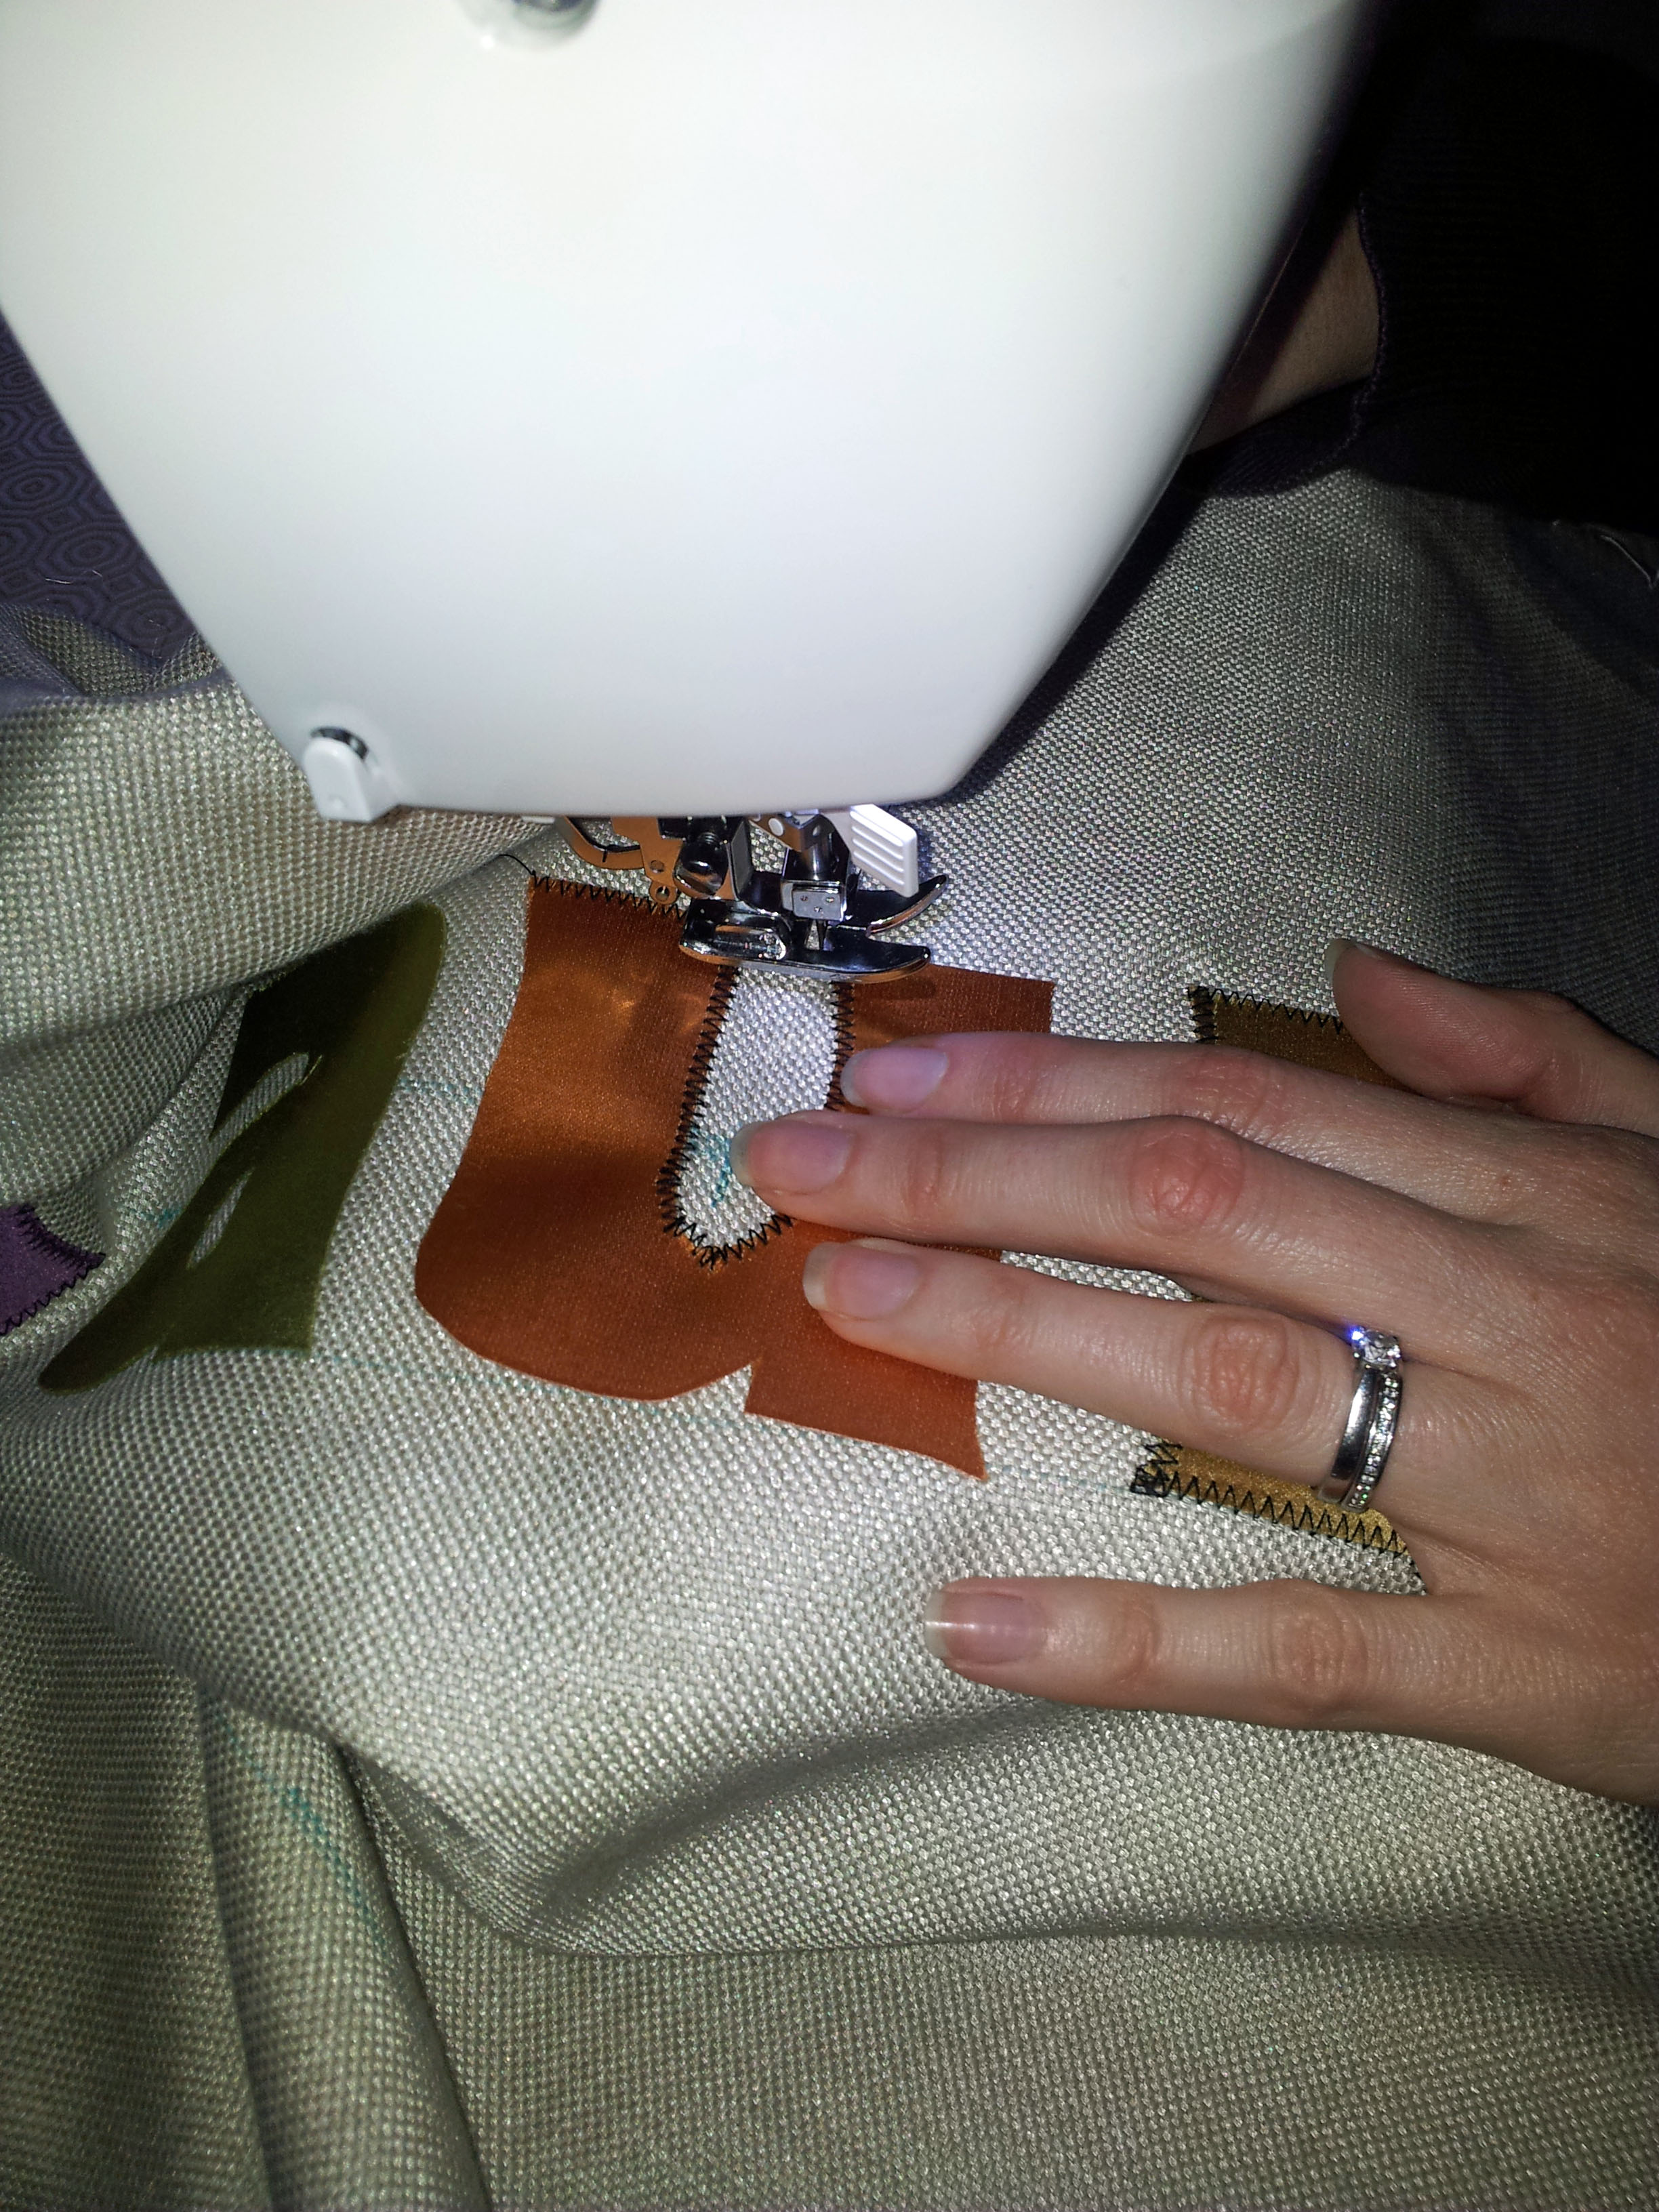
applique in progress

Having purchased a lovely new Singer sewing machine recently, my sister put it to the test by having her first attempt at appliqué!  Not one to be daunted by a challenge, she decided to appliqué a friend’s name.  A very impressive feat, going around all sorts of twists and curves when you’re still adjusting to a new technique and how your new machine works!

cushion

The great part about this bright and colourful cushion is that it’s all made from remnants.  The main cushion is made from an ex-display curtain from a department store, with the money going to charity.  The letters were cut from a swatch book, which had been picked up the same way from the same store.

I didn’t embark on a sewing project this time, but I did finish the second sleeve to a short sleeved cardigan I began two years ago!  It’s now at the sew up stage before the neck band and button band are tackled…

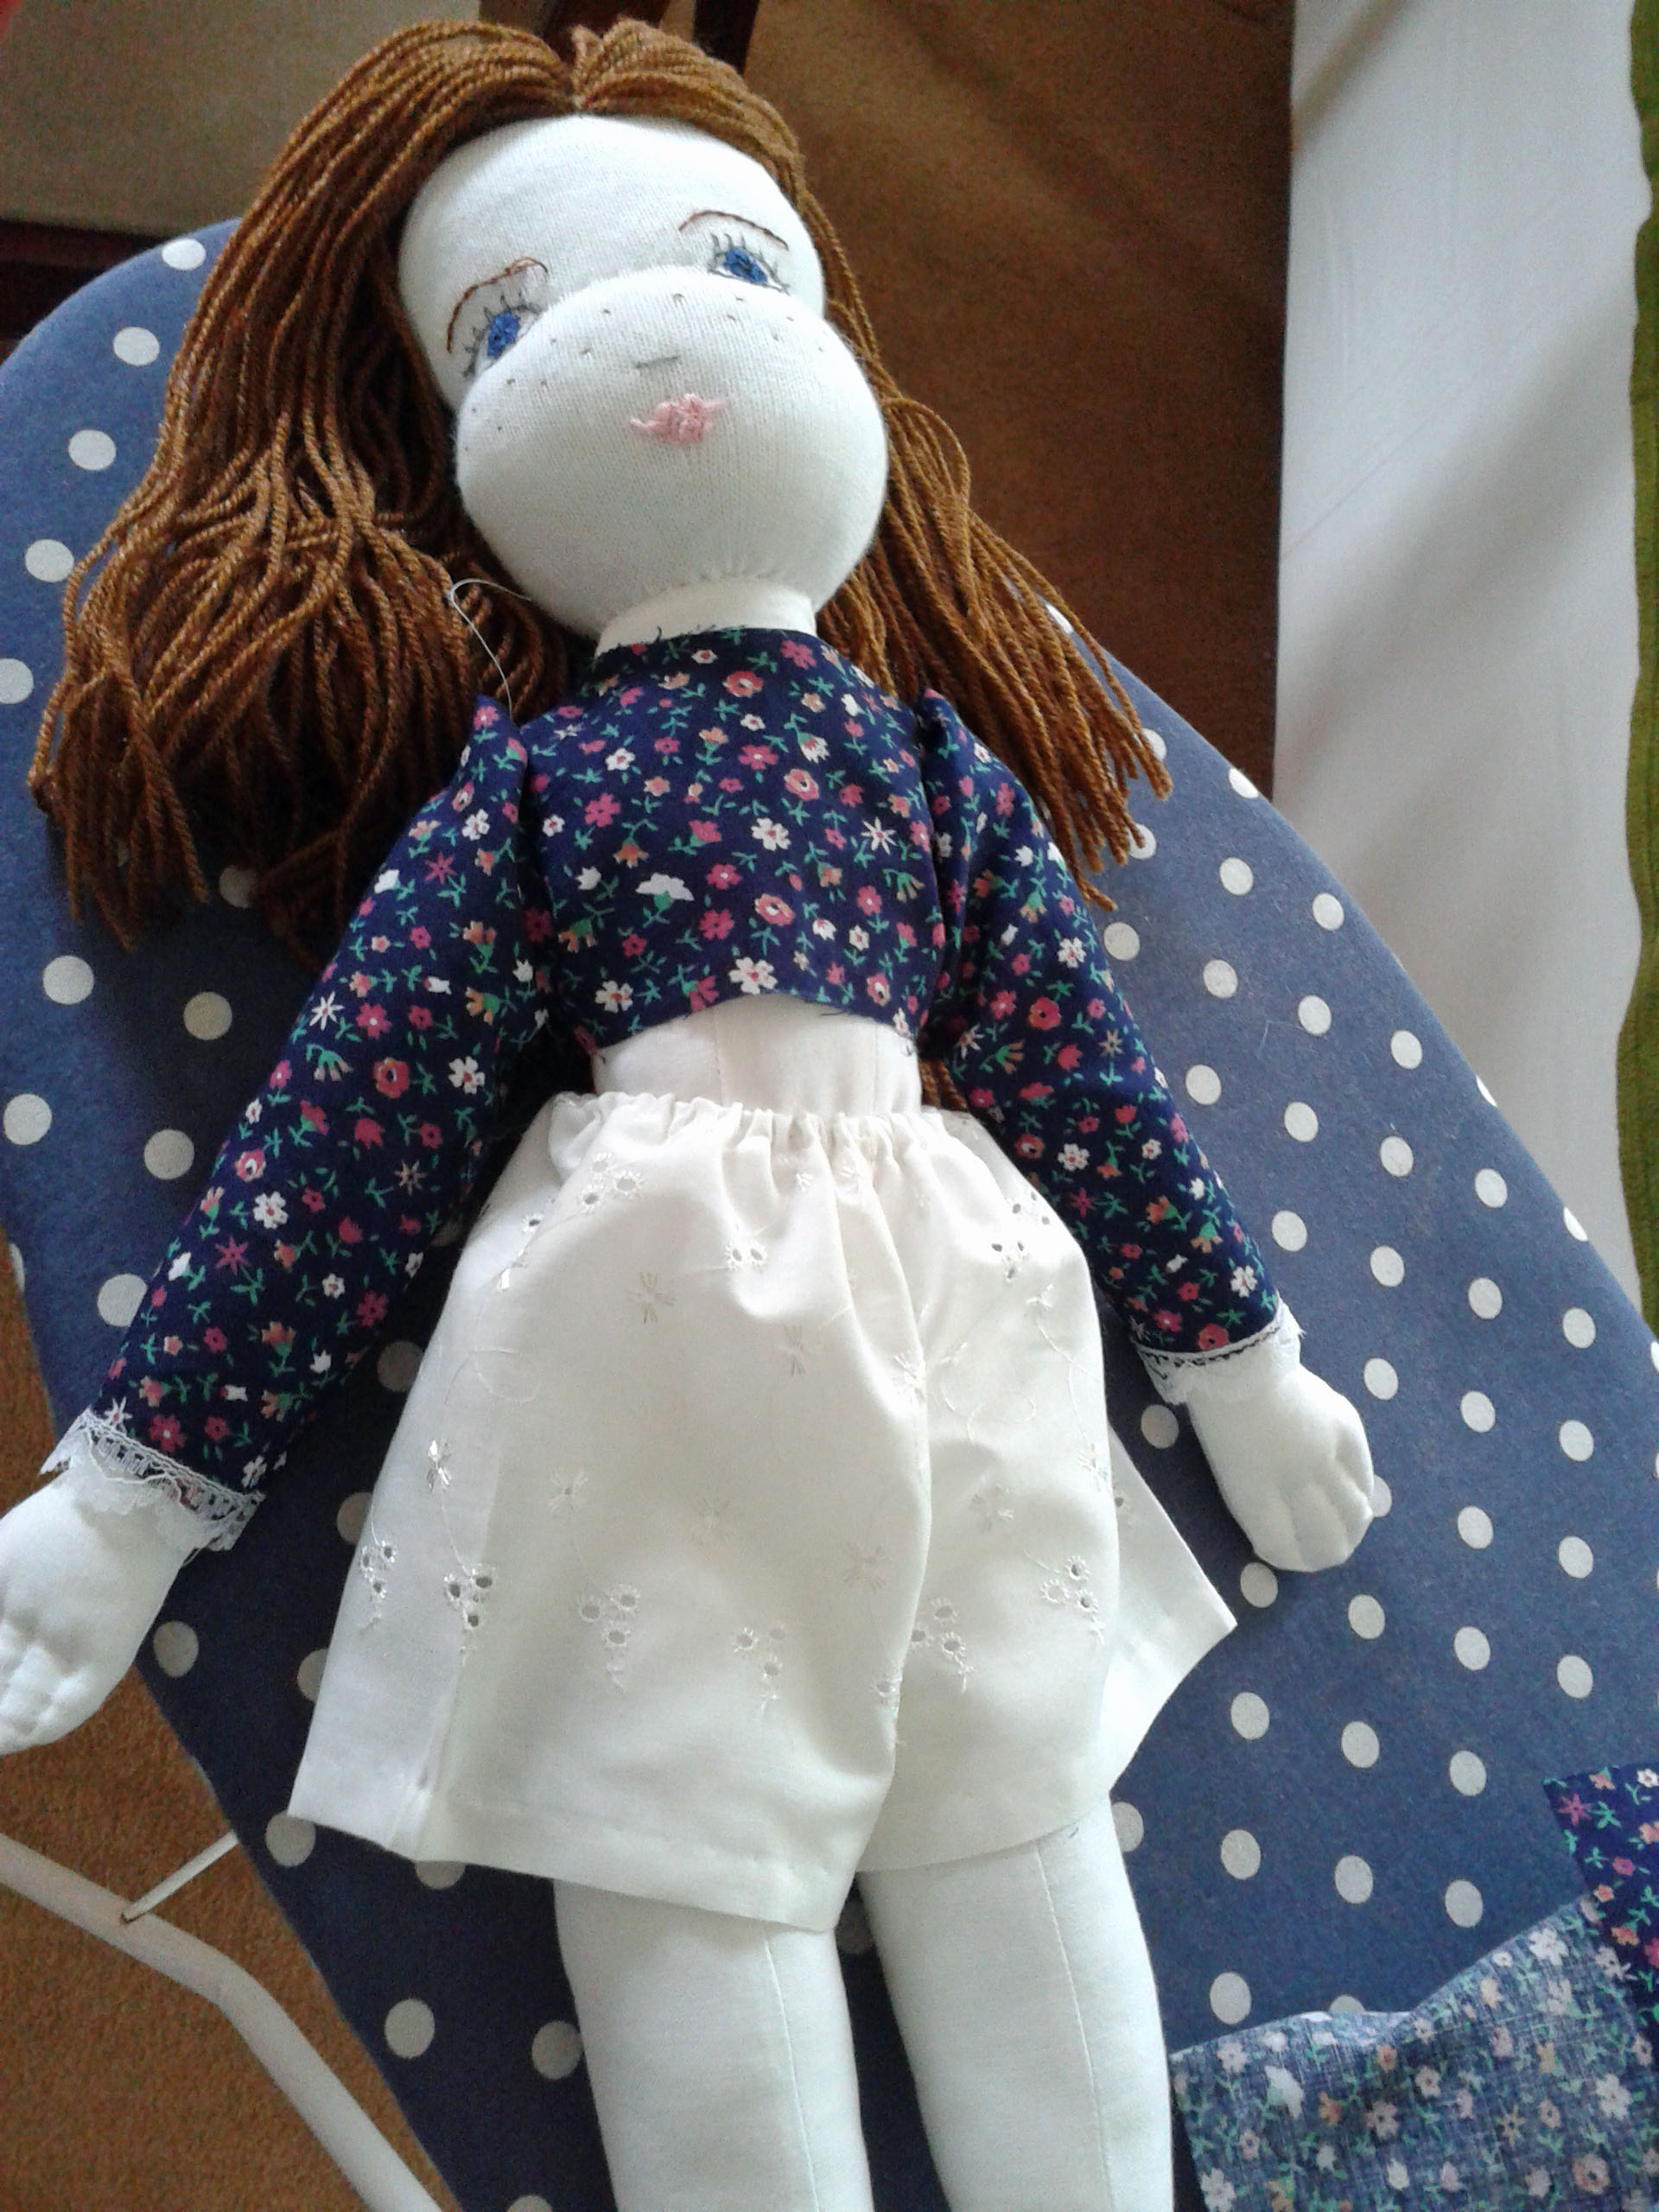
doll progress

There’s the progress of my mum’s doll, which she began in our February meet up.  It’s coming together now it has a head!  She wasn’t able to progress with it that weekend, but she did hem up someone’s new net curtains by hand!

Continue ReadingCrafting with Family – March
Read more about the article Back to dressmaking!
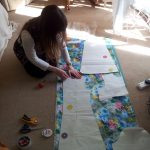
Pinning the templates

Back to dressmaking!

I’ve been taking part in Make it Yourself March on Instagram this month by Wendy Ward and Emma Miles, which encourages you to post a sewing related photo every day in March based on a daily theme.

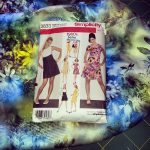
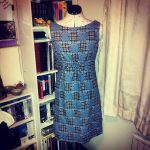
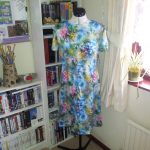
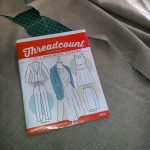
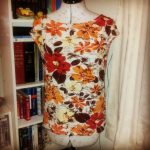
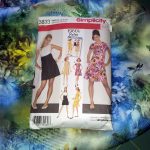
Within week one, I realised that I hadn’t made a dress in over a year.  To remedy this, my partner chose a pattern from my hoard – Simplicity 3833 – and suggested a fabric he found in my stash.  This is indeed a stashbusting project as it’s a remnant I picked up a year or so ago and I only just about had enough material to make it!

I really liked using this pattern.  The instructions were clear to follow in general.  I got a little bit confused on the zip directions, but then I tend to get confused when it comes to the zip stage whatever the project or pattern!

I chose the sleeve option.  I like sleeveless dresses and I think the sleeveless option would turn out great but I chose sleeves to practise them!  Considering this is my second attempt at sleeves, I’m quite chuffed!  I did forget to trace and tailor tack a couple of reference points on the sleeves template which didn’t help but I just gave it a go!

A new technique I learned with this pattern was understitching, which I had not heard of before but is great as it stops the interfacing rolling out on display on the neckline.  The pattern gave clear directions on this, but I checked online to ensure I understood it correctly.

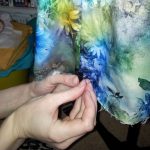
This is the first time I’ve been able to use my tailor’s dummy for one of its main purposes – to assist with hemming!  It was invaluable.  I pinned where I wanted the length of the dress to finish and then used the pinned line as a guide to press and hem the length.

I would use this pattern again – perhaps using the sleeveless design or going for the longer sleeved version to vary it.

Continue ReadingBack to dressmaking!

Mother’s Day gift making – bath hats and bags

in progress
Taking over the lounge- there is a cutting mat underneath the template – honest!

It didn’t take long to come up with this year’s mother’s day gift – mainly because I knew she wanted a new bath hat!

I made her one years ago from the Cath Kidston “Sew!” book.  Unfortunately, the waterproof fabric I chose for inside the hat was quite thick and stiff.  Also, we have big heads so I think the pattern was designed for a smaller circumference head!

2014-12-23 23.50.14
Bath hat #2

I’d made my nan this green bath hat above using material I got online which I think is used for making tents.  It was much more versatile than the thick waterproof plastic for bath hat #1 anyway!  I made a much larger template for this hat and added a brim and bow!

finished result
Bath Hat and Toiletry set complete

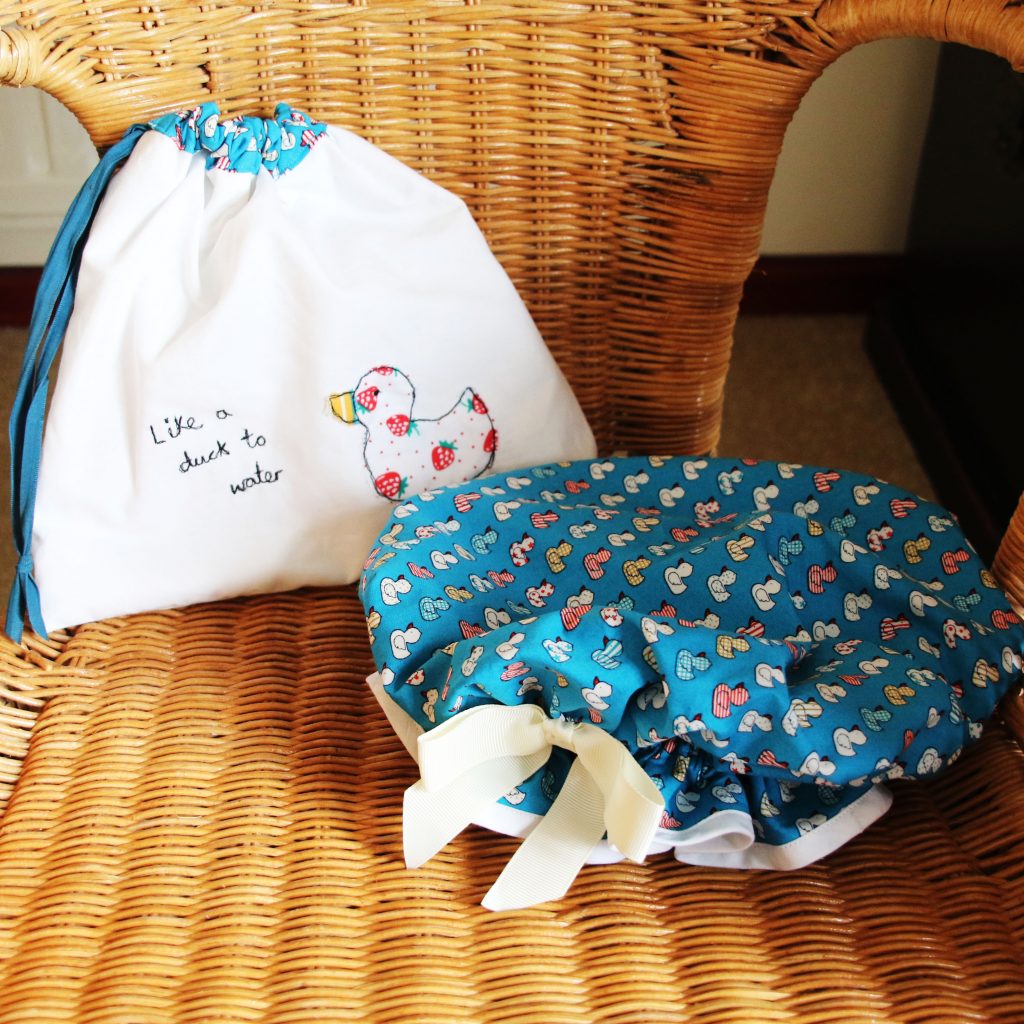
As hat #2 was a much better fit, I went along with this design for mum’s.  However, I tried a new lining.  The fabric I used was a white showerproof material from Fabricland in Bristol.  I was apprehensive about using this, as I wasn’t sure how robust it was for using for practical and wearable items.  However, it seems to have turned out to be the cheapest and most shower hat like option of the three tried and tested!

Still chirpy from making a toiletry bag for my dad’s birthday, I felt that the hat required a matching toiletry bag.  As I wanted the bag and hat to match, I added a strip of the duck material to the top and appliquéd a duck on it too.  I couldn’t resist having another go at writing with the sewing machine, so I wrote “like a duck to water” on it.

I really enjoyed this gift set make.  It’s something I am considering to sell on my Etsy store in time for people preparing for their holidays!

snoopy wearing completed hat
Snoopy modelling the bath hat for demonstration purposes
Continue ReadingMother’s Day gift making – bath hats and bags

Making Individual Gifts – for Dad

For my dad’s birthday this year, I decided to use my new skills to make some different gifts to normal.

Cufflinks

cufflink showcase

Here is a photo of him wearing the cufflinks I made in glass.  I had no idea you could make cufflinks from fused glass (or didn’t think of it until it was pointed out to me)!

I’m quite limited in my glass fusing skills at the moment, particularly in cutting, so I used inclusions for the decoration (note: inclusions are when you include certain metals between the two layers of glass so that they become sealed into the piece).  The inclusions are feet.  I chose feet as he enjoys running, so it fits in with one of his hobbies.

The class pieces were fixed onto the cufflink backs with an amazing adhesive called Hang-your-glass, which creates a strong finished piece.

Toiletry Bag

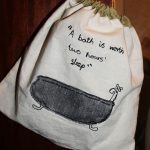
bath toiletry bag lower res

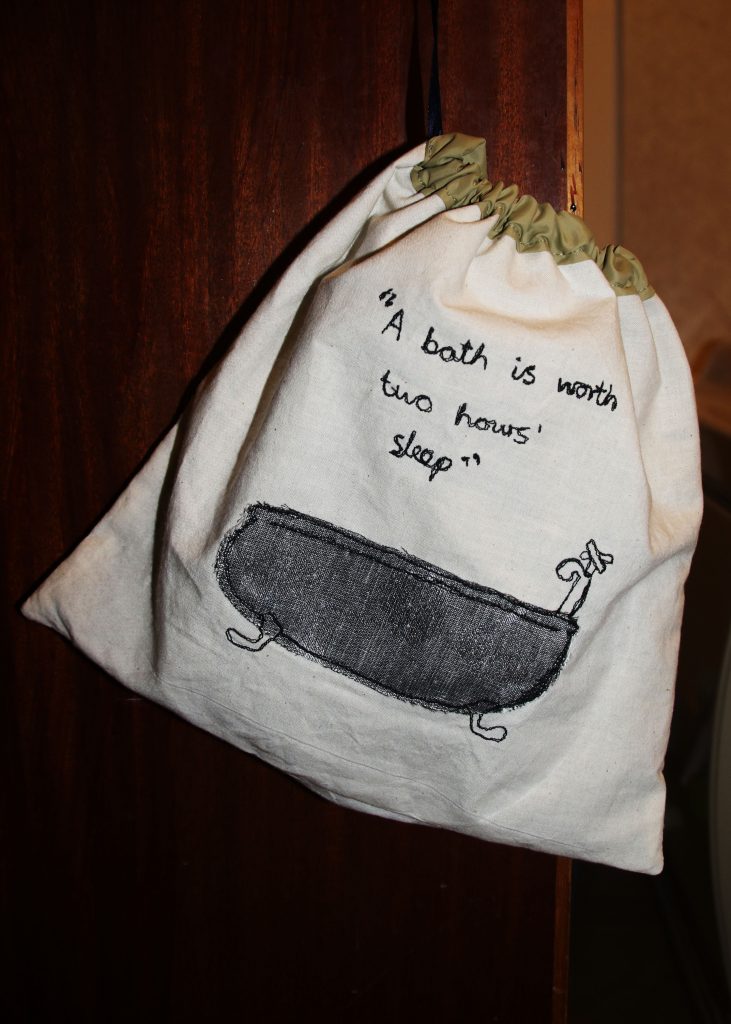
Here is a photo of the toiletry bag I made.  I used free machine embroidery to decorate this item.  I made up the design from a family saying – “A bath is worth two hours’ sleep” which I believe he relies on to keep up with his busy schedule!

I really enjoyed making the personalised design on this bag.  The bath tub was appliquéd on with an old curtain swatch remnant.  I particularly enjoy writing with the machine, which is great because I no longer gaze longingly at impressive but expensive embroidery machines with preset lettering options.  Sure, a machine program for lettering is faster and accurate, but free machine embroidery comes out differently every time.

Continue ReadingMaking Individual Gifts – for Dad
Read more about the article My college of handcraft
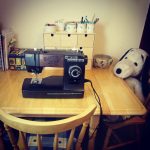
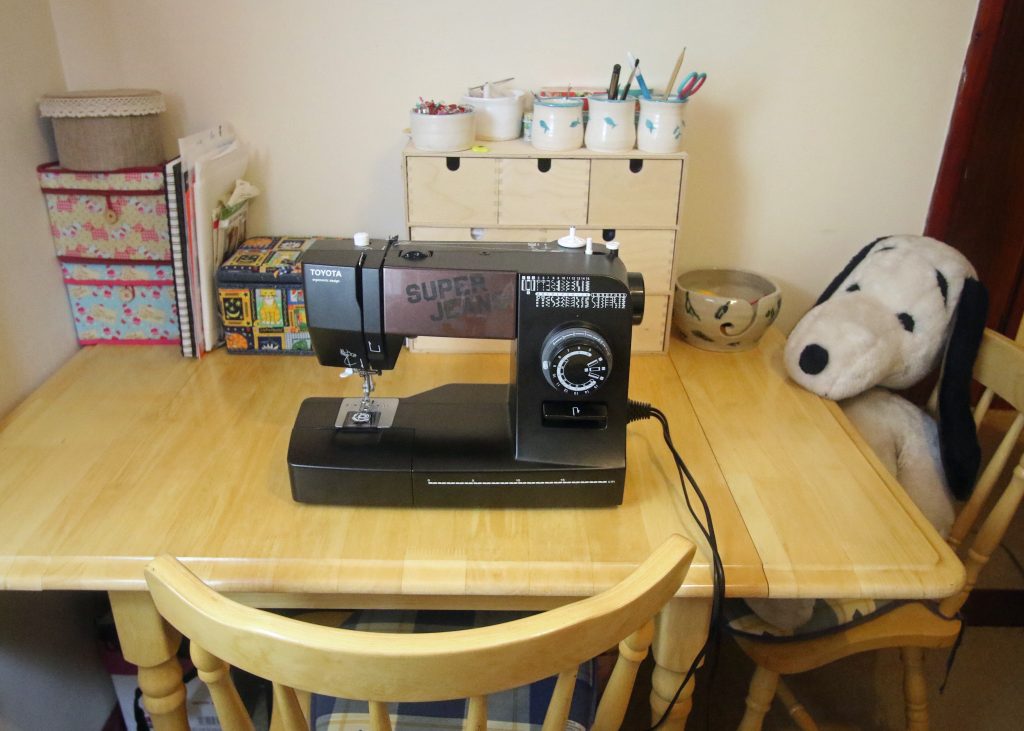
My craft studio

My college of handcraft

Hello!

Welcome to my blog.

The goal of this blog is to charter my journey through my own rather roughly laid out ‘craft school’!

Last year, faced with yet another temporary job coming to an end, I decided to apply for a part time position instead.  Sure, not the best option when you are renting, have no savings and your boyfriend is due to finish his PhD in the next year!

Okay, so this may turn out to be a financial mess in the end!  But on this occasion, I have decided to follow what I want to do and enjoy, rather than opt for financial security.

I write this blog for those who look back at their education and wish they had studied something else.  I enjoyed my education, but I’ve never learned to do any textiles or crafts- any of my hobbies- in an educational setting, and that is what I am focusing on now.

Since September, I have been going to some glass fusing and ceramics classes for fun.  Neither are my forte, but it’s fun to try something new and something I really couldn’t afford to do at home (or have the space for)!  I am very lucky to live nearby an adult education centre which puts on classes which are affordable and although it is a outgoing expense, it is a fraction of the cost of going back to college to study – and a lot closer to home.

From January, I have been extremely lucky to be a part of a free machine embroidery class.  It’s a technique I have always wanted to get round to but never have.  I’m hoping to follow these sessions with a creative textiles course after Easter if it runs.  The stitching class is a real boost to my inspiration at the moment.

I have a lot of extra space to fill in my ‘craft working week’ so this blog will charter the gaps between my official classes too.  This may include putting what I learn in short courses into practic or undertaking my own challenges.

Besides learning new techniques and setting up projects, I will be looking into the entrepreneurial side of hobbies as businesses (well, I believe the government likes all courses to have an enterprise module included!), so I will be tracking my endeavours with my recent little start-up: Clobber Creations.

In the next blog, I’ll be letting you know how I get on tackling some unique birthday gifts for my dad.  In the meantime, I am following/taking part in the #miymarch16 event by @thatwendyward and @dressmakerssocial which involves a themed photo on instagram a day!
Continue ReadingMy college of handcraft