Pattern Review and Upcycle: Cleo Pinafore
- Post author:clobbercreations
- Post published:July 28, 2019
- Post category:Dressmaking/Upcycling
- Post comments:0 Comments
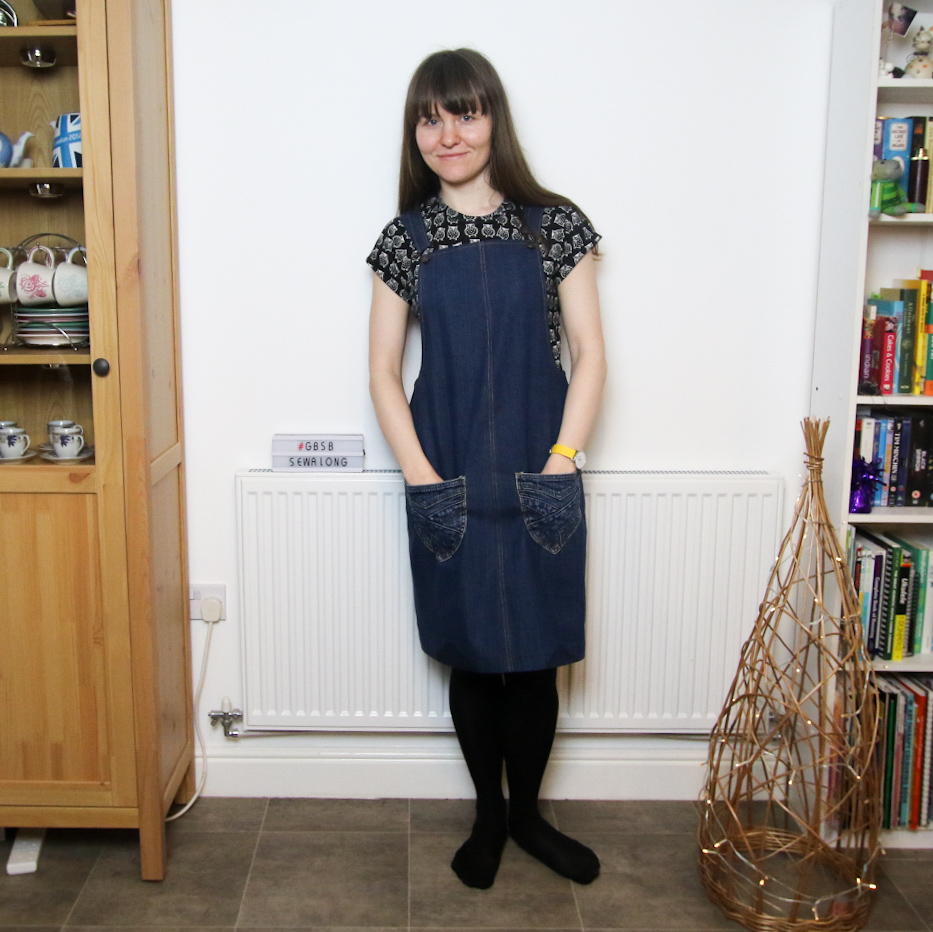
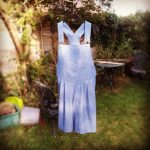
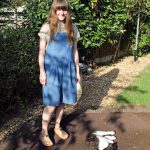
This is arguably one of my faourite makes of 2019 so far – the upcycled cleo!
Details
- Pattern name: Cleo
- Variation/Style: Knee length
- Design House: Tilly and the Buttons
- Size I made: 4
Fabric
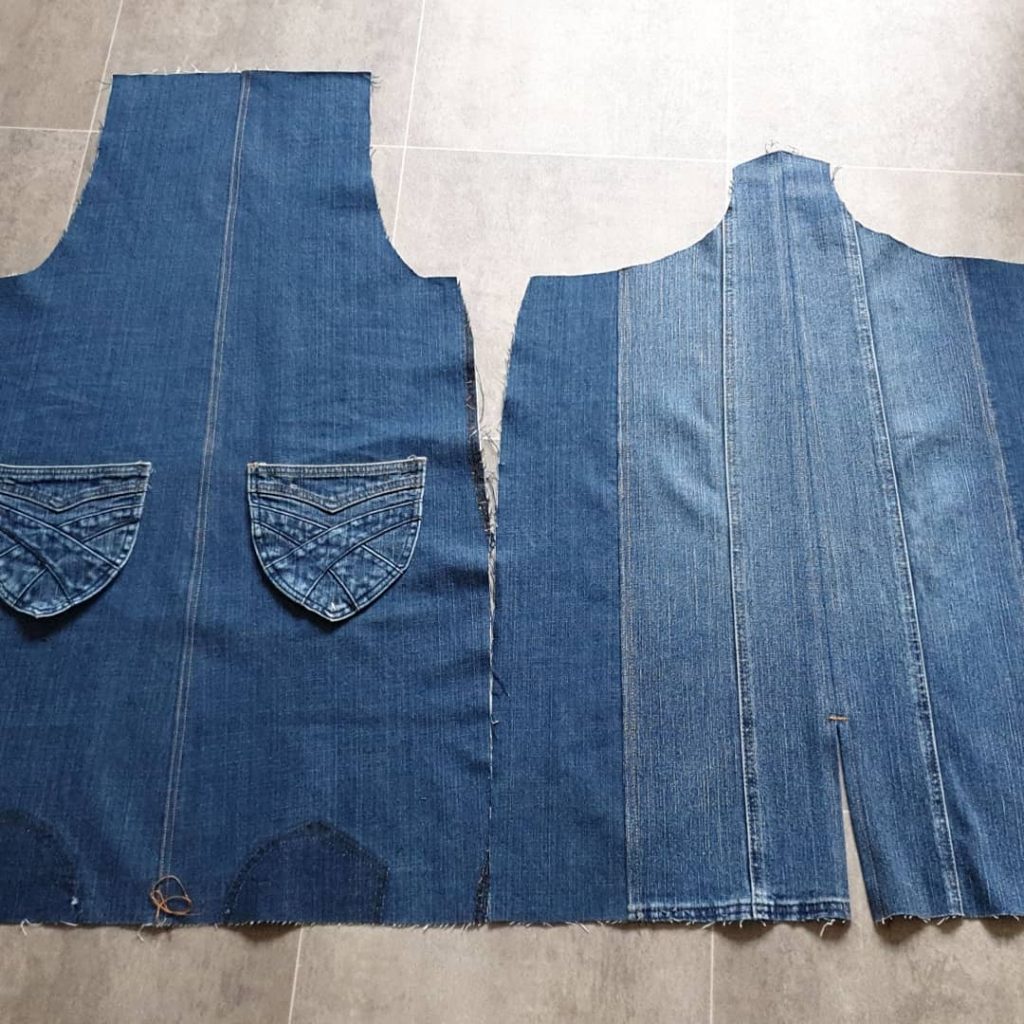
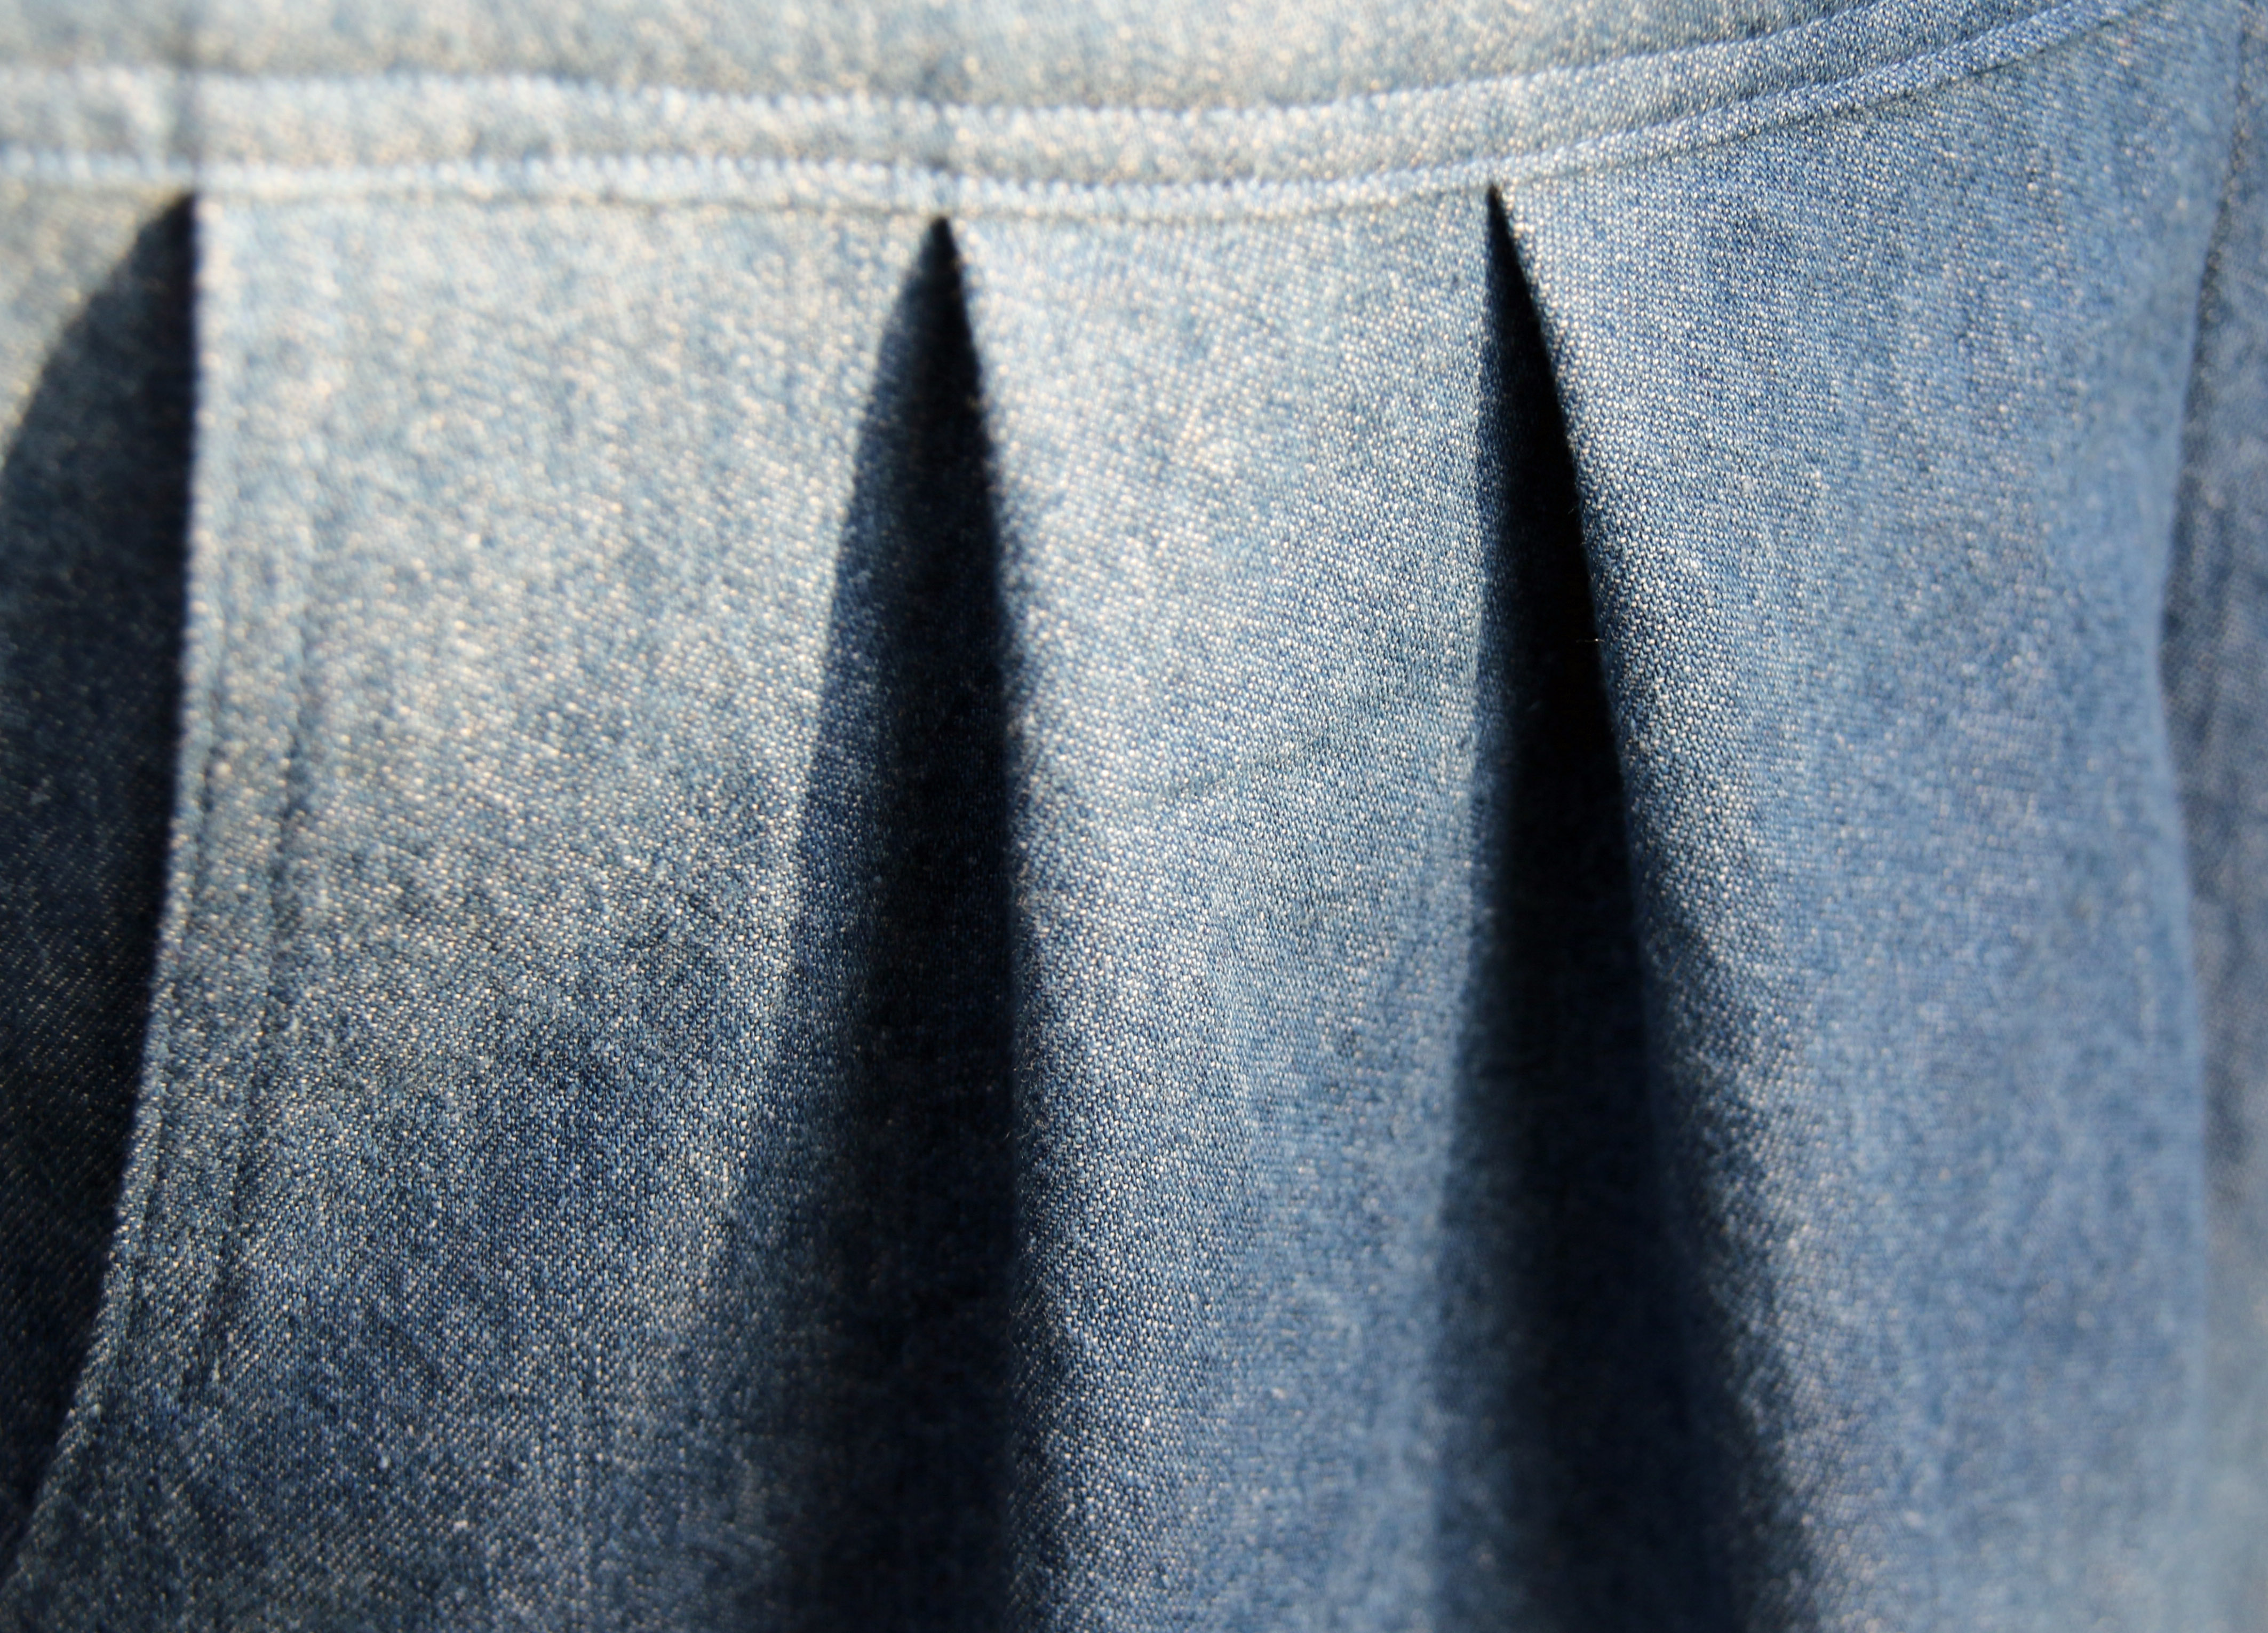
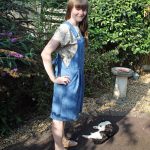
I made this completely out of two pairs of size 16 jeans which were gifted to me the other year. I had my sights on transforming them into a pinafore towards the end of the year but Sewisfaction’s Great British Sewing Bee challenge brought it forward.
The denim of the jeans is lovely and thick and and as a result it is a real treat wearing this pinafore. Best of all is that it doesn’t crease – yes!
Difficulty
The pattern is beautifully simple. I did not have to make any adjustments as it is loose fit, but you may wish to grade between sizes if your measurements vary.
The most challenging part for me was topstitching as I wanted to use a contrast thread colour and I struggled to get the tension right on my machine. If your fabric is thick and your machine is not suited to heavy weight materials, you may struggle going over seam bulk. However, I found that using a denim needle for the sewing up and a top stitching needle helped, along with the trusty walking foot.
The hardest part was cutting out all the parts from the jeans. I am not convinced that I cut the front sections perfectly on the grainline, and unpicking the seams took hours!
Clarity
As I have mentioned in other TATB pattern reviews (and many others have said the same), the instructions are very clear and guide you step by step.
Design and Fit
Cleo is a loose fit garment and as a result, is easy to fit. If you use buckles and don’t stitch down the straps, it even leaves room for adjusting in this area at any time.
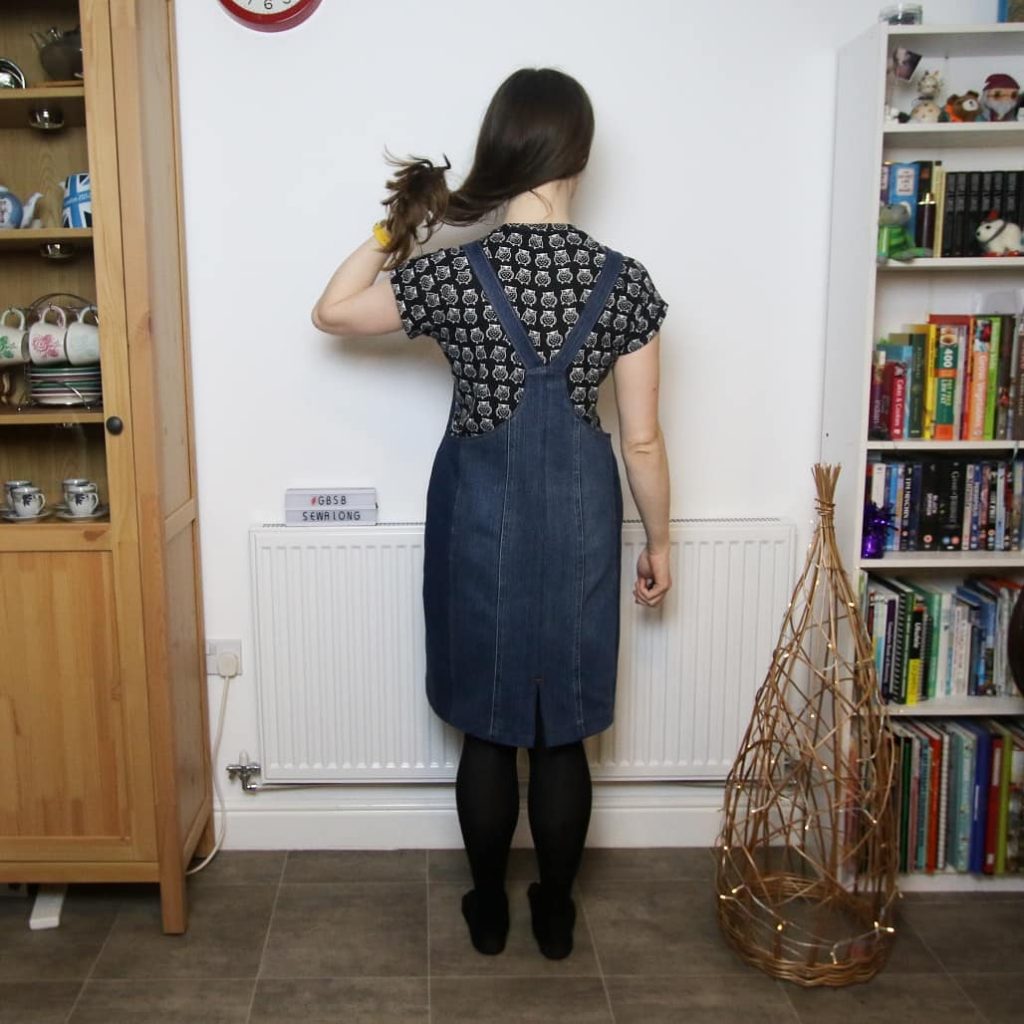
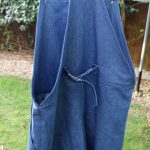
I decided to put the front slit at the back. I think a slit is needed for the knee length version or your walking gait might be a bit restricted. I really like the hip pocket detail as well. I was tempted by the bib pocket but it seemed a shame to not use two of the ready made back pockets from one set of jeans!
Time Taken
It is really difficult to evaluate how long it took me to make this garment. The sewing up was pretty quick and didn’t take long. The main time sink was unpicking the original jeans construction as they are made so well! However, if you made these from a piece of fabric it would not take long at all, especially as the pattern is designed for use with stable woven fabrics
Conclusion
I have always had reservations about the Cleo. Like many of the TATB patterns, I’ve always felt that I like the look of them but that they might not suit me. However, having made it and worn it many times, I am really happy I went ahead with it. It has soared to the top as my favourite pinafore to wear and I really feel that repurposing the jeans has made it such a satisfying make to wear that is likely to last a long time. The fabric of the jeans is so substantial and feels so nice – I suspect it would have cost me fair bit to find the equivalent in a fabric shop!
In particular, I love the blend of the two jeans. They are a similar weight, but I like the fact you can see the medley of the two types of denim.
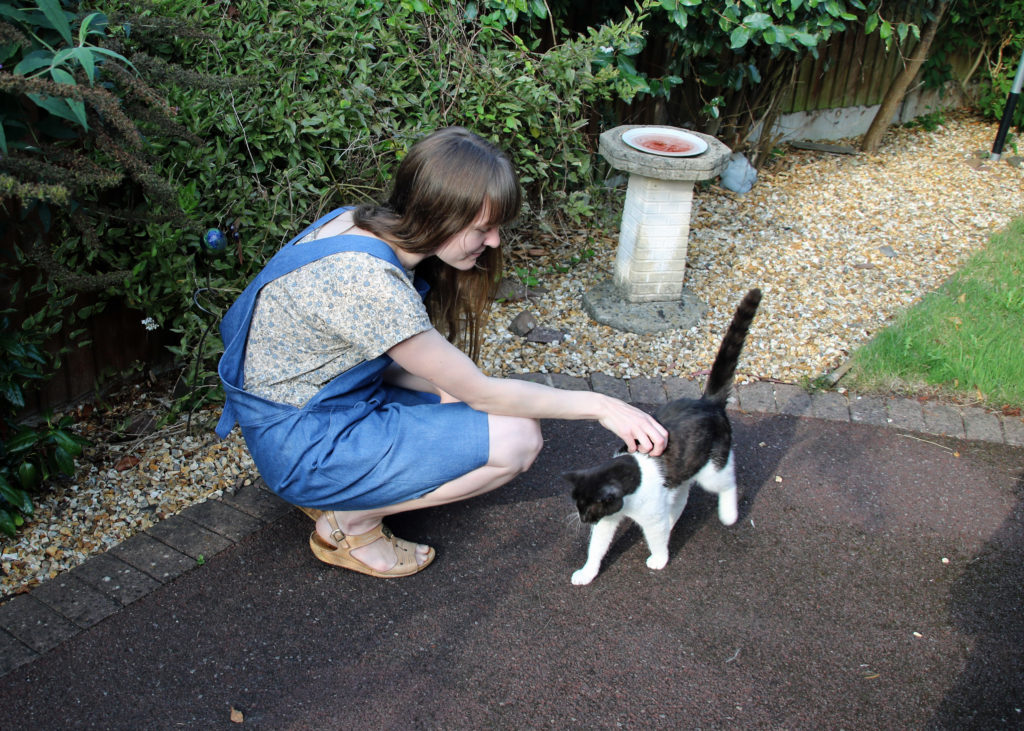

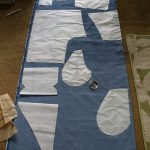
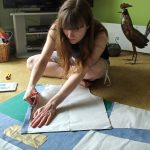
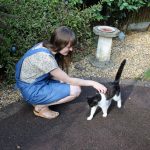
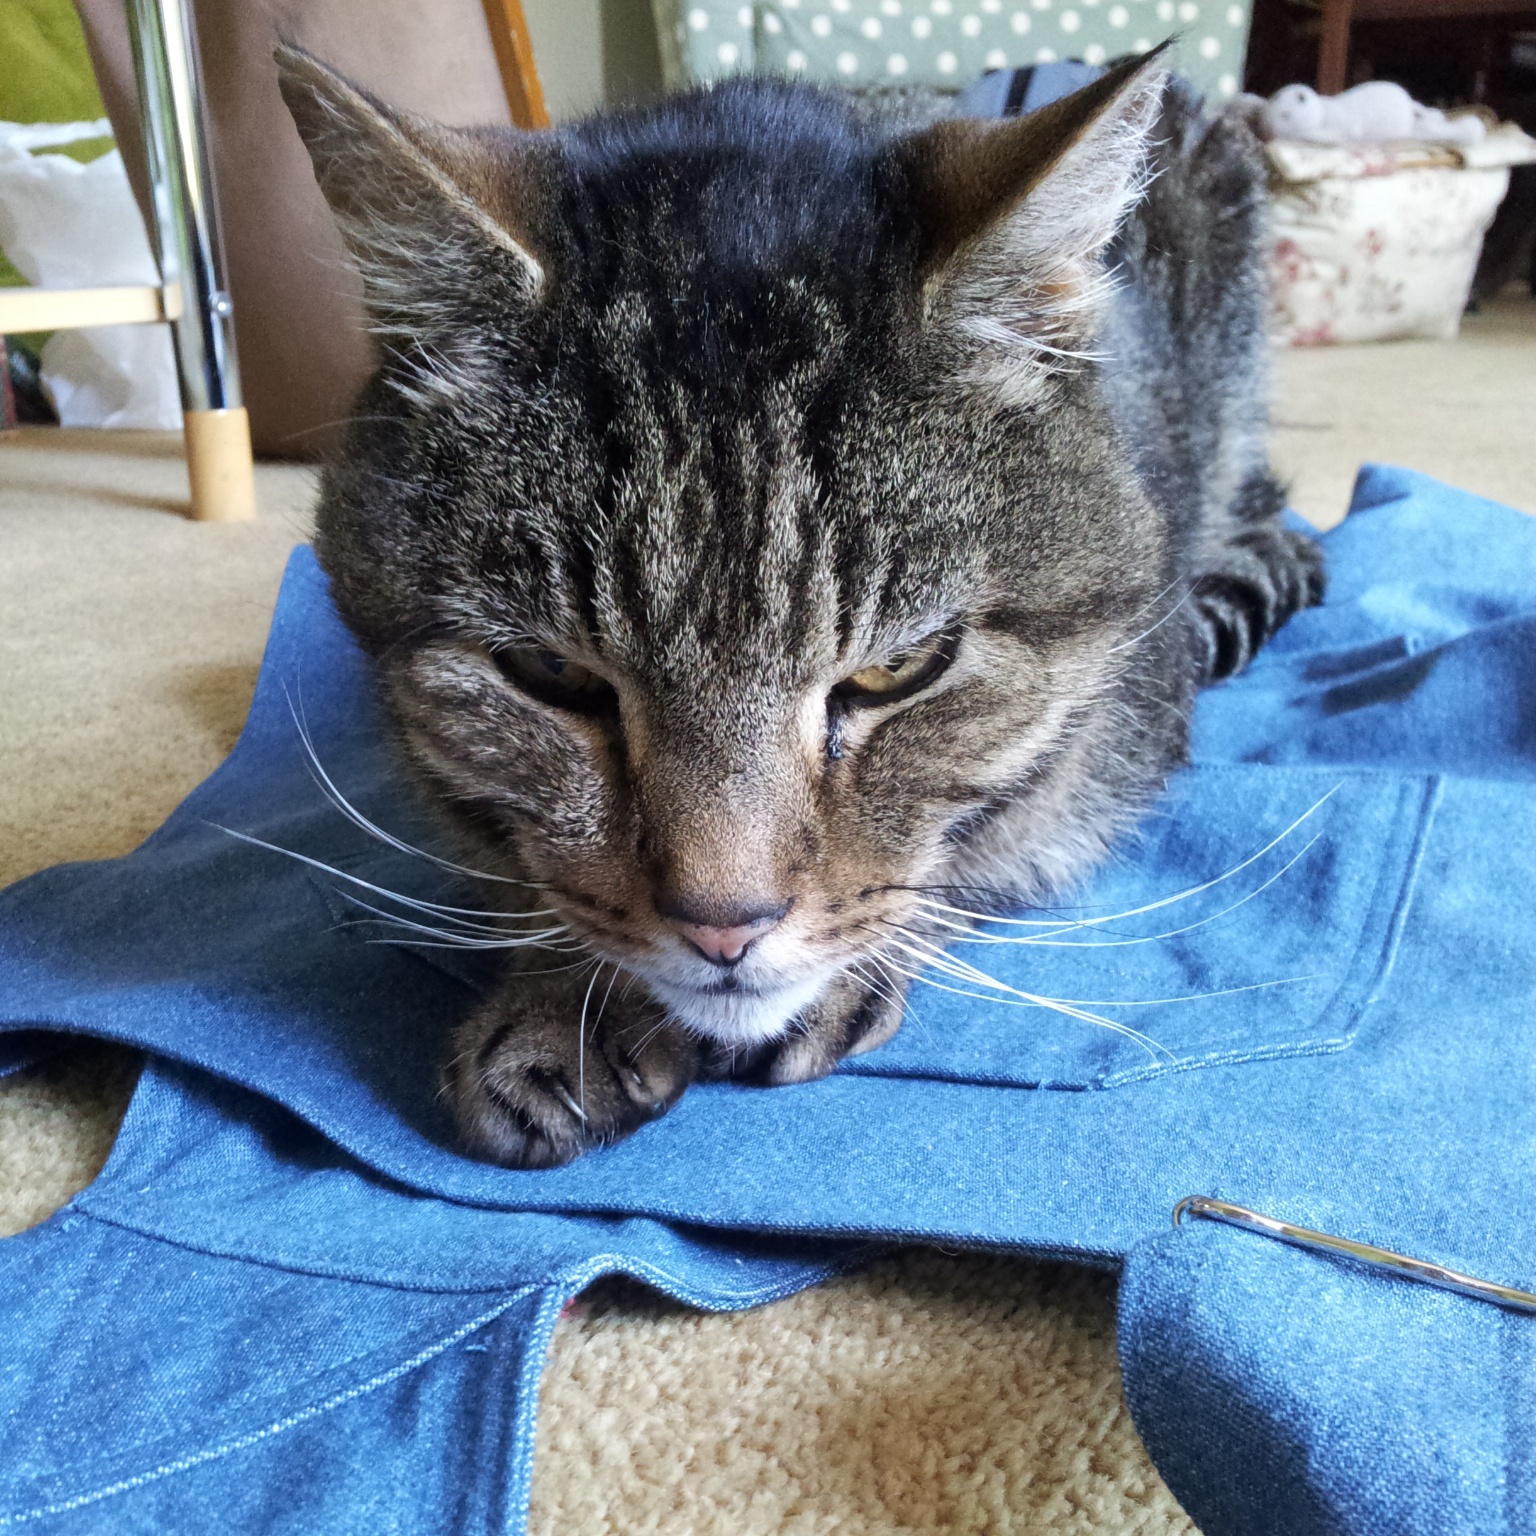 Harry did become jealous of the sewing project during its production, and kept sitting or laying on the instructions. When I moved the instructions out of the way so he couldn’t make any further holes in it with his claws, he decided to settle on the garment instead!