Pattern Review: GBSB Simple T-Shirt

Here is another top I made a while ago and had not gotten round to reviewing.
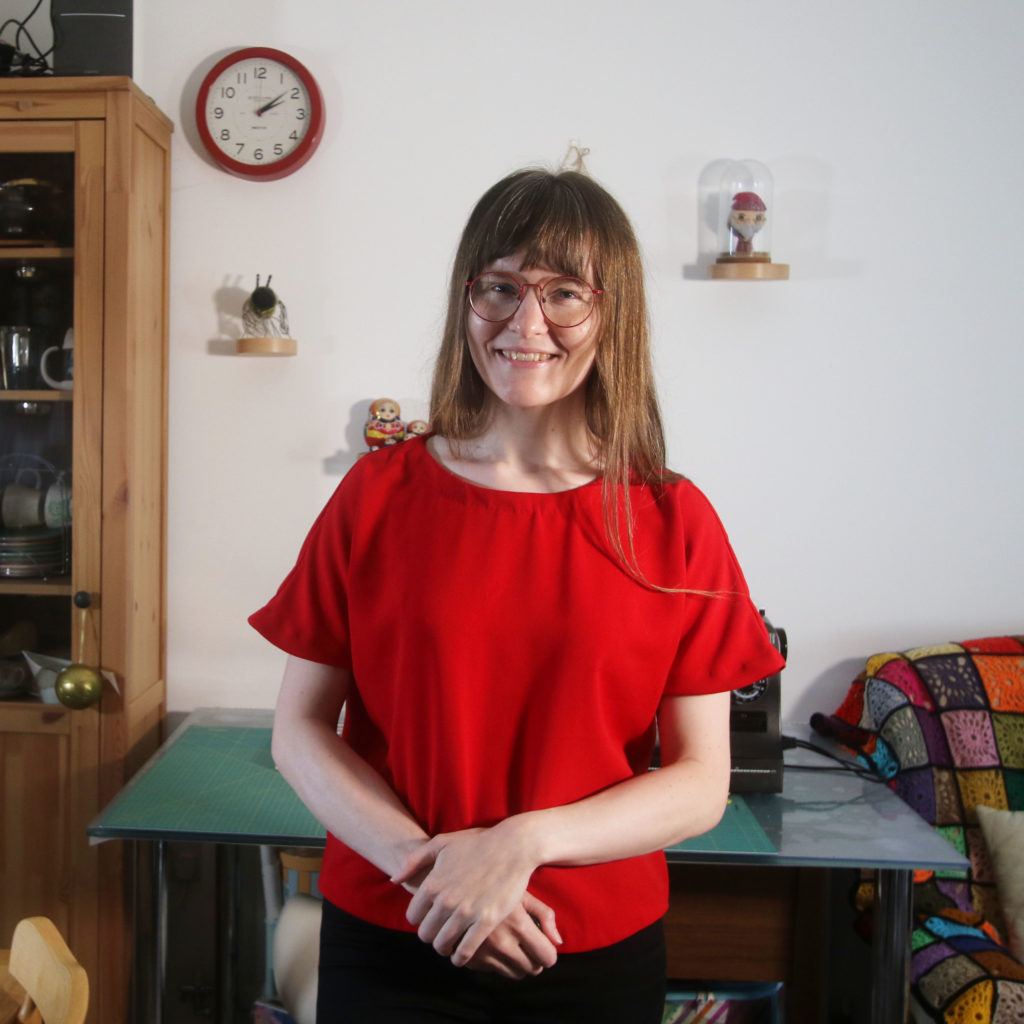
Details

  • Name: Simple T-Shirt
  • Variation: N/A
  • Design House: Book – The Great British Sewing Bee: Sew Your Own Wardrobe
  • Size I made: 14

Fabric

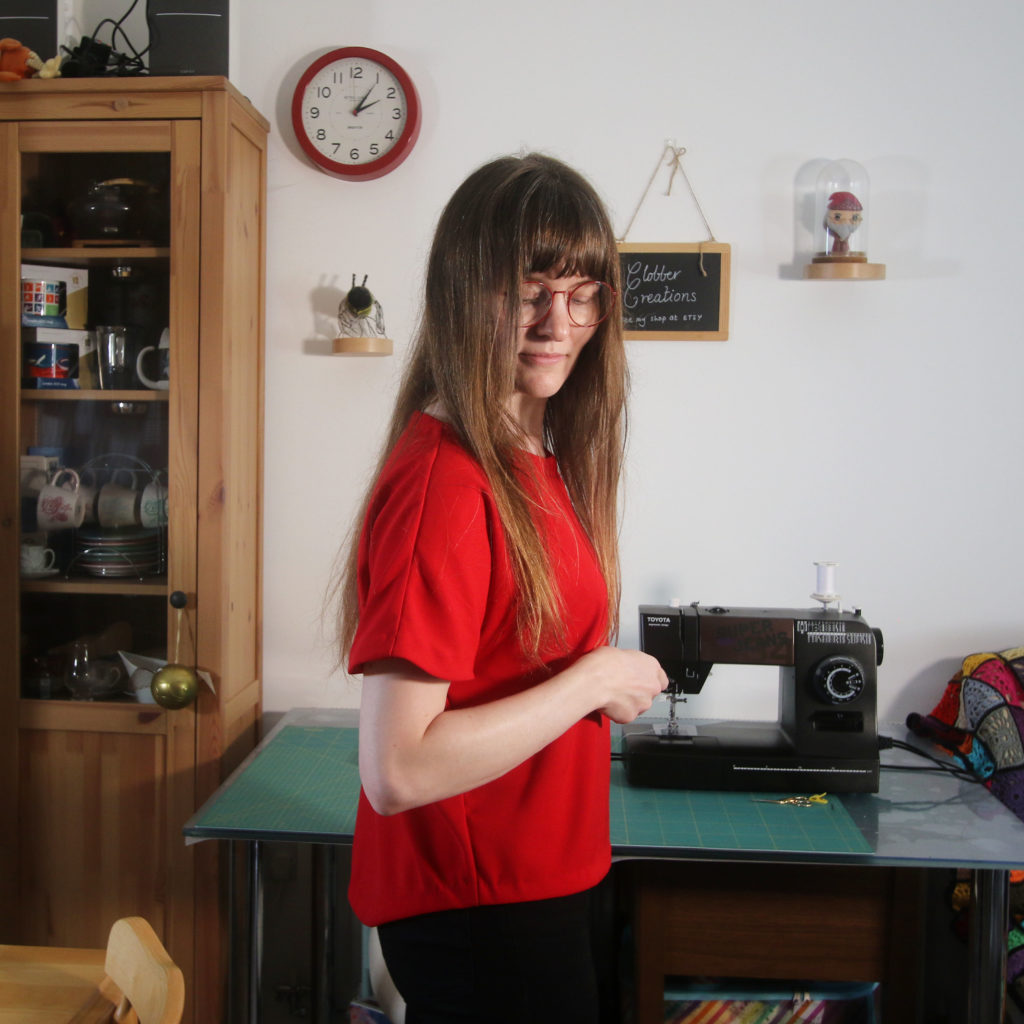
I used some leftover polyester crepe I had which in hindsight was not that suitable for this garment.  While the crepe quality meant it drapes nicely, it meant that it was a thicker fabric than the I feel the pattern intended for it.  As a result, I had issues with binding the edges using the same fabric cut on the bias.
Difficulty

The hardest aspect of this garment is the fabric you must use.  This top would not work with a stable woven fabric, so you must choose a more challenging fabric.

The other challenging part is binding all the edges with bias binding.  If you are not familiar with binding edges with this method, it could be very difficult, and I would recommend taking your time!

Clarity

The illustrations in the book are clear and there is a masterclass section on how to make your own bias binding as will as how to apply it.

Design and Fit

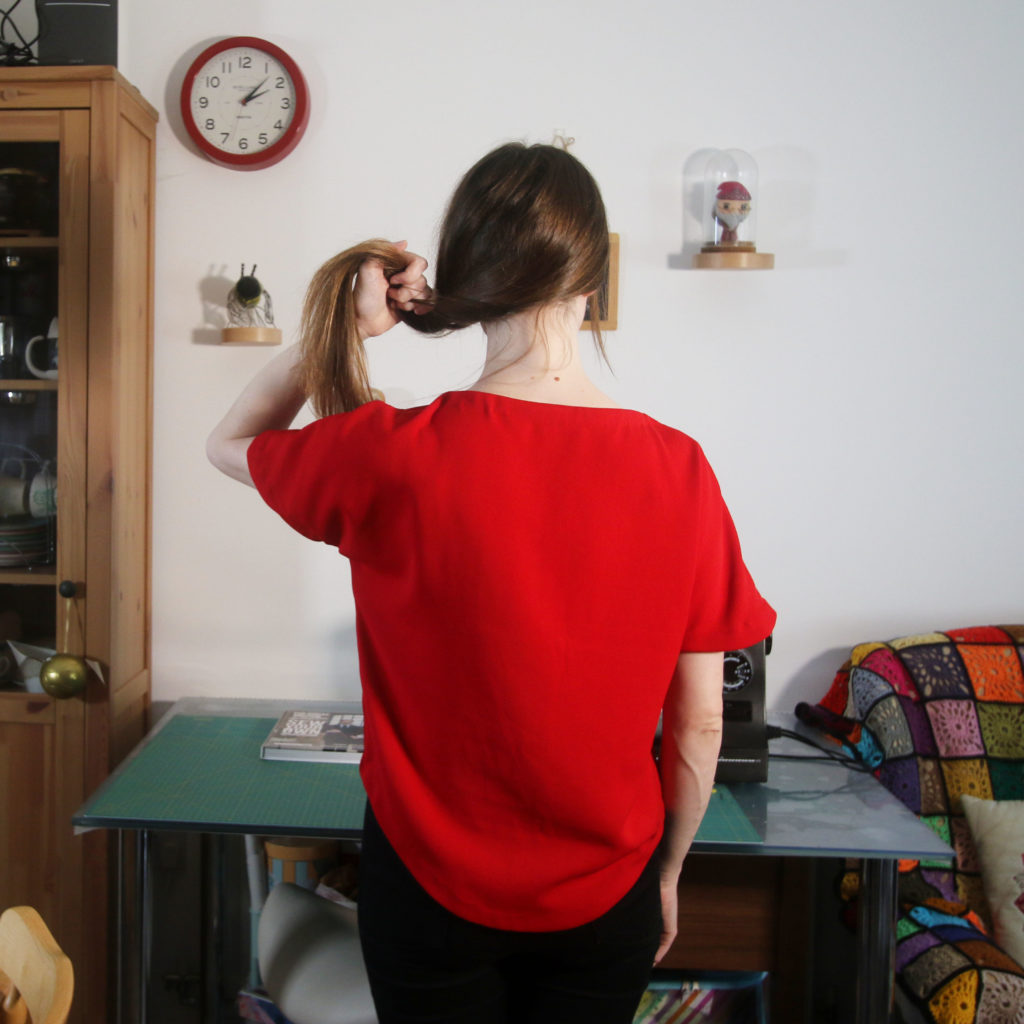
I like the neckline on this top and I think the overall shape of it, with the high-low hem is nice.  I find it really comfy to wear and I’m sure that if it was made in a finer fabric it would be even nicer to wear.

Time Taken

This took me a couple of days – mainly because the bias binding part went badly first time and I had to unpick and start over.  A confident sewist could make this comfortably in a day.
Conclusion

I would consider making this top again.  The issues I had were completely related to the fabric choice and I would like to try it out using a more suited, thinner fabric.
Play Video
Continue ReadingPattern Review: GBSB Simple T-Shirt

Pattern Review: GBSB Breton Tee

Hello!  It’s been a while, but here is a pattern review for a top I made a while ago…

Details

  • Name: Breton
  • Variation: ‘Hack: Breton Tee’
  • Design House: Book – The Great British Sewing Bee: From Stitch to Style
  • Size I made: 12

Fabric

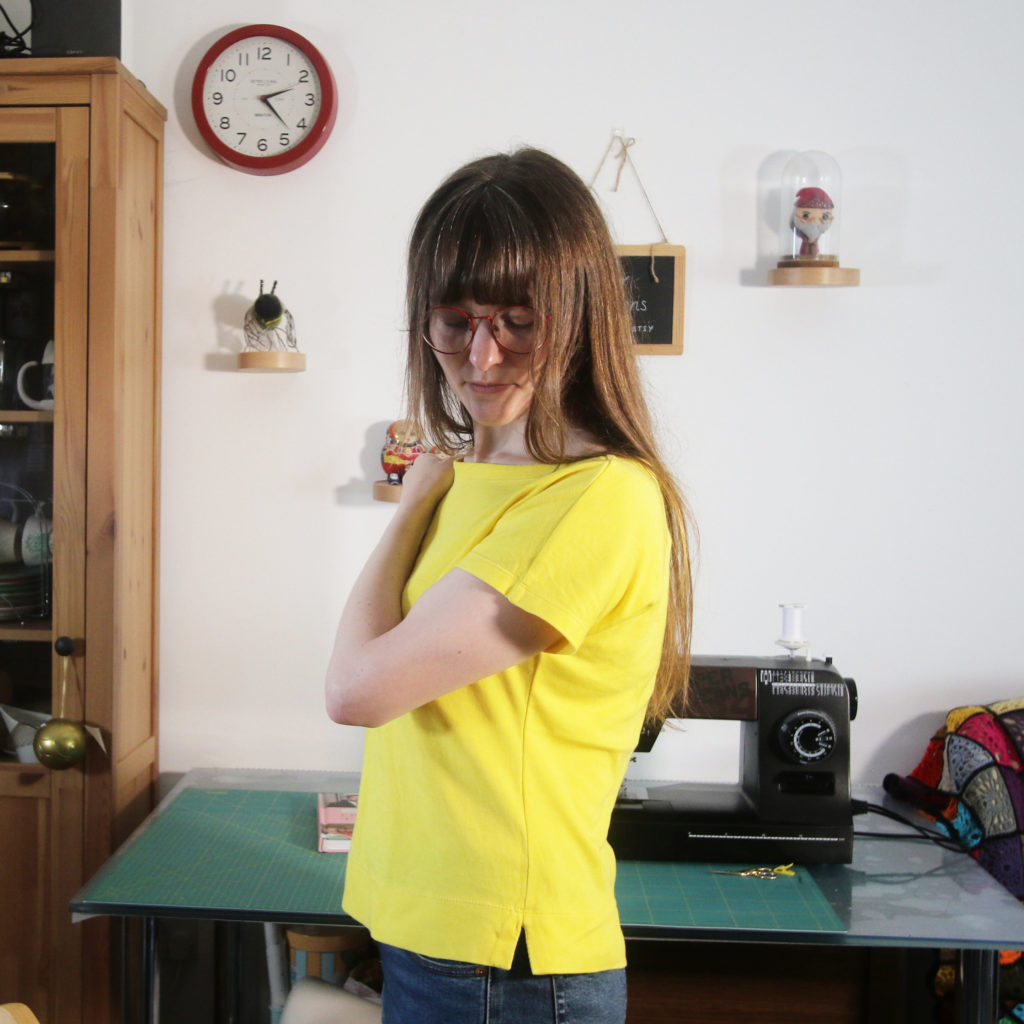
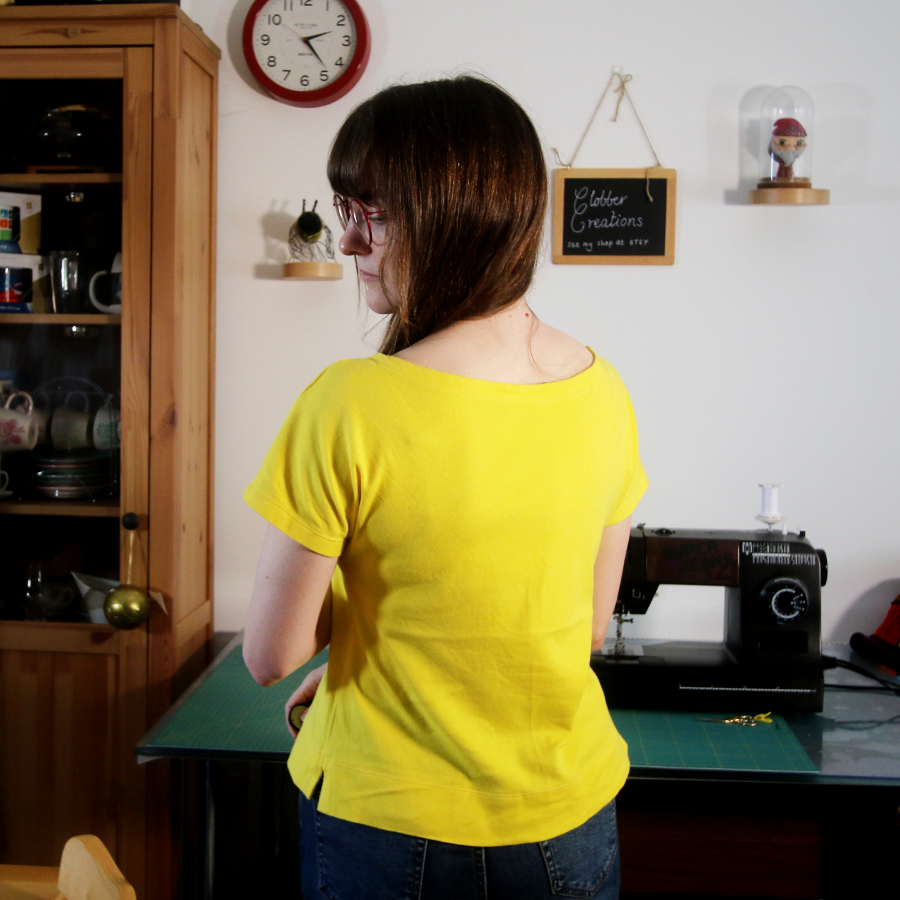
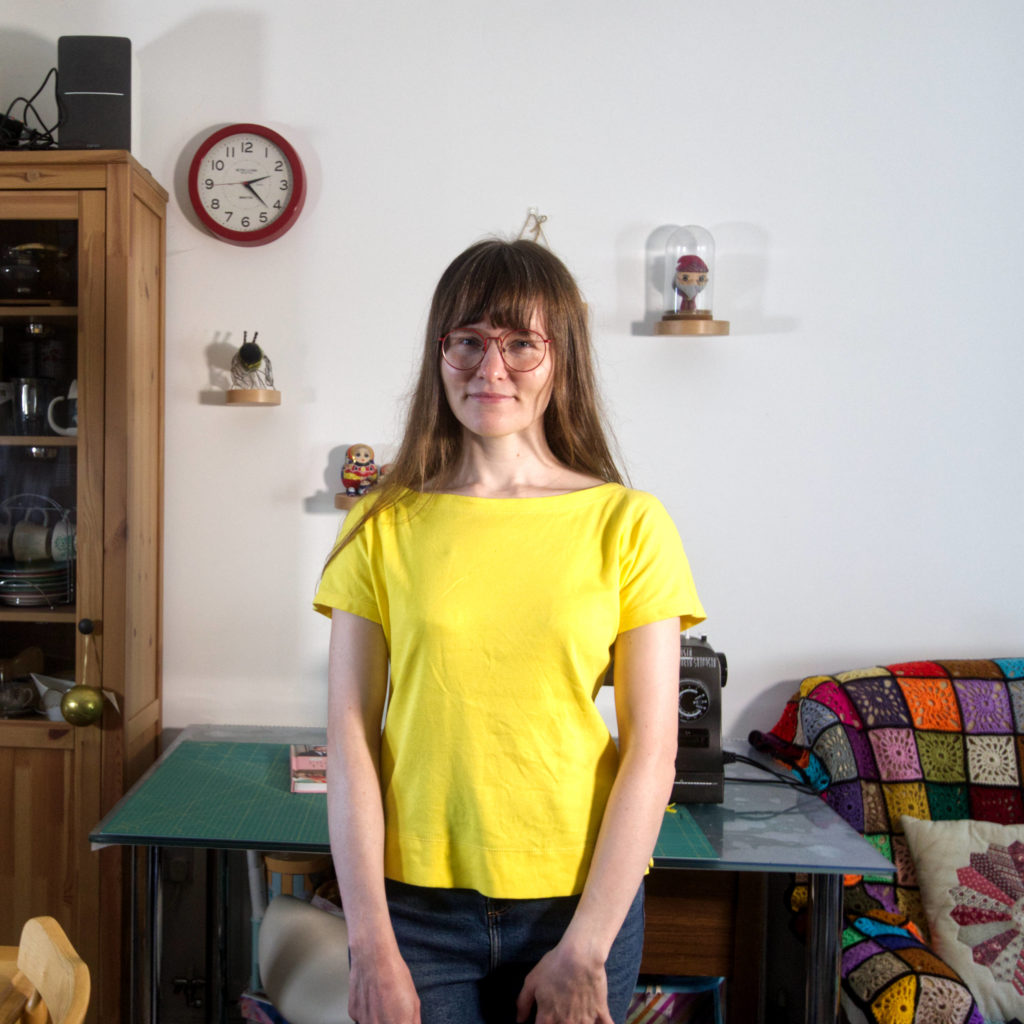
I used a lemony-yellow cotton knit fabric.  I do not think it has any stretch and I think there is a reasonable risk that the garment will become distorted and stretch over time.

Difficulty

I would say that this pattern is straightforward to make, especially if you have tried sewing with knit fabric before.  The hem is a bit different as it has side seam slits but it’s a nice new technique to learn if you haven’t tried this type of finish before.

Clarity

I found both the illustrations and written instructions clear for this make.

Design and Fit

I was drawn to the neckline and grow on sleeves but now I have made it, I’m not as much of a fan of the neckline.  If I made it again, I would make the neckline not so wide.  However, it is worth highlighting that it might be my fabric choice which has made the neckline feel quite so uncomfortable.  As I mentioned, my fabric doesn’t appear to have any elastane in it, so it might be stretching width-ways!

Time Taken

This top can be made in a day.  As the sleeves are part of the front and back pieces, there is not much to cut out.

Conclusion

I’m not sure that I would make it again.  If I did, I would choose a better-quality fabric and possibly adjust it a bit to fit better.  For example, I could try to stabilise the neckline a bit better.

Play Video
Continue ReadingPattern Review: GBSB Breton Tee

Pattern Review: TATB Safiya Dungarees/Playsuit hack

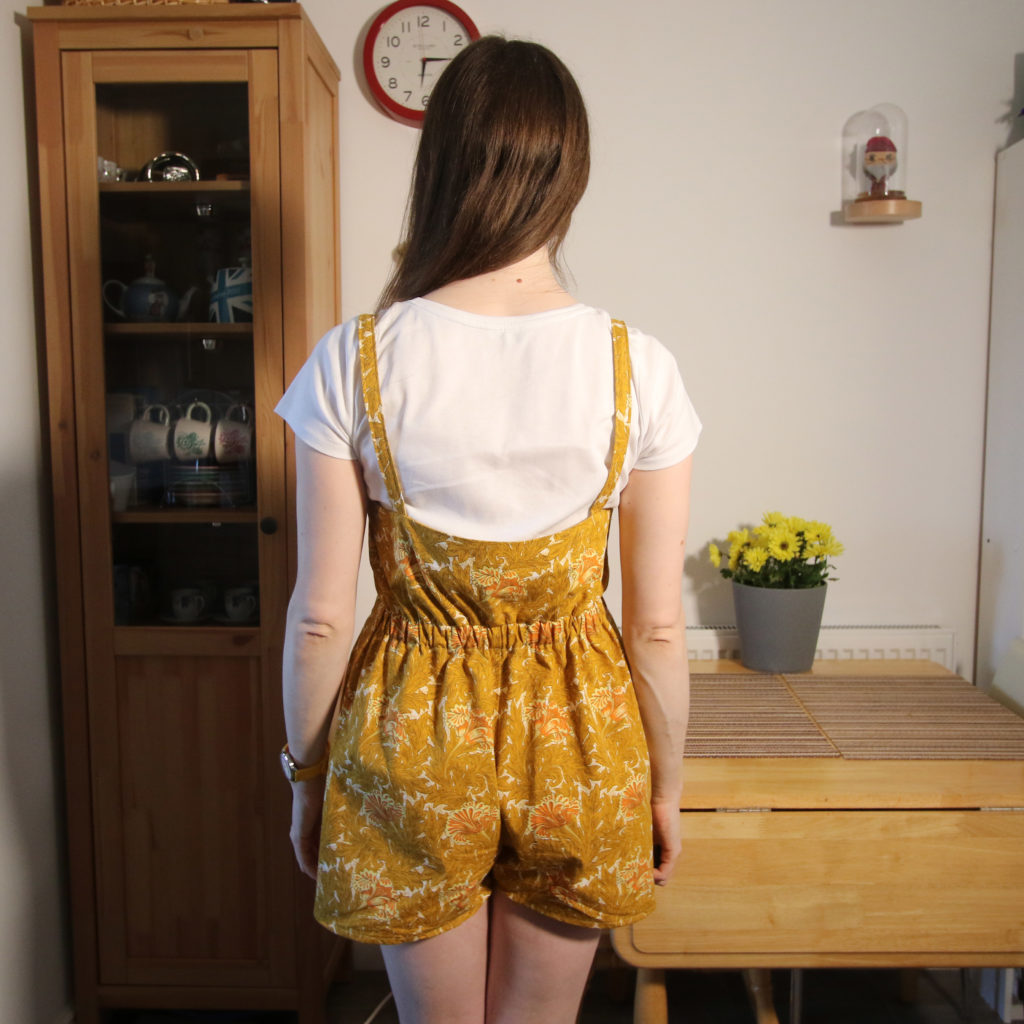
Here is my third pattern review from the Make it Simple book – this time, I have combined two variations in the book for the Safiya trousers.

Details

  • Name: Safiya
  • Variation: Dungarees for bodice/straps, playsuit for shorts
  • Design House: Tilly and the Buttons / Tilly Walnes’ book Make it Simple
  • Size I made: 4

Fabric

I wasn’t sure how this mash up would turn out, so to be on the safe side, I found something in my stash.  I ended up using an old curtain, which was easy to sew up.

Difficulty

There are no tricky fastenings and the darts were simple to construct.  My main issue was checking the fit and making sure I read the correct instructions for each part as I was using part of the playsuit instructions and part of the dungarees.

Clarity

The instructions are clear, but there is not much guidance on how to create this hack as it is just suggestion in the book.  However, if you put markers in the book to ensure you follow the right section at the right time, you should be okay!

Design and Fit

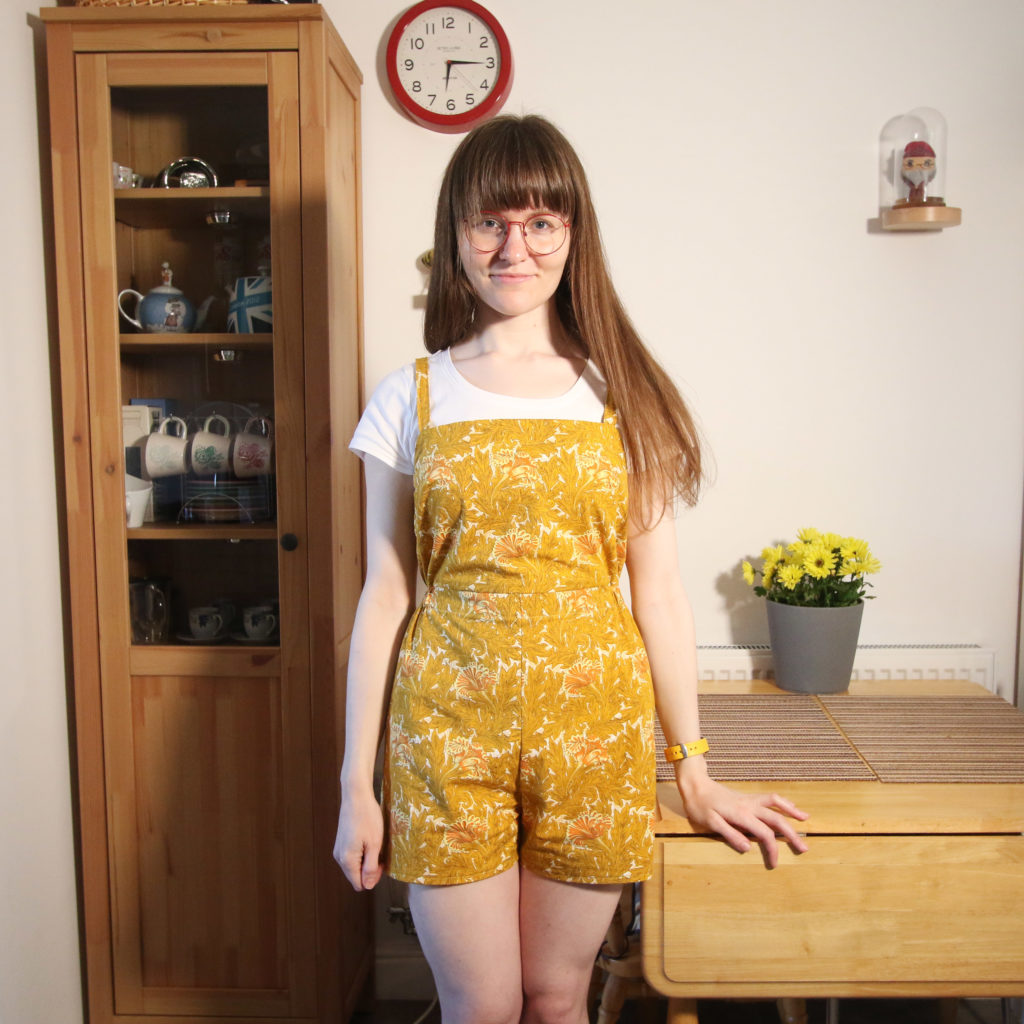
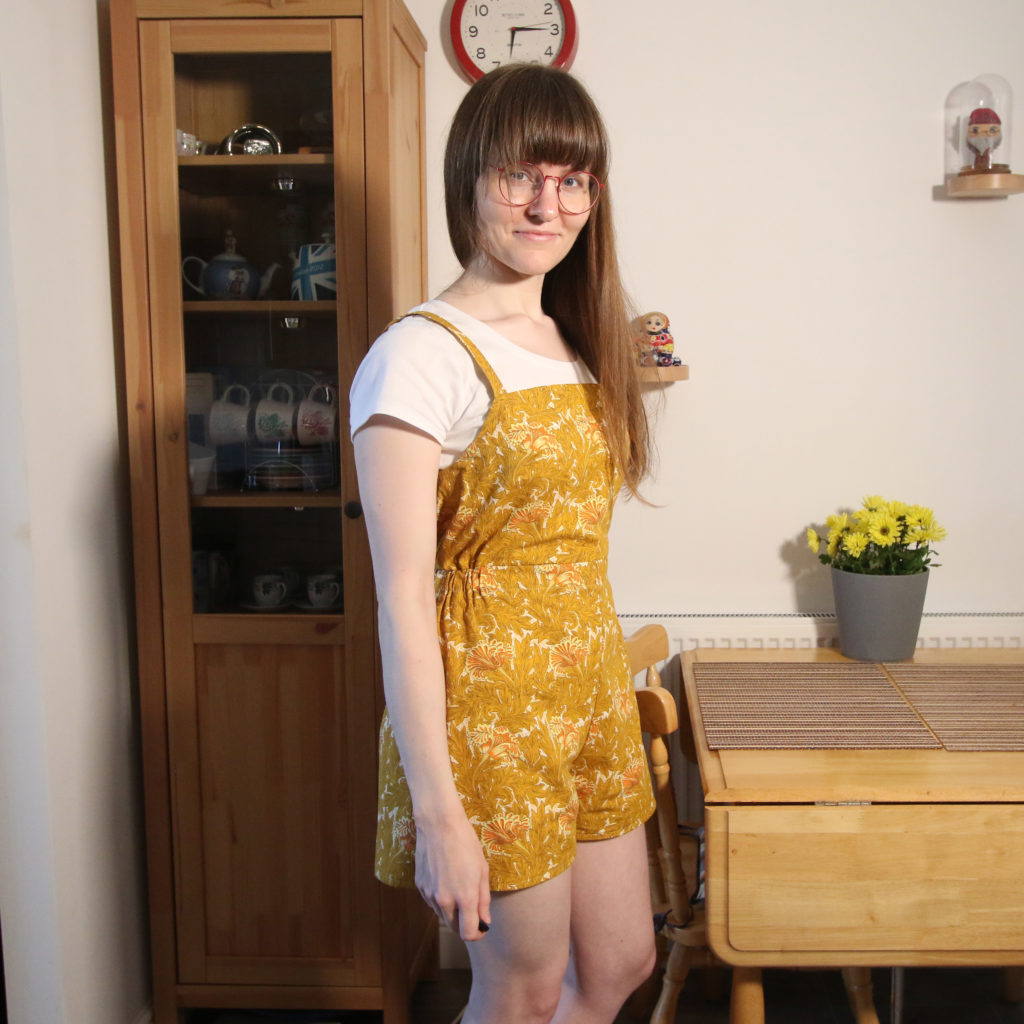
I am surprised at how fitted they have ended up considering the design is loose fit.  There is not much wiggle room for putting them on when they go past your hips.  My measurements are fairly standard, but if you do vary quite a bit and want a fitted finish, you may need to consider adding a zip.

I was torn between adding the tie and not having elastic or just going with the elastic.  As you can see, I went with the elasticated waist.  I decided to go with it in part because I would have had to remove the excess length on the shorts, but also felt it would be easier to wear with the elastic.

Sadly, the shorts are too short to incorporate the in-seam pocket.

Time Taken

It’s tricky to gauge how long it took me, as I went wrong a few times and I spent about an hour or so turning out those narrow straps!  I made it over a few days, but it probably equates to about two days.

Conclusion

Making this version has made me more tempted to make a longer dungaree version of the Safiya.  Living in the UK, I’m not sure how many short versions I would wear, but it’s definitely a fun addition to the wardrobe, and a good way to re-purpose an old curtain.

You can watch my related video on the vlog below:

Play Video
Continue ReadingPattern Review: TATB Safiya Dungarees/Playsuit hack

Pattern Review: TATB Shortie PJs

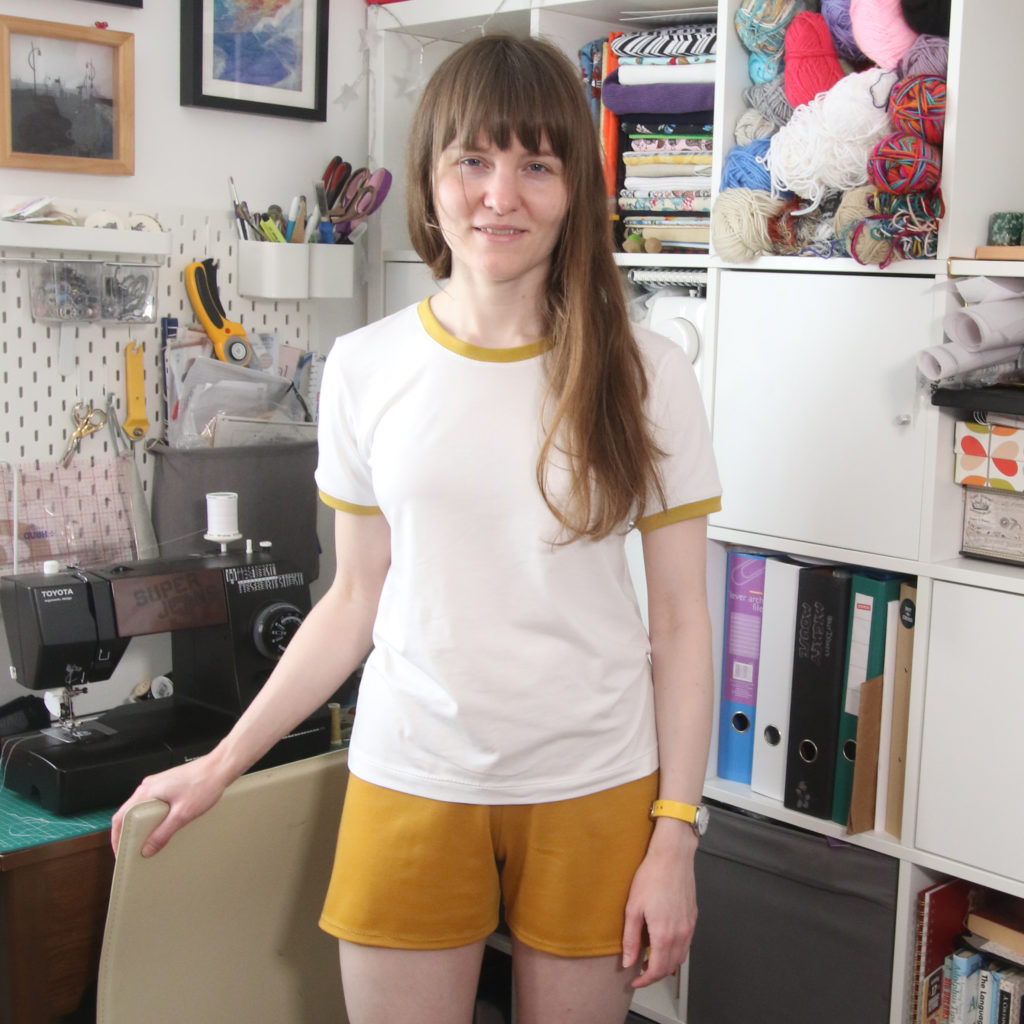
Here is my pattern review for the shortie PJs from the Make it Simple book!

Details

  • Name: Juno PJs
  • Variation: Shorts and short sleeved – with cuffs from Tabitha variation
  • Design House: Tilly and the Buttons / Tilly Walnes’ book Make it Simple
  • Size I made: 4

Fabric

I used up some yellow ponte fabric which I originally used for my yellow Kinder cardigan for the shorts.  The top was made from a nice single knit fabric I found in my local Trago shop.  The yellow ribbing was from My Fabrics.

Difficulty

I found this a nice simple make overall and would recommend to confident beginners.  The only bit which may be tricky is the neckband as it may need adjusting.  I followed the practice I learned from another pattern where you machine tack the neckband on to begin with to check it isn’t too baggy before going for it with a smaller stitch or overlocker!  It turned out I didn’t need to adjust it but it is good to be safe.

The waistband on the shorts is made in a similar fashion to the neckband.  I was concerned that I might find this a bit tricky as it can be easy to stretch elastic inconsistently, but it turned out to be fine.

For the shorts, you must adjust the trouser pattern from the trouser version, but the instructions on how to do this are really clear and I found this very easy to do.

Clarity

For the shorts, I followed the longhand instructions.  For the top, I followed the checklist instructions, but referred to the longhand version as required.  Both sets of directions were clear.

Design and Fit

I’m happy with the fit.  As it is made from a knit fabric, I didn’t worry about adjusting it.  There are clear instructions on how to measure out the elastic for the waistband.

You decide how long the shorts are, so I opted for and inside leg seam of 12cm, which I think is about double the version shown.  This length is just right for me; not too short and not too long.

I think the ribbed cuffs on the top are a nice addition and complements the shorts.

Time Taken

The book suggests 50 minutes to cut out and 2 hours to make.  I took 1 hour 30 minutes to cut out and 3 hours to make.

I couldn’t cut my shorts on the fold as I was using a remnant, and I added the cuffs to the sleeves, which probably added a bit of time onto the total.  However, I think I am just a slower sewist than those that helped create the guide times!

Conclusion

I’m happy with the end result and I might made the Tabitha t-shirt on its own one day as it would go under dungarees or a pinafore nicely.  It is like the Peak t-shirt by Wendy Ward in that you can embellish it and adapt it to your own style.  I think I will add a bit of embroidery on the top soon to give it a bit more character.

You can watch my related video below:

Play Video
Continue ReadingPattern Review: TATB Shortie PJs

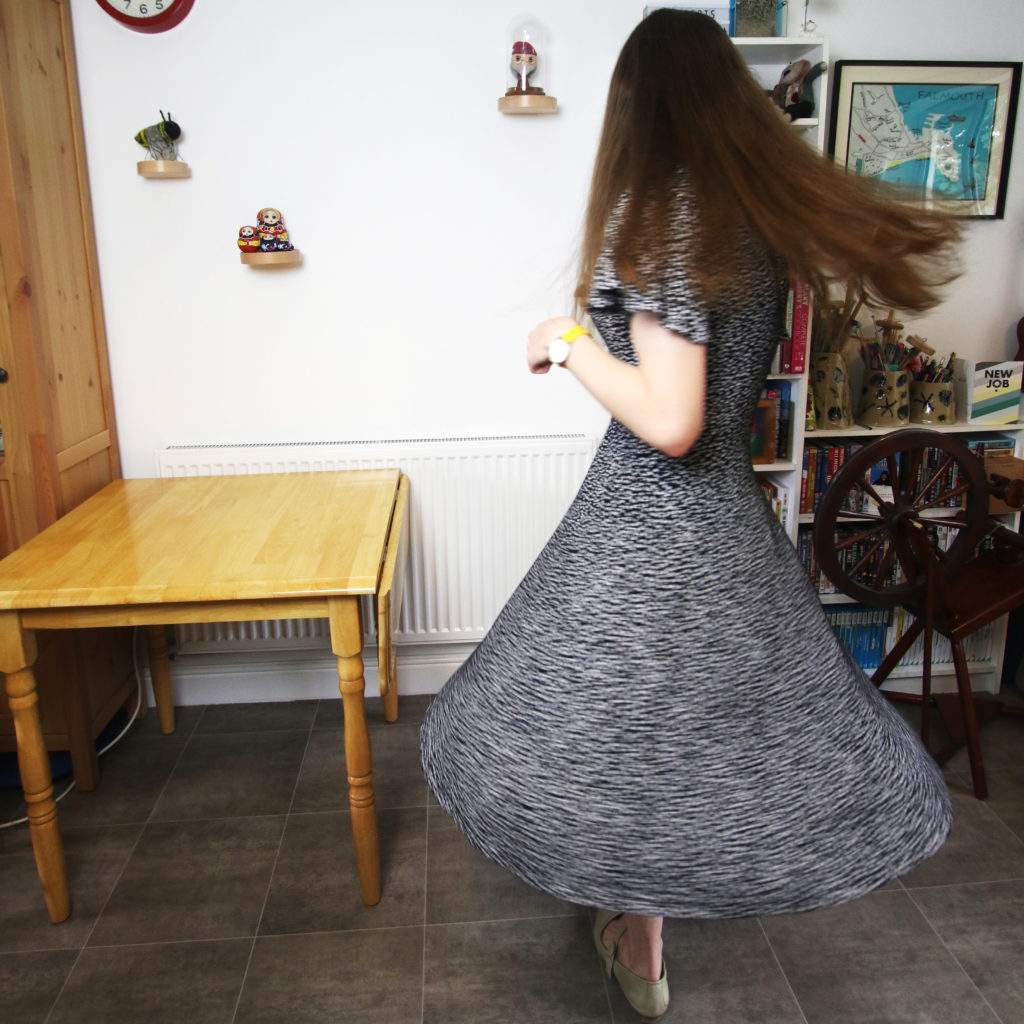
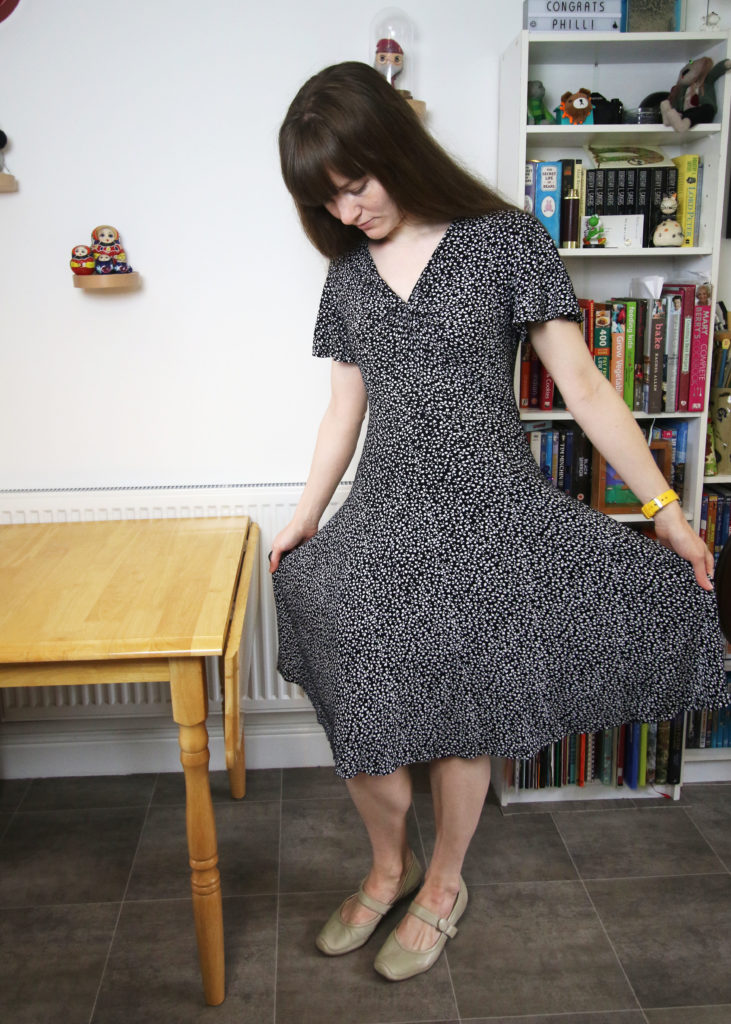
Pattern Review: The Joni Dress

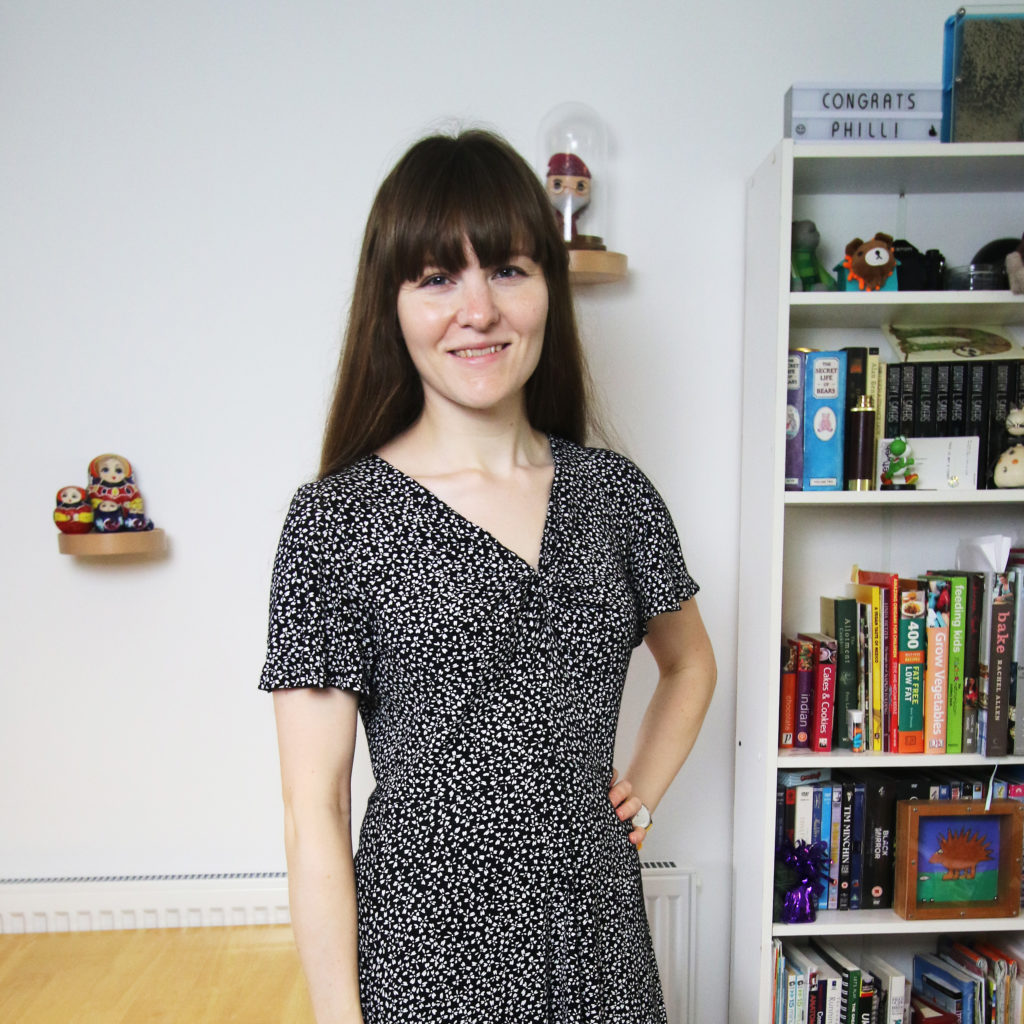
I am gradually getting through the book Stretch! which came out last year!  Most recently, I made the Joni Dress.

Details

  • Pattern name: Joni
  • Variation/Style: Flared short sleeves
  • Design House: Tilly and the Buttons/Tilly Walnes book Stretch!
  • Size I made: 4

Fabric

I have used a simple two colour floral fabric from a local haberdashery a year or two ago.  It is quite thin but substantial and opaque and as a result the skirt section hangs well.

Difficulty

It is a bit more challenging than a simple knit dress, but I think it looks more complicated than it is to actually make it.  I’d say it is suitable for confident beginners who have had a go with knit fabrics before.

Clarity

Like all the other TATB patterns I have tried out, the guidance is very clear.  However, I did follow Sewisfaction’s video tutorial on making the front bodice twist rather than use the book instructions.  Next time, I might try out the original instructions just to see how much difference it makes.

Design and Fit

The design of this dress is great.  The twist detail adds interest and the volume in the skirt section along with the subtle dipped hem makes this dress look more complex than it is.

As it is a knit dress, I found that I didn’t make any adjustments.  My bust size was a bit bigger than the guide for the size 4, but with this fabric it did not matter and fits fine.  As it has a dipped hem, and it has more of an empire waistline, I did not bother to adjust for my sway back.

Time Taken

This was a relatively quick make or a slightly more detailed knit dress.  I took a bit of extra time drafting the flared sleeves and choosing the sleeve length but this was still fairly fast as the instructions are clear.

Conclusion

I love this dress!  It’s so comfy and easy to chuck on for the day.  I definitely want to attempt making one with stripes soon.

Play Video
Continue ReadingPattern Review: The Joni Dress

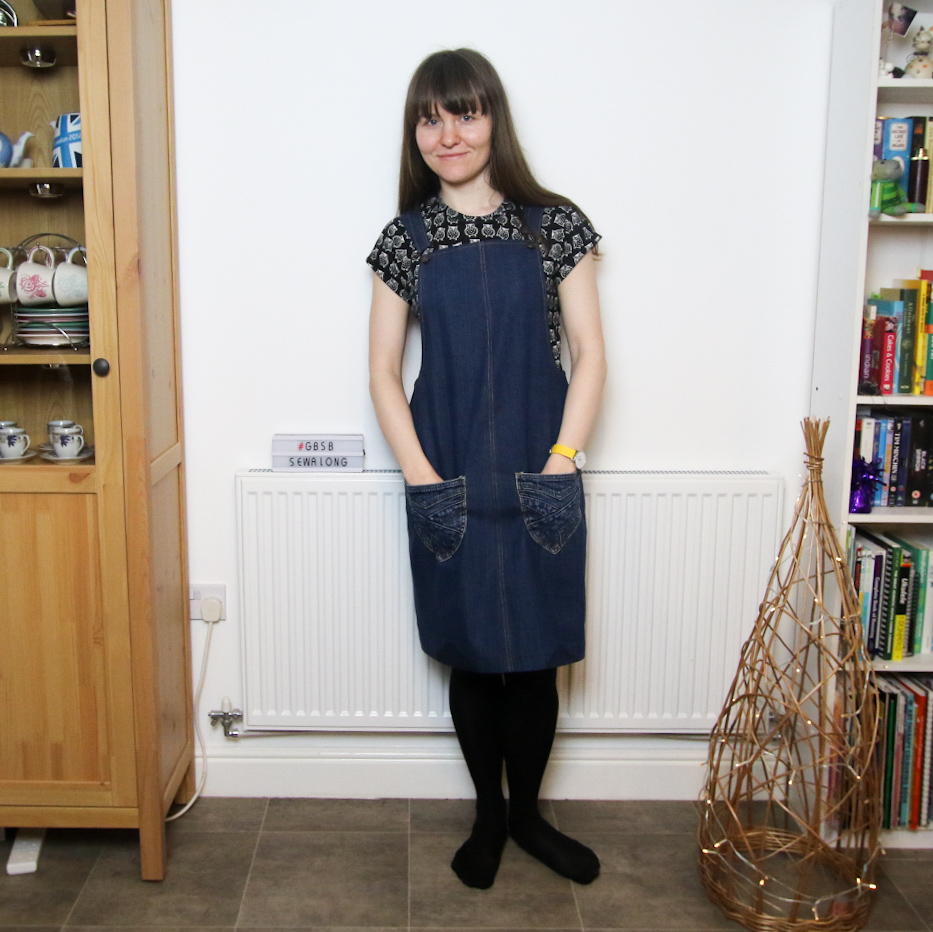
Pattern Review and Upcycle: Cleo Pinafore

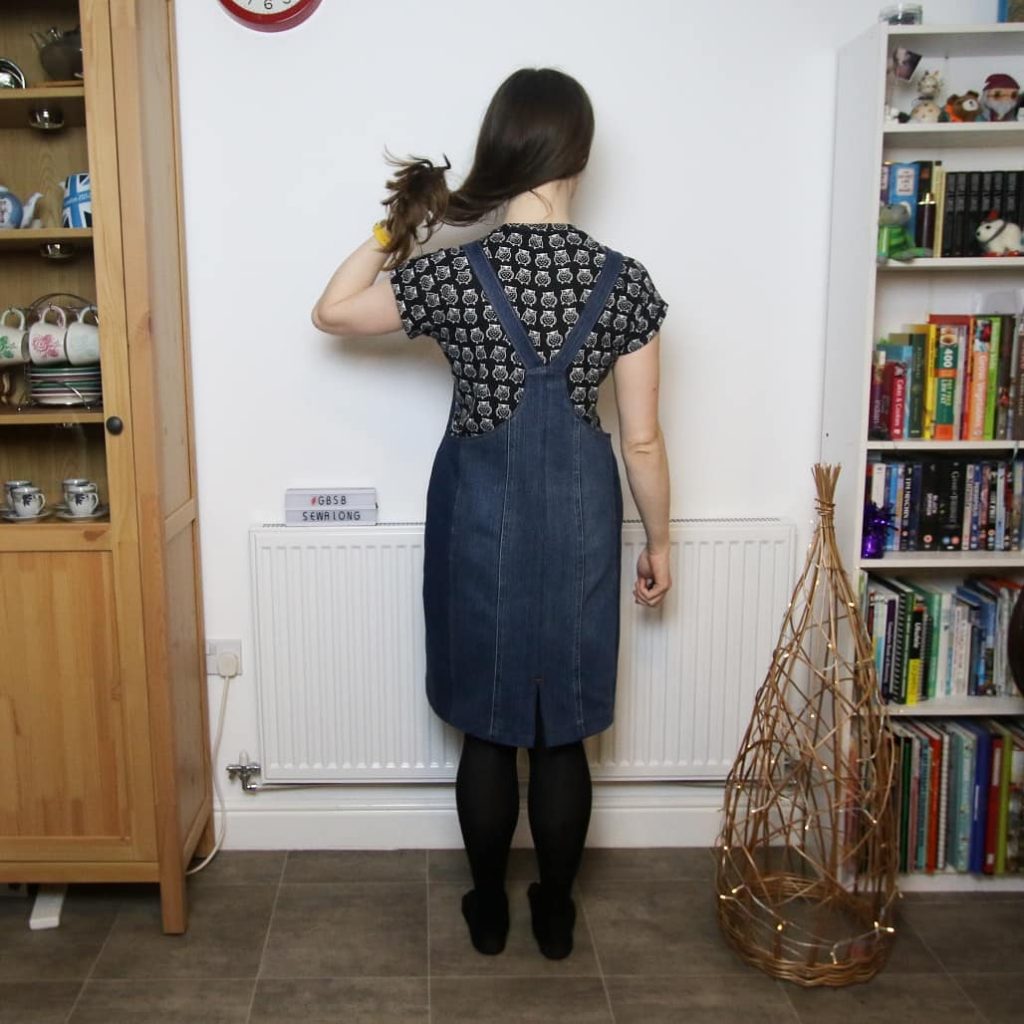
This is arguably one of my faourite makes of 2019 so far – the upcycled cleo!

Details

  • Pattern name: Cleo
  • Variation/Style: Knee length
  • Design House: Tilly and the Buttons
  • Size I made: 4

Fabric

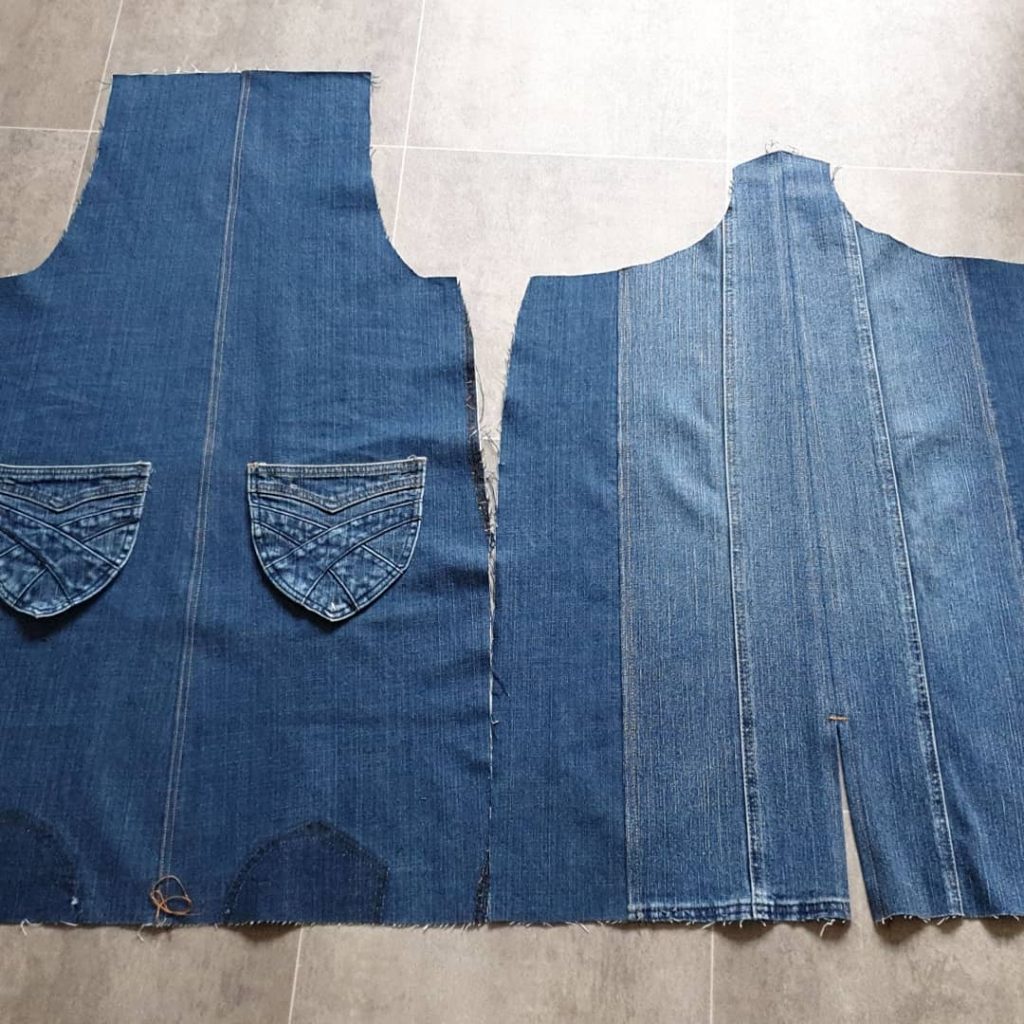
I made this completely out of two pairs of size 16 jeans which were gifted to me the other year.  I had my sights on transforming them into a pinafore towards the end of the year but Sewisfaction’s Great British Sewing Bee challenge brought it forward.

The denim of the jeans is lovely and thick and and as a result it is a real treat wearing this pinafore.  Best of all is that it doesn’t crease – yes!

Difficulty

The pattern is beautifully simple.  I did not have to make any adjustments as it is loose fit, but you may wish to grade between sizes if your measurements vary.

The most challenging part for me was topstitching as I wanted to use a contrast thread colour and I struggled to get the tension right on my machine.  If your fabric is thick and your machine is not suited to heavy weight materials, you may struggle going over seam bulk.  However, I found that using a denim needle for the sewing up and a top stitching needle helped, along with the trusty walking foot.

The hardest part was cutting out all the parts from the jeans.  I am not convinced that I cut the front sections perfectly on the grainline, and unpicking the seams took hours!

Clarity

As I have mentioned in other TATB pattern reviews (and many others have said the same), the instructions are very clear and guide you step by step.

Design and Fit

Cleo is a loose fit garment and as a result, is easy to fit.  If you use buckles and don’t stitch down the straps, it even leaves room for adjusting in this area at any time.

I decided to put the front slit at the back.  I think a slit is needed for the knee length version or your walking gait might be a bit restricted.  I really like the hip pocket detail as well.  I was tempted by the bib pocket but it seemed a shame to not use two of the ready made back pockets from one set of jeans!

Time Taken

It is really difficult to evaluate how long it took me to make this garment.  The sewing up was pretty quick and didn’t take long.  The main time sink was unpicking the original jeans construction as they are made so well!  However, if you made these from a piece of fabric it would not take long at all, especially as the pattern is designed for use with stable woven fabrics

Conclusion

I have always had reservations about the Cleo.  Like many of the TATB patterns, I’ve always felt that I like the look of them but that they might not suit me.  However, having made it and worn it many times, I am really happy I went ahead with it.  It has soared to the top as my favourite pinafore to wear and I really feel that repurposing the jeans has made it such a satisfying make to wear that is likely to last a long time.  The fabric of the jeans is so substantial and feels so nice – I suspect it would have cost me fair bit to find the equivalent in a fabric shop!

In particular, I love the blend of the two jeans.  They are a similar weight, but I like the fact you can see the medley of the two types of denim.

Play Video
Continue ReadingPattern Review and Upcycle: Cleo Pinafore

Pattern Review: Gable Top

I realised the other day that I never reviewed the Gable top pattern.  Better late than never!  Also, it means that I have lots of experience in wearing it!

Details

  • Pattern name: Gable Top
  • Variation/Style: View 3 without the cuff
  • Design House: Jennifer Lauren Handmade
  • Size I made: 12

Fabric

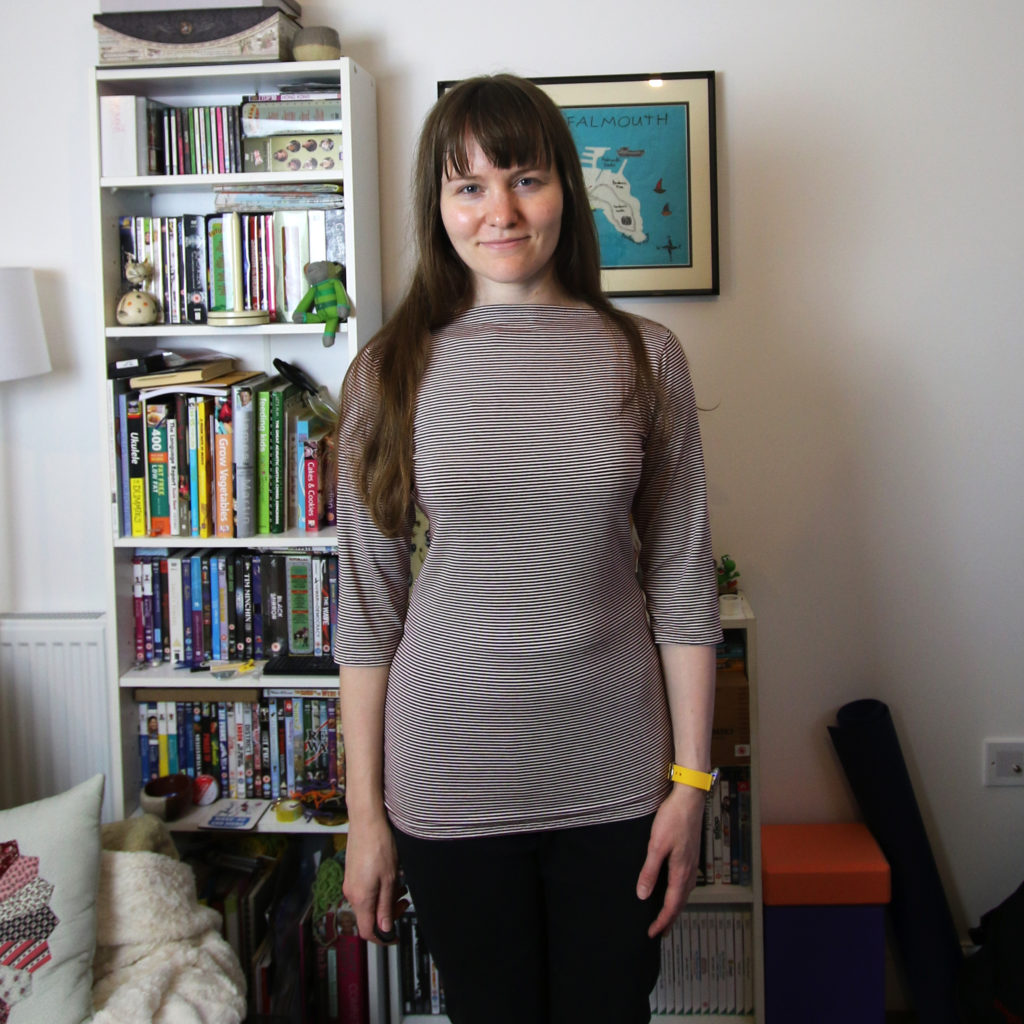
Stripey stretch fabric remnant from The Knitting & Stitching Show in 2017.

Difficulty

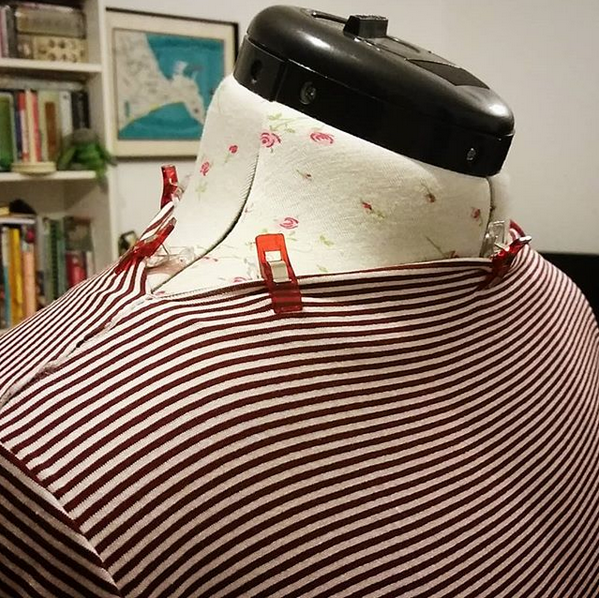
This is a really simple top to make consisting of only 4 pieces of fabric.  The main challenge for me was the fabric I chose as it was very stretchy.  You may wish to take extra care on the neckline, which I would argue is the trickiest part.

Clarity

It is very simple although I did get a bit confused at the neckline.  However, Jennifer Lauren has a video to help you on this to use in tandem with the written instructions.

Design and Fit

The top has come out quite tight.  I am not sure if this is the pattern or the fabric (or both).  I am not used to wearing very fitted garments so this is probably where most of my discomfort stems from!  It’s also very long but I may have stretched it or the fabric I have chosen has encouraged this.  I will have to see how much negative ease the pattern has if I make it again.

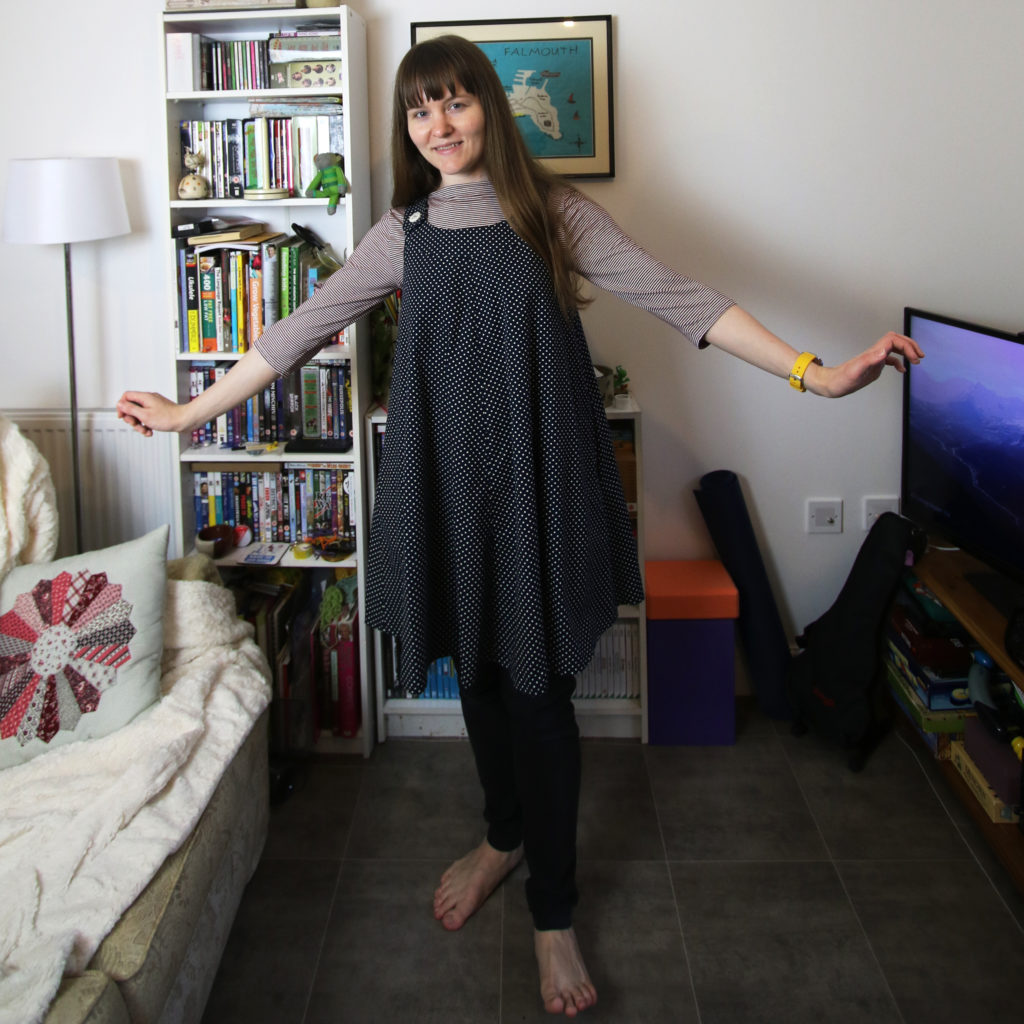
Design-wise, it is the perfect staple to go under a pinafore or dungarees – such as the Ivy Pinafore by Jennifer Lauren!

Time Taken

I’d say you can make this in half a day.  It’s very simple and super quick if you don’t have any stripe matching to do!

Conclusion

This version feels a bit too fitted for me so I will probably make it in a larger size next time, or perhaps choose a different fabric which is not so clingy.  However, I have worn it lots with my pinafore collection (yes, it has turned into a collection… expect more pinafore reviews!)

Play Video
Continue ReadingPattern Review: Gable Top

Pattern Review: Jarrah

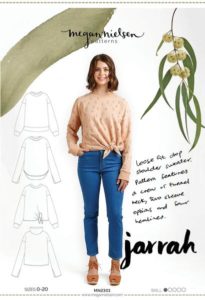
This year I was fortunate enough to be a pattern tester for one of Megan Nielsen’s new patterns which came out on 1 November 2018.  Here is my pattern review of Jarrah.

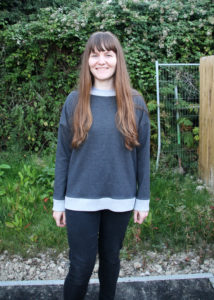
jarrah front view

Details

  • Pattern name: Jarrah
  • Variation/Style: A
  • Design House: Megan Nielsen
  • Size I made: 10

Fabric

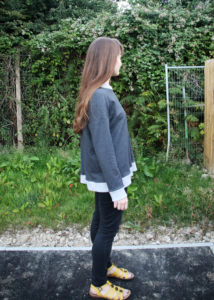
I used a grey medium-thickness knit fabric – a bit like a ponte?  I found it in a charity shop in Helston and it was just what I was looking for!  The lighter grey is ribbing which was also from a charity shop (but has been in my stash for years…)

jarrah side view

Difficulty

I would say that this pattern is a nice easy one for beginners.  The only real challenge was the neckband for me.

Clarity

I found that the instructions were clear.  I did go on auto pilot at one point (the neckband) and almost do it wrong, but when I actually read it, it was clear!!  The pattern provides markers for attaching the neckband rather than advising you to ‘quarter’ the neckband and neck opening yourself, which is great, you just need to read it!

Design and Fit

I made a straight size 10 – it’s a loose fit design and I’m a fan of baggy jumpers!

The design has grown on me – especially now that it’s cold enough to wear it here in the UK!  However, if I made another, I’d go for the funnel neck version.

Time Taken

I completed this make in a day.  The hems were easy as I was attaching the ribbing and the fabrics were stable knit fabrics which helped.  Also, I didn’t need to adjust the fit.

Conclusion

Overall, it’s a great classic staple for your wardrobe, with some lovely variations to try out.  Due to the different variations which come with the pattern (high-low hem, tie knot, funnel neck, as well as this one I’ve done), you get a lot of value for money out of the pattern.

Play Video
Continue ReadingPattern Review: Jarrah