#the100dayproject – #100daysofstashbusting
The hundred day project begins on Tuesday 3 April!
My chosen project is to spend 100 days stashbusting.
Me Made May 2017 – reflections
May flew by (although that seems to be my reflection every month..) and another me made May has finished. This year, I pledged to wear at least one handmade garment every day.
Wool makes update: Crochet by day, knit by night
No completed achievements to show this month as I clink on with a couple of larger projects, but I fancied sharing some photo updates of my progress:
Crochet by Day
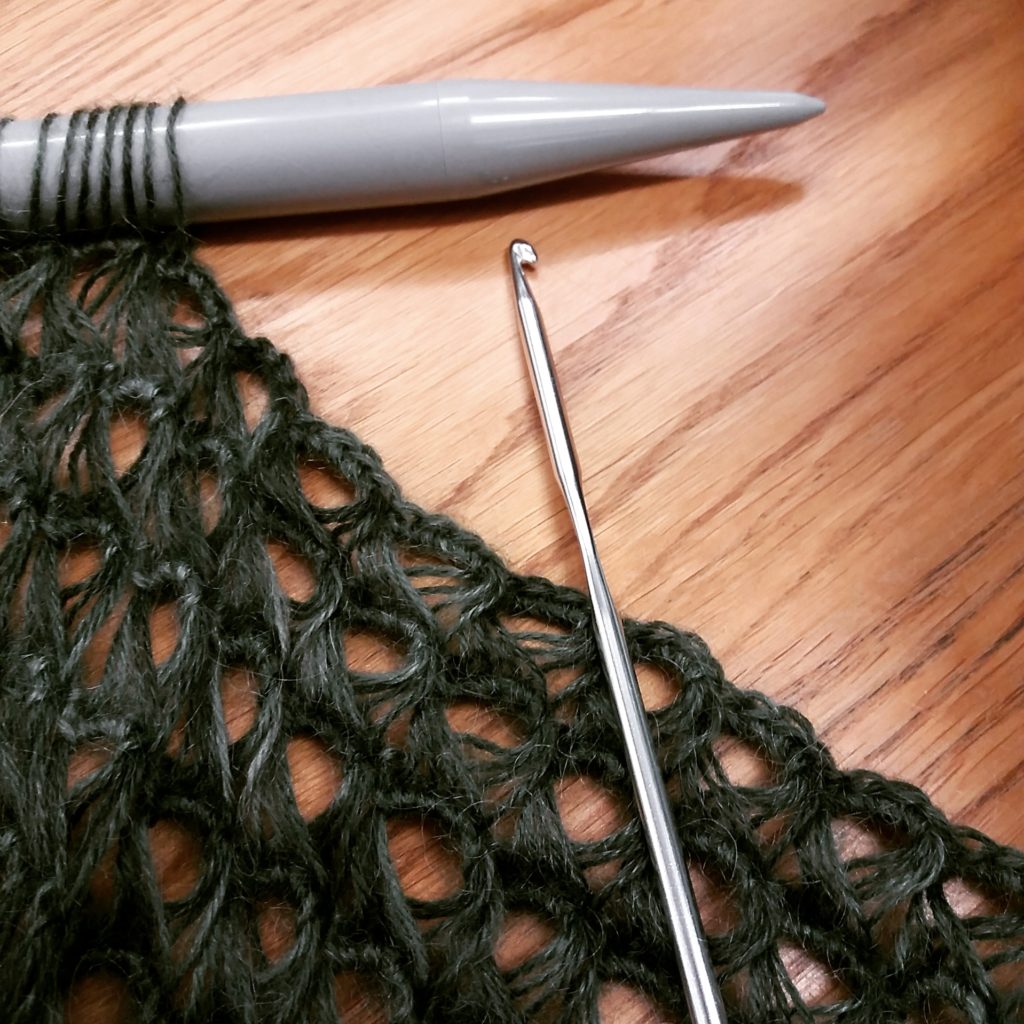
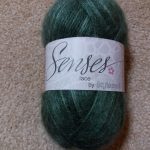
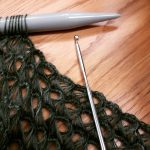
I’m a lunch crocheter at the moment – well, a broomstick crocheter anyway – and am currently working on a birthday present during my lunch hours. The wool is called Senses by Stylecraft, and it’s been lovely to work with.
Phill has noticed that it does look like I’m knitting a camouflage to avoid returning to work through!
Knit by Night
My “at home” project is a knit a jumper with one ball mission. Phill bought it for me from the local wool shop and it’s been partially complete for 1 or 2 years (I lose track). I went wrong on the sleeves by misreading the pattern and had to undo a huge chunk so I am back on sleeve #1!
Upcoming!
I’m quite determined to complete the above mentioned projects before I begin this one, but I got this kit from my friend for my birthday, and I’m very keen to begin it!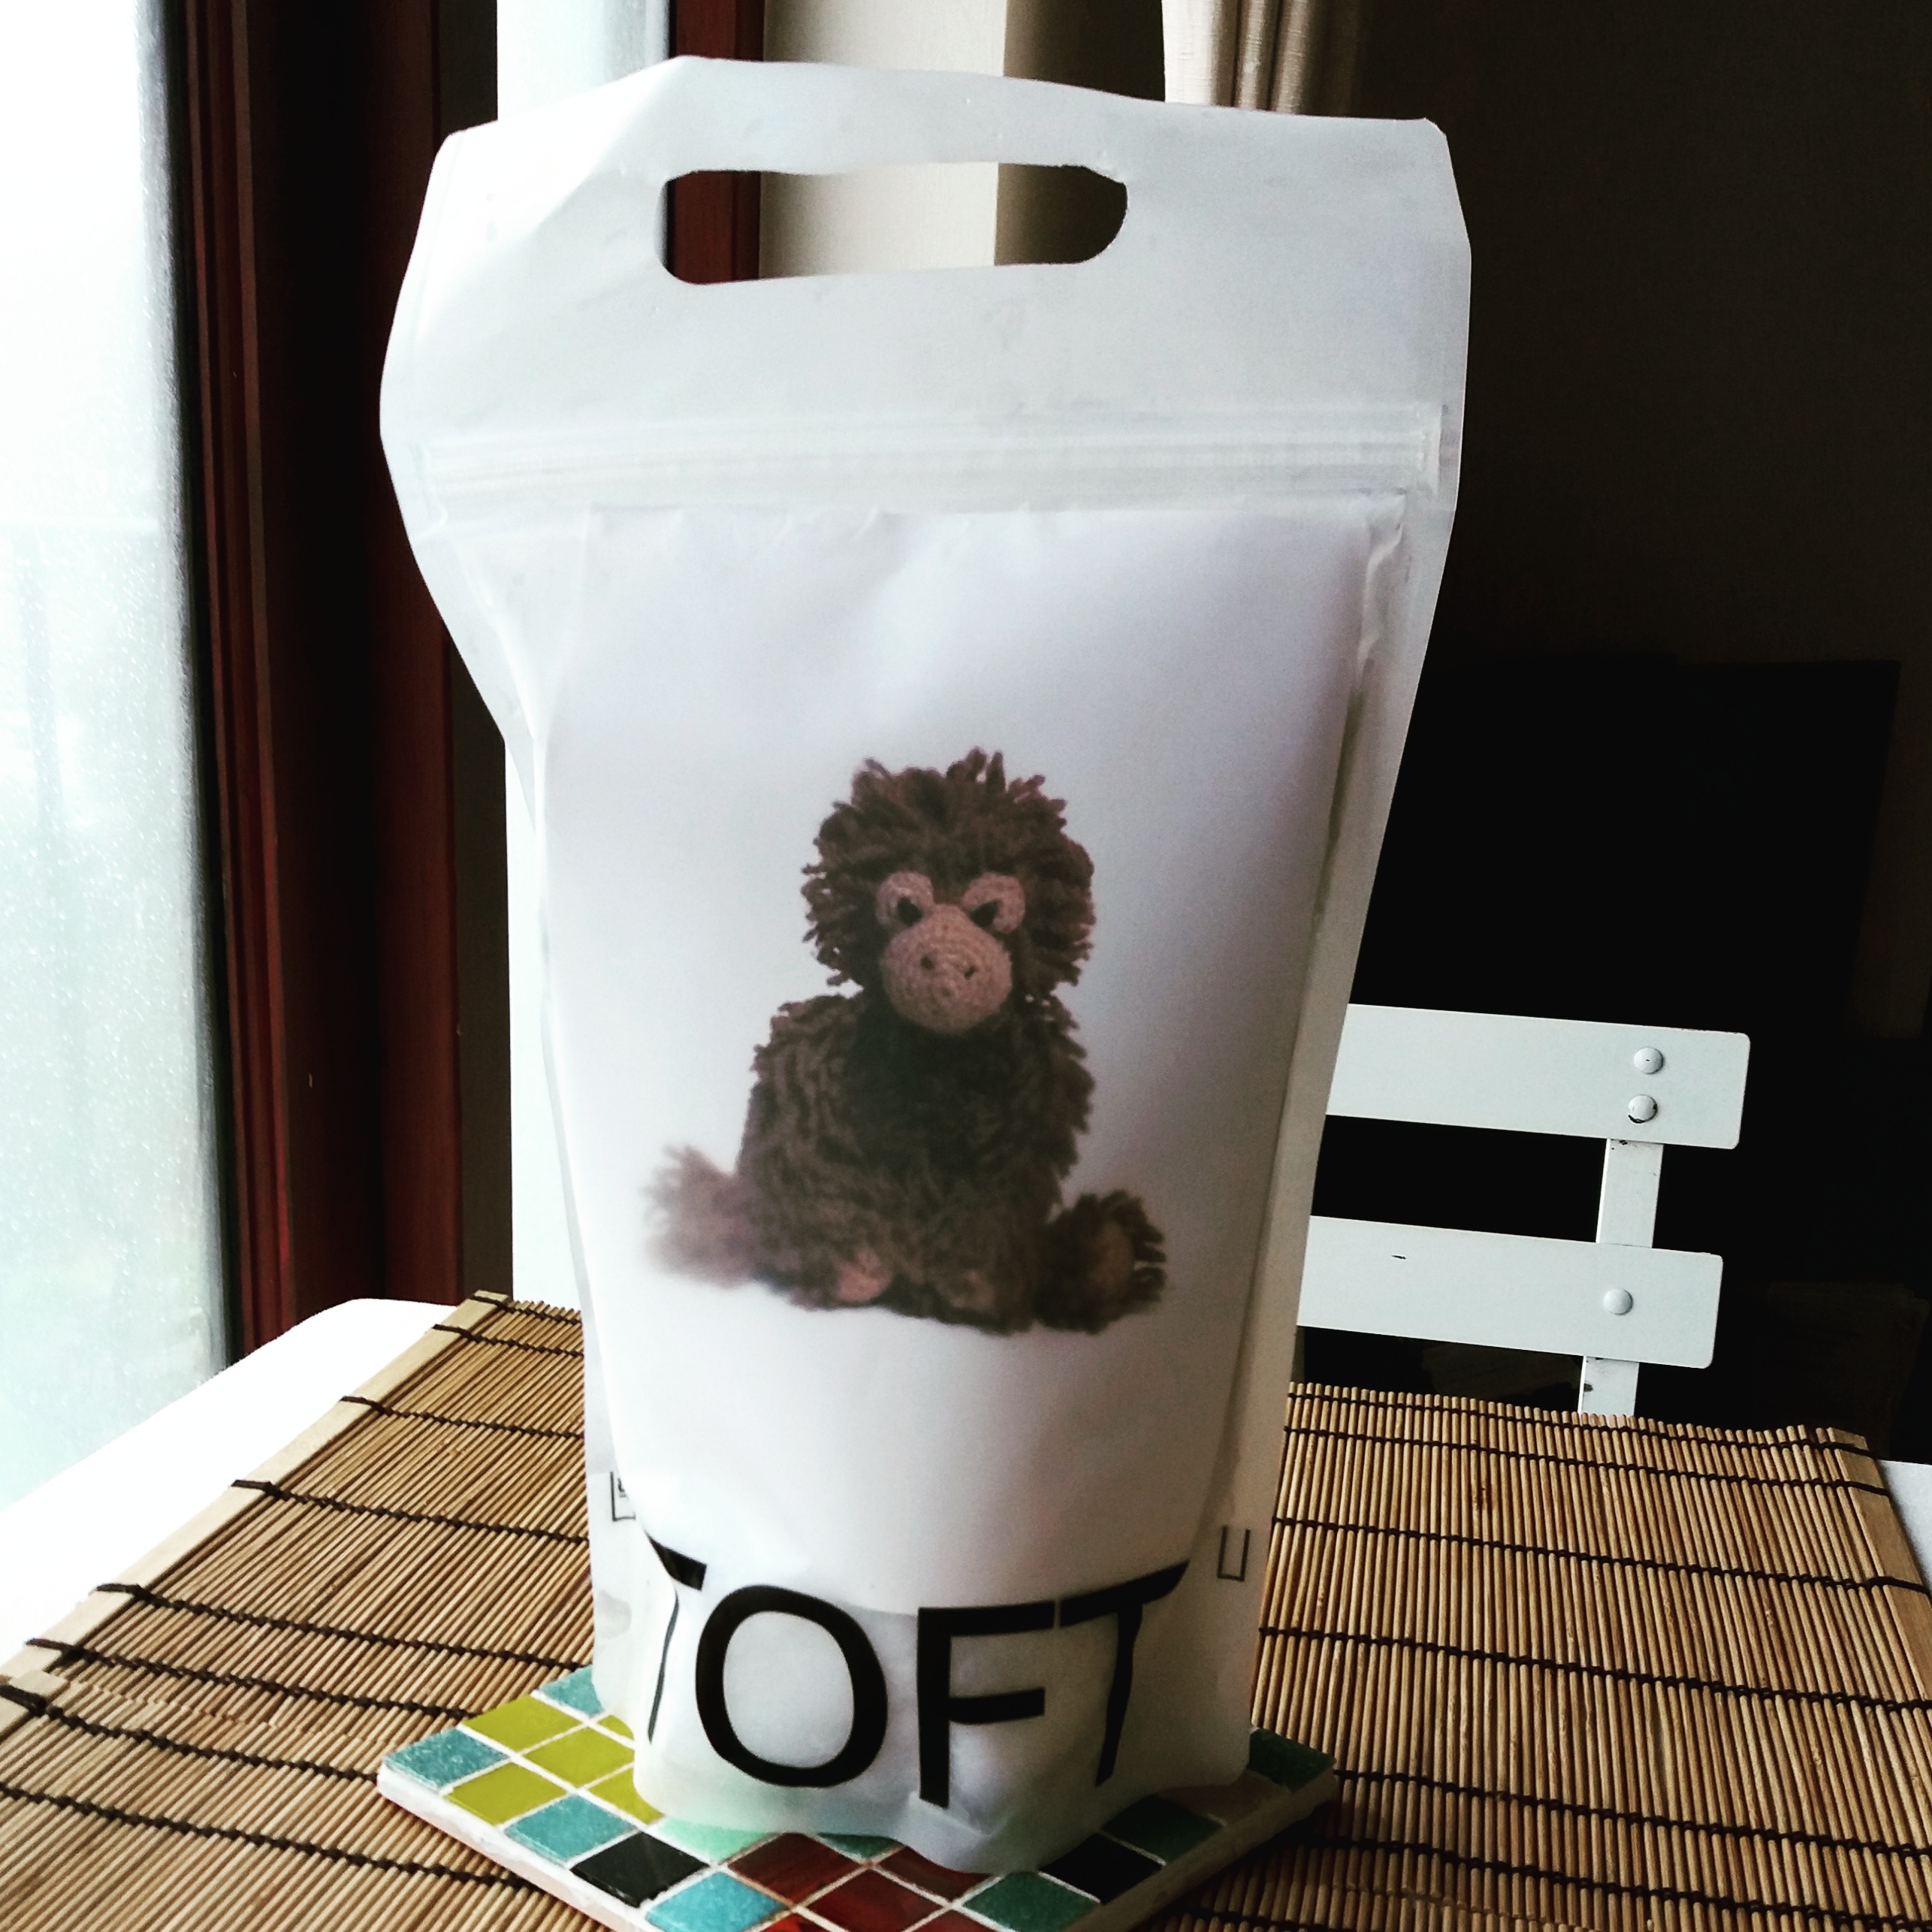
The 19 day cardigan make (and my 4 year cardigan make!)
I did not make the 19 day cardigan – my mum did. and the 19 days include the days she went to work and days she couldn’t knit; it’s just how many days it took from purchasing the wool!
Ceramics for the textile focused crafter
For the last two years, I have been going to evening classes to learn more about the challenging skill of ceramics.
Ceramics does not come easily to me, but perhaps this is why I’m drawn to it. I struggle to roll out coils for hand building with any consistency, my slabs seem to come out lopsided even when I use guides, I glaze unevenly which causes crazing, and I grapple with the wheel on most occasions. But there is something so absorbing in the processes involved in ceramics, and when one item comes out better than expected among the multitude of items which are deemed as “lessons for next time,” it can be fulfilling.
I have veered away from “traditional” ceramics. By this, I mean the classic goal to make either wares for your kitchen or dining, or even sculptures. I have made the odd item such as an oven dish and a mug, but they both crazed. I’ve managed to make some small bowls on the wheel – some of which have even sides – but they have ended up storing bobbins, pattern weights and sewing machine feet invariably as a lot of them are made from porous earthenware (which is easier to use on the wheel – for me anyway).
It seems I am naturally drawn to making ceramic wares which I can use with my other hobbies. In my first year of learning ceramics, I plucked up the courage to ask my tutor whether I could make a yarn bowl. Once the tutor knew what I meant by this, I was able to set off and make a yarn bowl from coil construction. It took many weeks to complete (which is why yarn bowls for sale are made on the wheel – not hand built) but I was delighted to have a practical item which I could use.
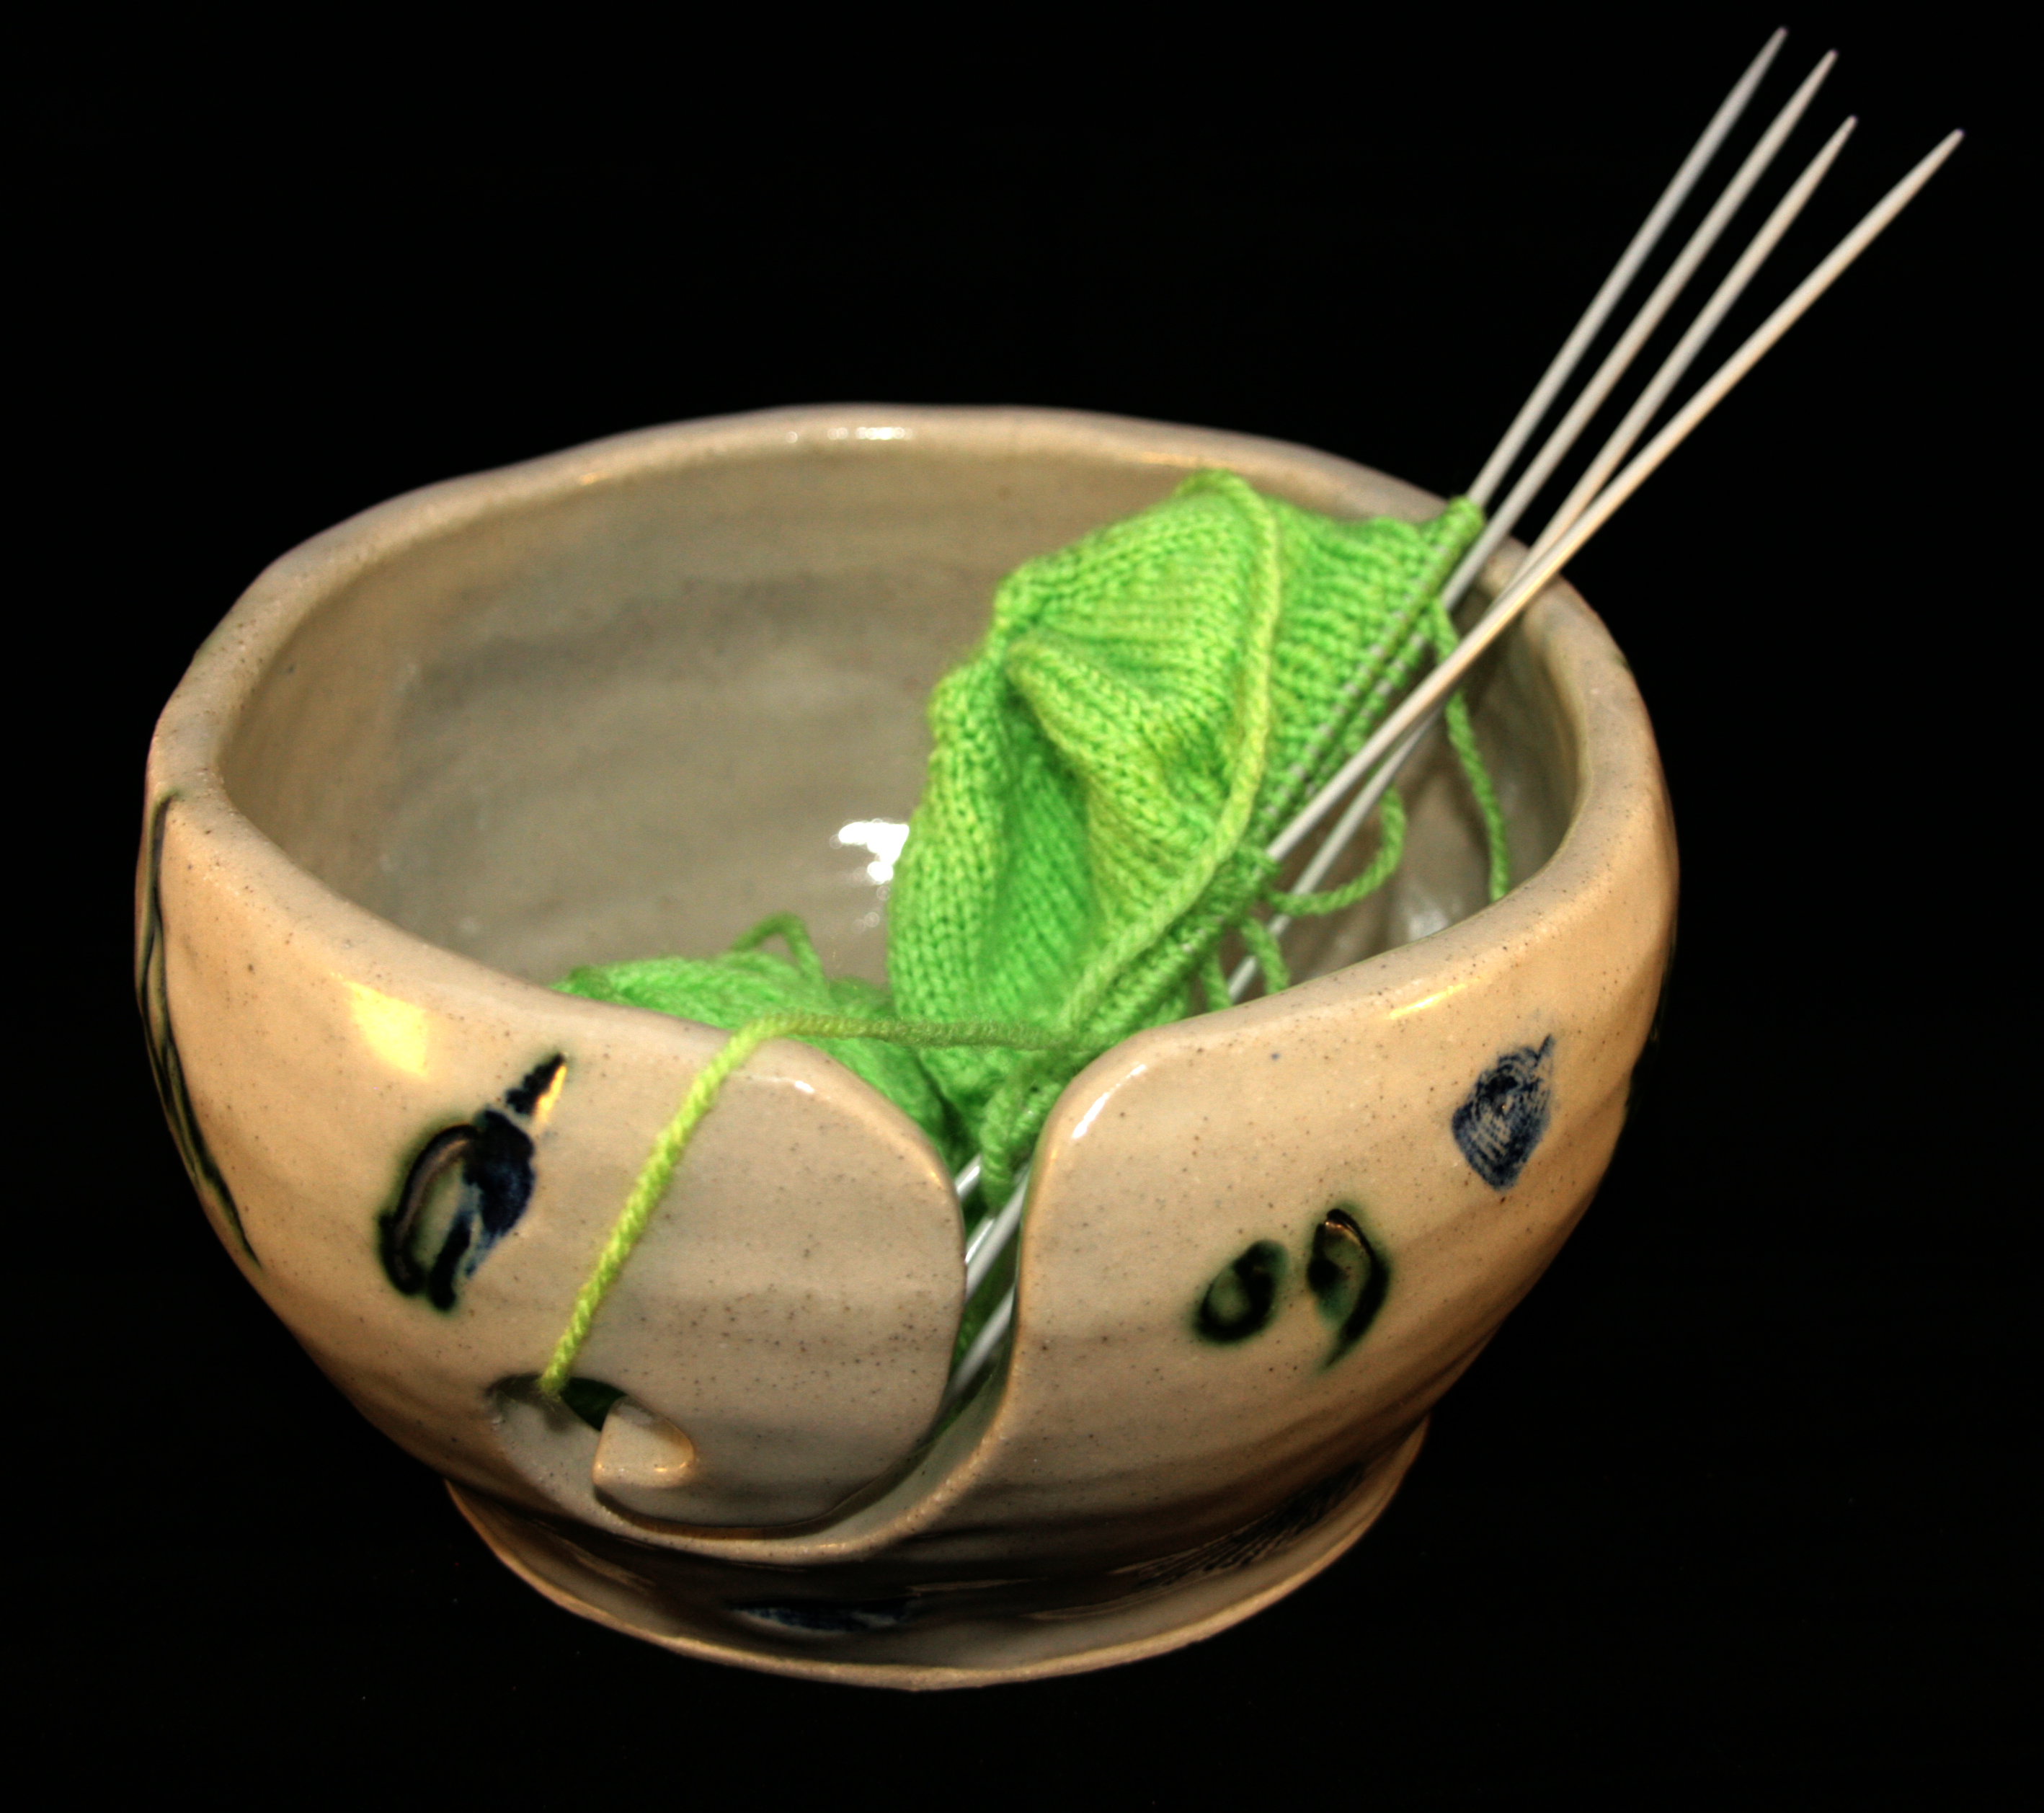
Following the success of the yarn bowl, I set about creating matching accessories. I created a set of needle and crochet hook holders. I even made a pin dish, replicating a family heirloom version.

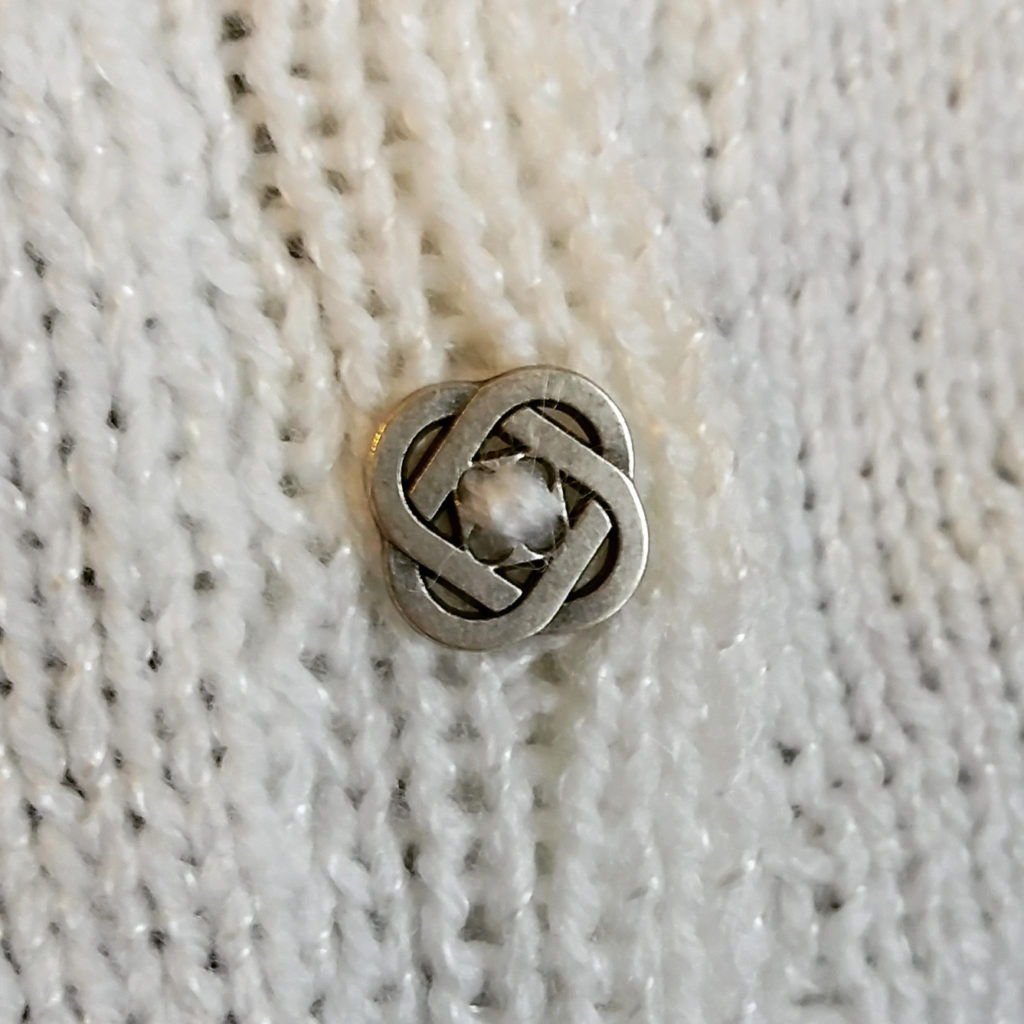
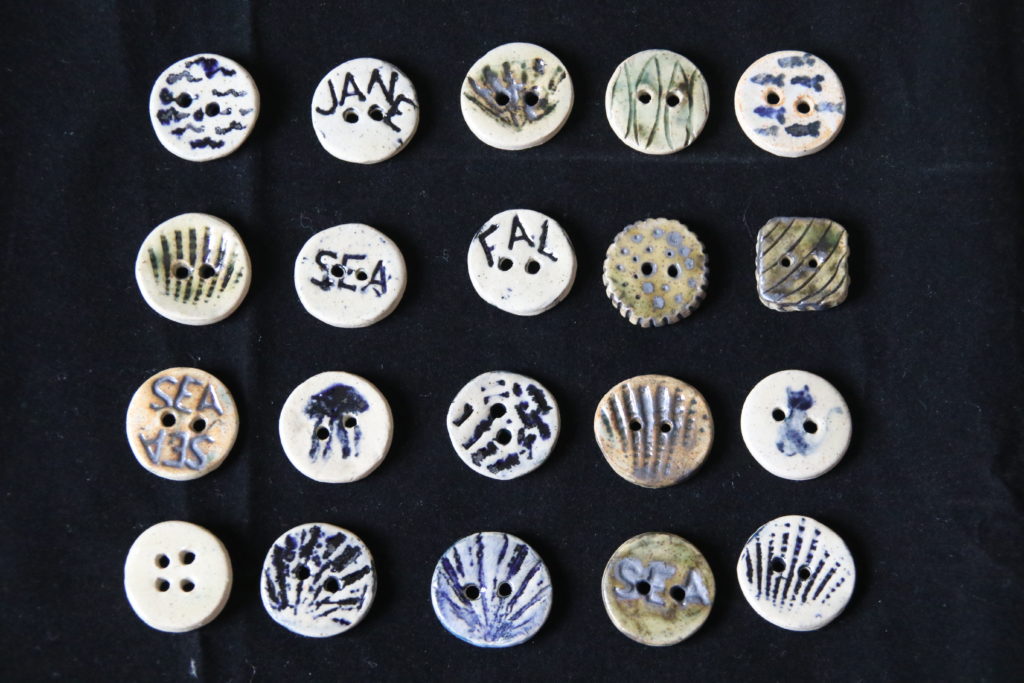
It wasn’t until more recently that I discovered the joy of making my own buttons. I began using stoneware, but also had the opportunity to make some white stoneware ones too (which looks a bit like porcelain and can be rolled out thinner), which I haven’t been able to part with!

If I think about it, I think part of the reason I haven’t made “traditional” ceramic items is due to that awful tendency to compare your own work to others. Everyone else in the class was making mugs and bowls, and many of them were amazing, which can subconsciously affect your own choices. No one else was making yarn bowls or buttons, so I couldn’t compare! However, everyone has their own style and skill development, and this shouldn’t be a reason to avoid certain makes or opportunities.
Moving into my third year of learning ceramics, I’ve decided I will try to make a few “traditional” pieces – namely mugs. I love the idea of sitting in a rocking chair with my knitting or crocheting, with a hot drink made in my own ceramic mug sitting next to me. This week, my first attempt crazed, but I’m going to keep trying so that I have one hand built mug (and perhaps one day I’ll be able to throw one on the wheel too)!
Saying that though, I may have to make some more buttons! Not only am I fond of them, they are useful surfaces for experimenting on with oxides, glazes and textures.
The Walkley Dress
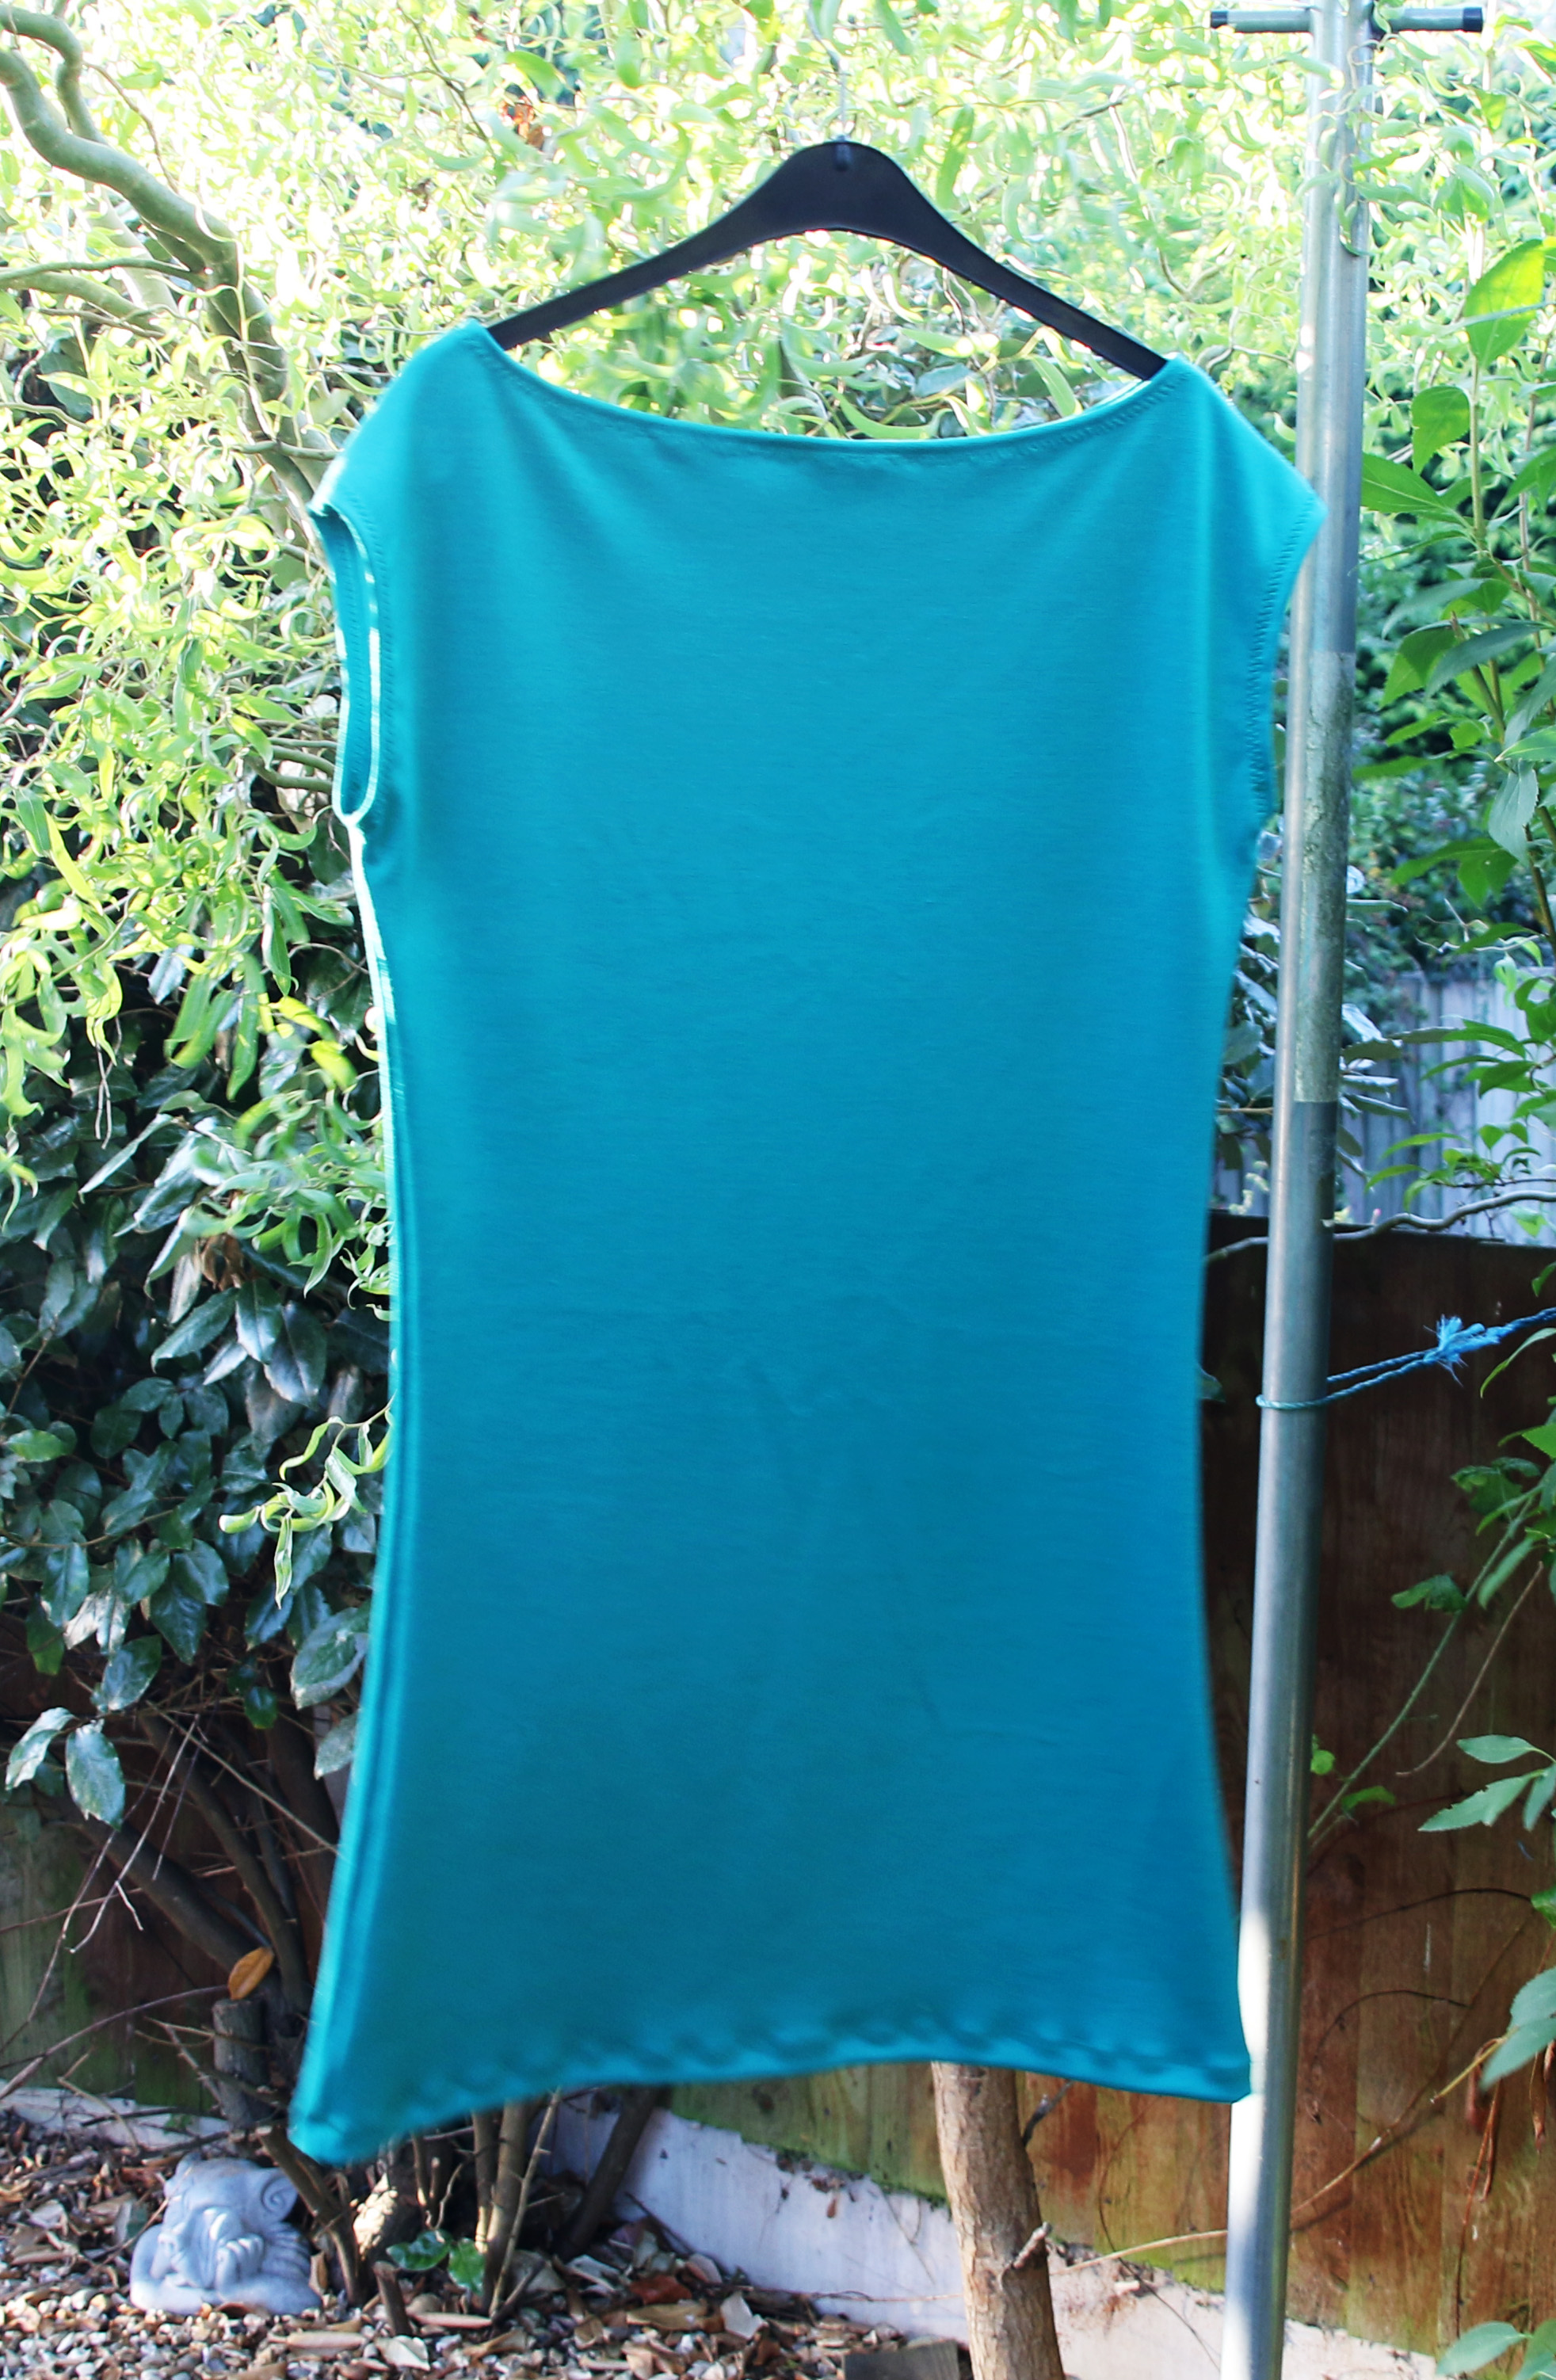
While on a bit of a dressmaking roll, I decided to delve back into the realm of knit fabrics. Having only made one successful garment with knit, I decided that I wanted to keep the pattern as simple as possible.
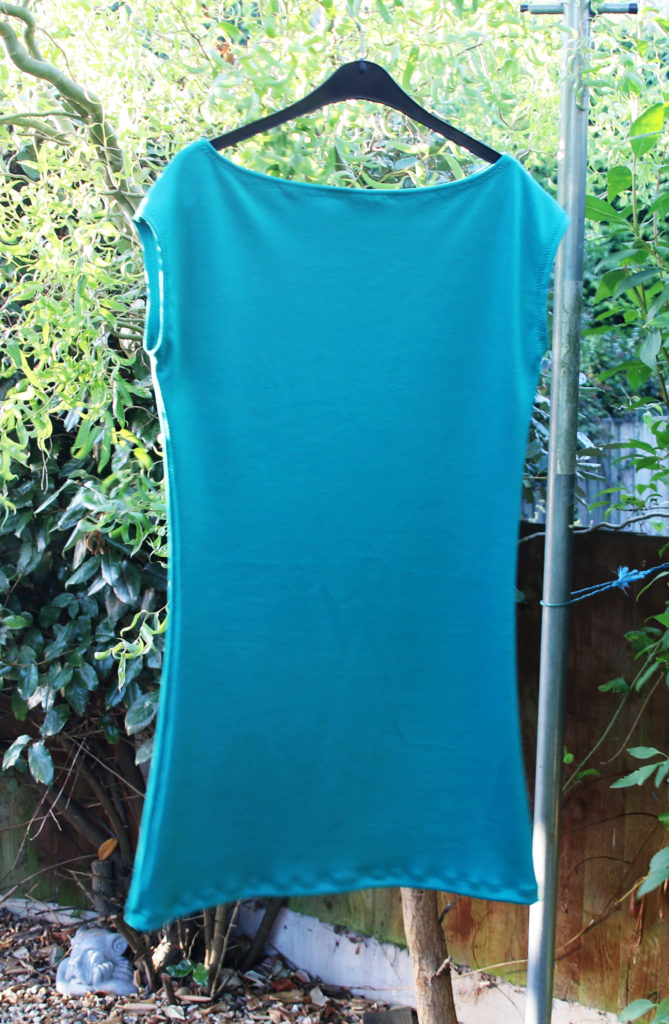
The simple question for this project was The Walkley Dress by Wendy Ward MIY.
This pattern requires two pieces to be cut out of your fabric, and they come from the same template. If you’re lucky enough to have 150cm wide fabric, you only need a metre! In this instance, I already had some fabric ready and waiting – a remnant from a fabric shop!
Setting up the machine proved the most difficult part. It’s been about six months since I last tried a stretch pattern, and it was a challenge to set up my machine. Following the advice from the pattern, I opted for the small zigzag stitch for the seams, and the three stitch zigzag for the hems. In addition, I attached a walking foot to my machine and loosened the pressure of the presser foot; without these adjustments, my machine did not want to stitch!
Originally, I planned to try a twin needle on the hems, but I managed to break my stretch needle one a while ago and haven’t replaced it yet. It turns out that I keep loosening the needle whenever I attach the walking foot to my machine!
I didn’t colour match the thread for this garment as I had recently acquired a set of threads in different colours (none of which were a perfect match) and I didn’t want to go out and buy more supplies on this occasion. The downside to this is that the hemming is a lot more noticeable than it would have been.
Also, I stretched the hem a bit while stitching (I did the hem before the neck and armholes). I didn’t have any stay tape or stabiliser, which could have helped to prevent this, but I did adjust my stitching technique to decrease the amount of stretching after noticing the issue on the hem.
The neckline is quite wide (though this could be in part due to my stitching ability!) but it’s really comfy and it is definitely a pattern which provides you with fast results which are satisfying! It’s a brilliant ‘first knit’ pattern too as there aren’t too many steps or seams to stitch which means you can focus on working carefully with the knit medium.
I think next time I use this pattern, I will definitely try out some knit stay tape to ensure that the garment lasts a long time. Also, I think I may opt for a patterned material.
I think I will give this pattern another go with the lessons learnt from this occasion in mind! As it only requires a metre of fabric to create a whole dress, and can be made in less time than a lot of the other patterns I have, I think another one will be made! As the pattern says, this make is versatile for all seasons as you can layer it for the winter or wear it as it is for the summer.

