Pattern Review: Bertha Cardigan

Recently, I received the latest Tilly and the Buttons book – Make it Simple – as a gift.  here is my first make from it!
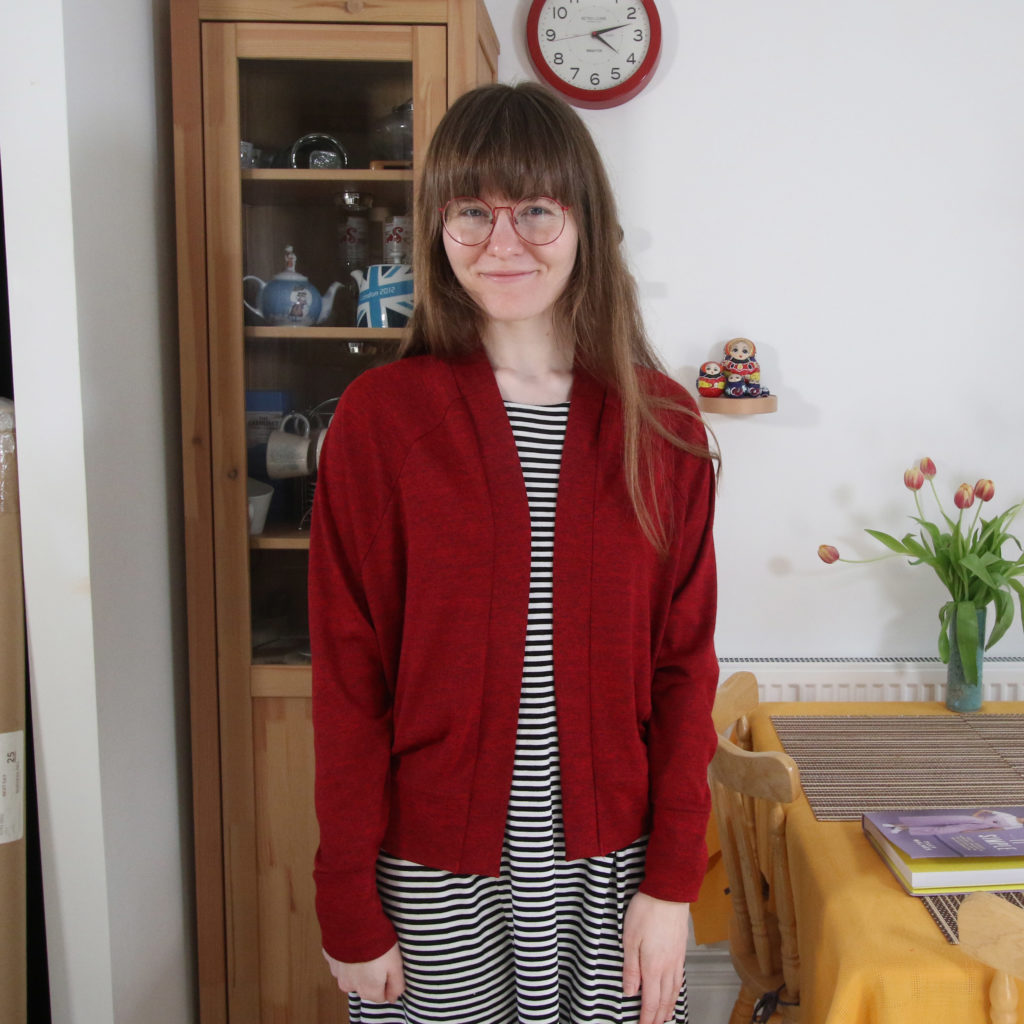
Details

Pattern Details:

  • Name: Bertha
  • Variation: Original without additions/hacks
  • Pattern House: Tilly and the Buttons
  • Size I made: 4

Fabric

This red drapey single knit fabric is from my stash and was meant for my nan’s Kinder cardigna, but I cut into the wrong fabric for that.  It has a clear right and wrong side.  It was tricky to cut out as it was hard to lay out on the table to cut.  I had to cut a couple of pieces twice as I hadn’t laid the fabric out straight first time.  However, the fabric feels nice and looks smart.
Difficulty

The pattern is straight forward and simple.  It’s suitable for a beginner but has a few pattern pieces and is in knit fabric.  I made mine completely on the overlocker – minus the final stage where you secure the neckband hem to the hem band.  I followed the batching checklist which is designed to be a faster method of working but looked at the more detailed instructions when I needed clarification on any point.

Clarity

I didn’t struggle with any aspect of the instructions and found the checklist worked well with how I like to work.

Design and Fit

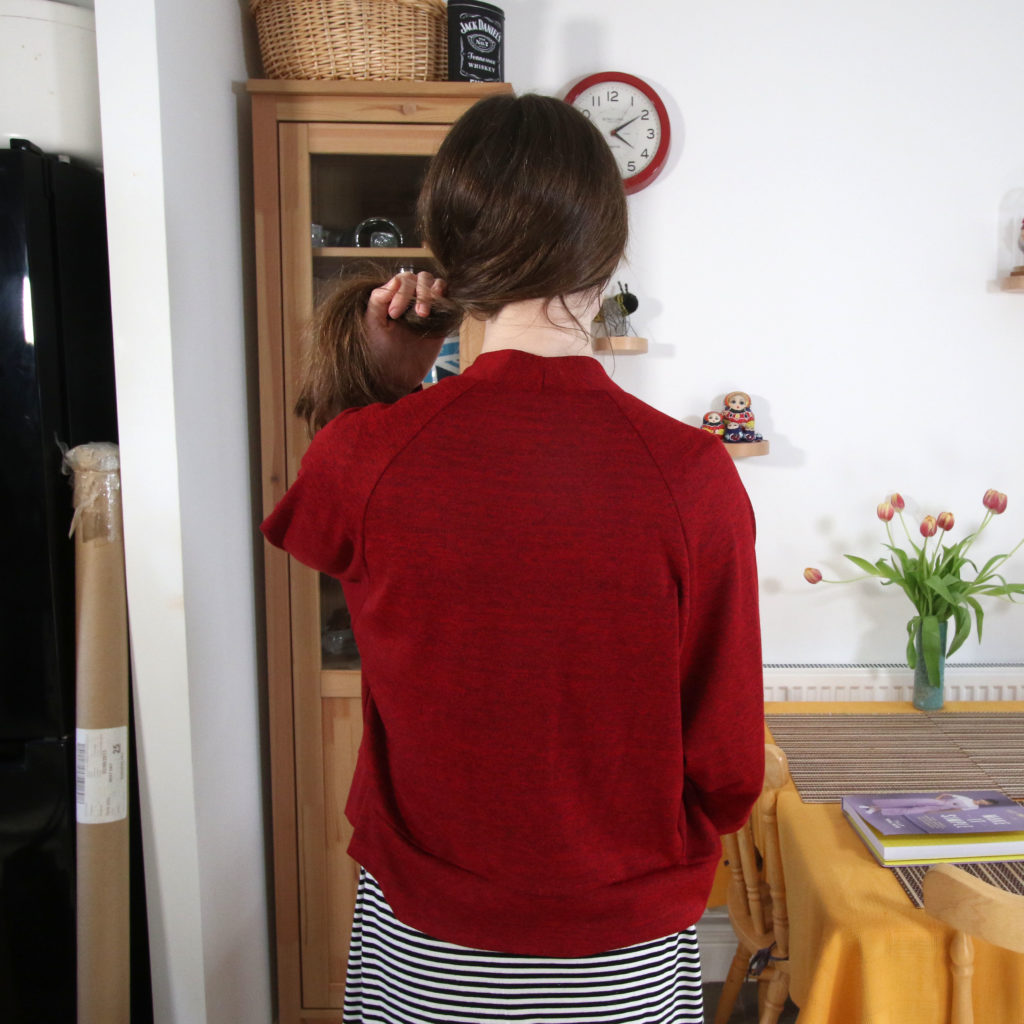
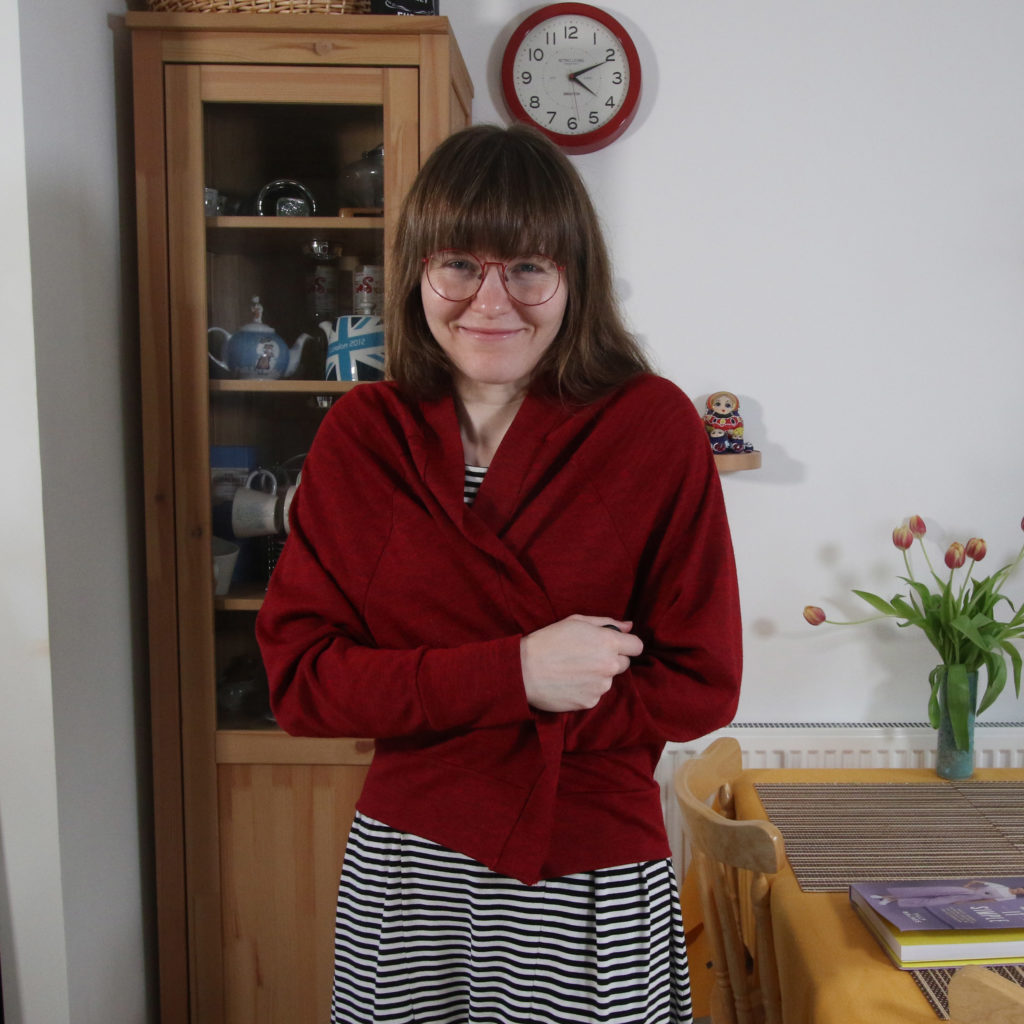
As intended, Bertha is loose fit in style to avoid excessive time on adjusting it to fit.  I would consider lengthening the sleeves next time as I’m only just comfortable with this length on me – but this is personal preference (technically they are long enough!)

I chose to avoid pockets on this occasion as I felt this fabric would look nicer without and made it look smarter if used for work.

Time Taken

I was very interested to track the time it took as the book does give guidance on this.

For cutting time it advises it will take around 40 minutes, but it took me about an hour – but I did go wrong and I am a slow cutter.

For sewing/construction time, it advises 1 hour 35 minutes.  It look me 2 hours 20 minutes.

The guide times are like those you get in a recipe book where it is just a guide and it may be that you are faster second time round.  I do think I may have been a bit speedier if I had been a bit more organised though!
Conclusion

A very fast make, and definitely possible to make in an afternoon.  I’m very happy with it and can’t wait to try out more patterns from the book.

You can watch my related video on this make below:
Continue ReadingPattern Review: Bertha Cardigan

Mend it! Adding a blind hem to a dress

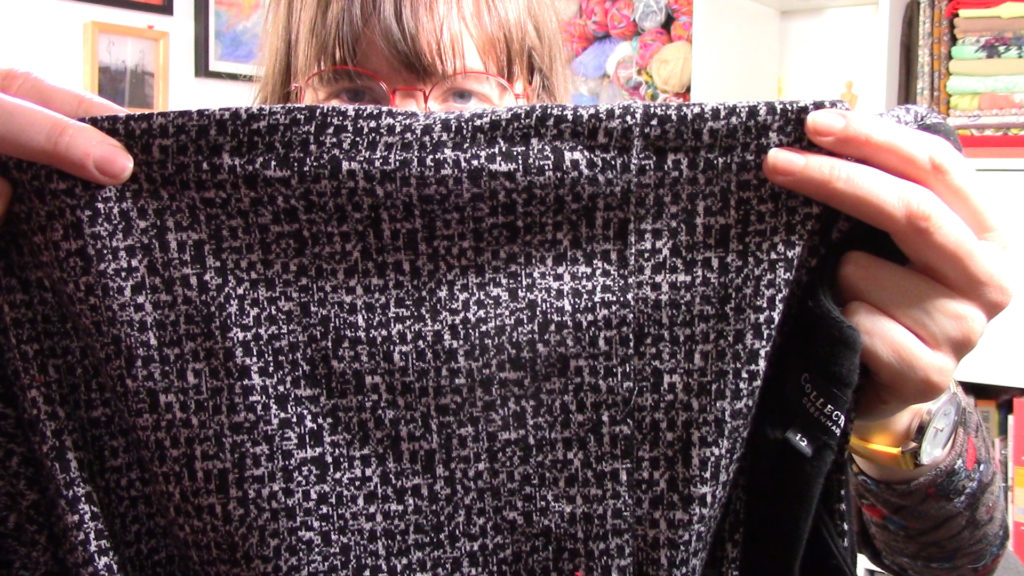
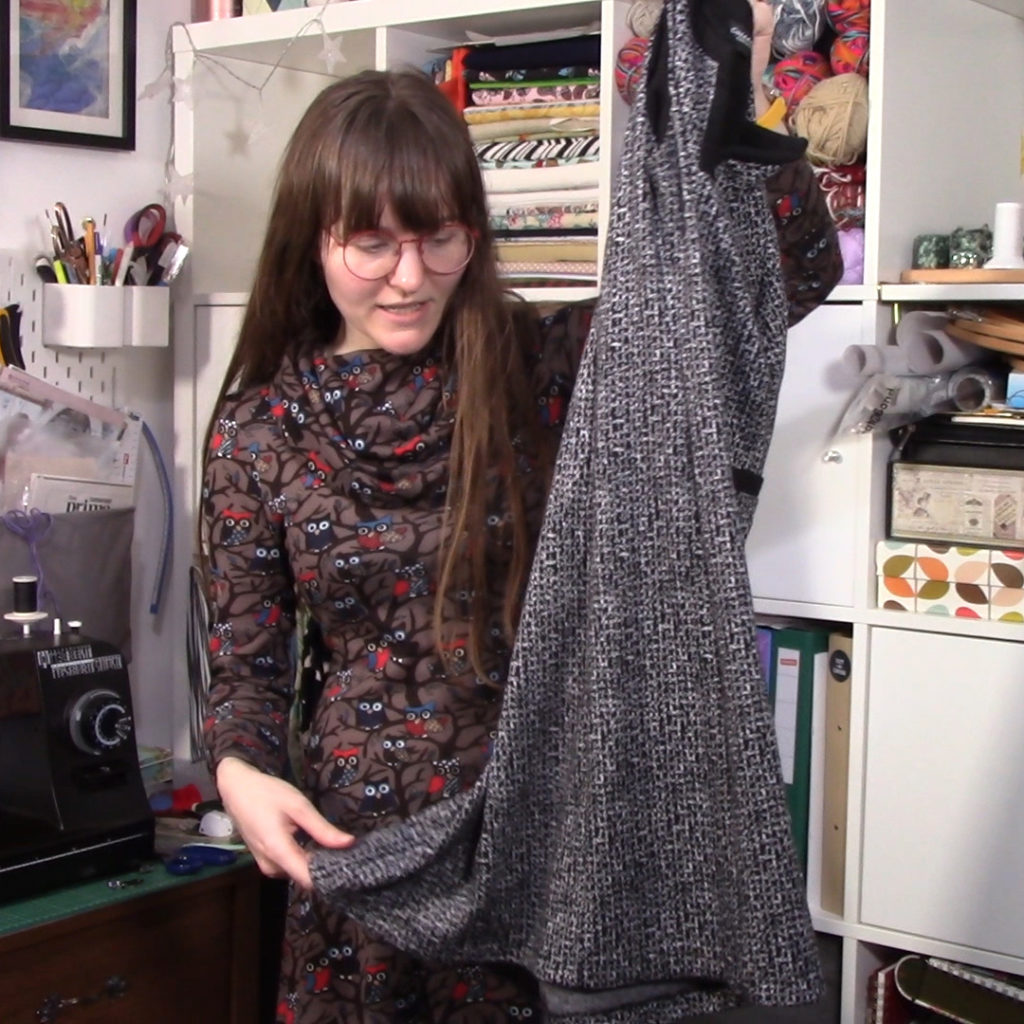
One of my 2020 goals is to get through my mending pile and fix items as I go along.  I finally got round to my first project, which was to mend a tunic dress I bought years ago.  The hem stitching had come away on the majority of it so I had not worn it for a while.  It was time to resolve the issue.

Details

  • Garment: Tunic dress (shop bought)
  • Fabric type: Knit (quite stable)
  • Problem: hem needs restitching
  • Solution: Blind hem to match original hem appearance
  • Resources required: Blind hem foot (optional), matching thread

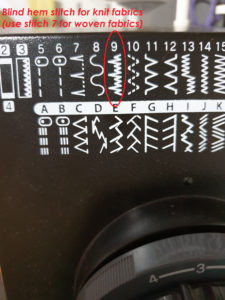
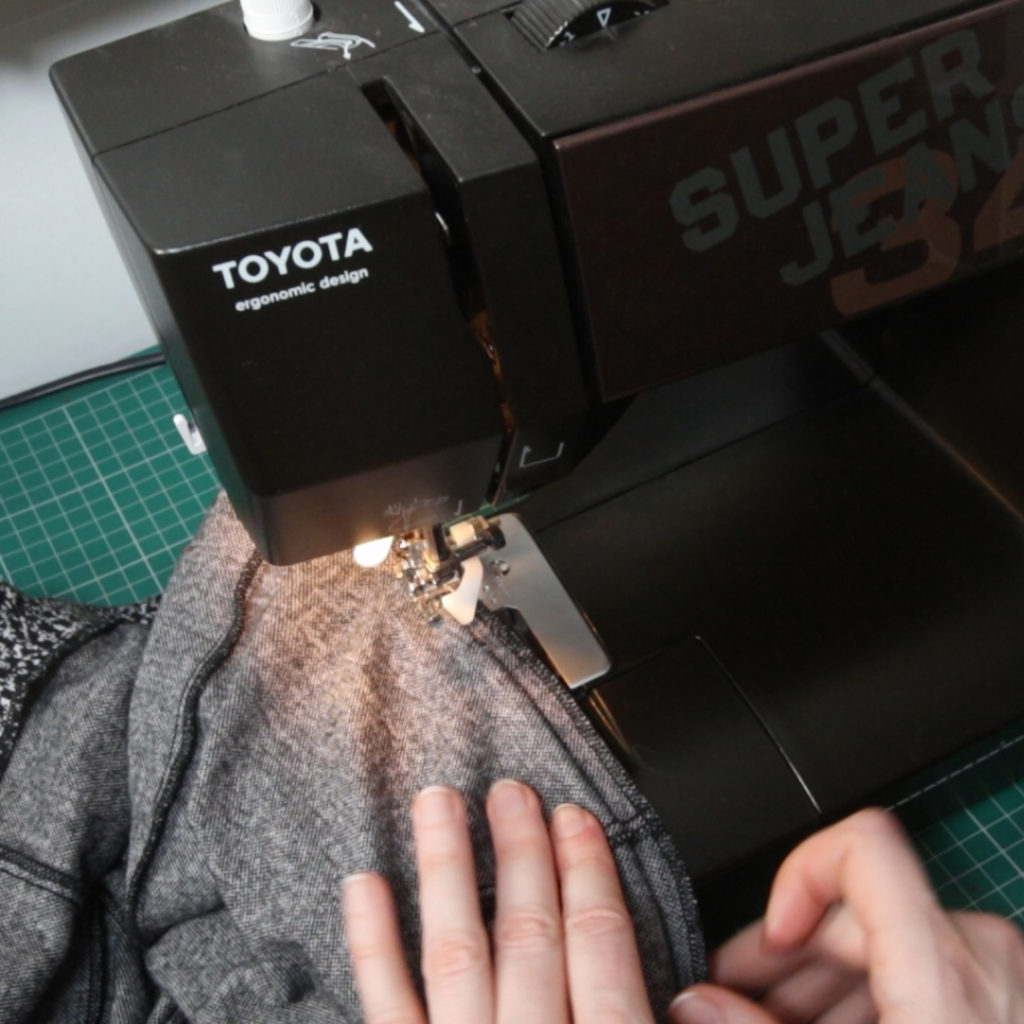
On my machine (Toyota Super Jeans 34) the stitch to use for stretch blind hems is stitch 9.  If I wanted a blind hem, I would use stitch 7 instead.  Both stitches allow you to create a hem which is still machine sewn but avoids an obvious line of stitching, which is great for certain projects where this line of stitching would spoil the appearance.

This is the first time I have tried out this hemming method, and I was impressed with the result.  Fortunately, this fabric is so busy that it is very forgiving, but I will need to be much more careful and accurate on a less forgiving one!

Conclusion

I’m really pleased I finally mended this dress as I learned a new way to hem along the way.

You can watch more about this mending project and how to create your own blind hem on the vlog:

Continue ReadingMend it! Adding a blind hem to a dress

5 Ideas for quick sewing gifts (all free patterns/tutorials)

I love to make a gift for my nearest and dearest, and while I start with huge ambitious plans, I’m normally grappling with time.  Here are a few ideas if you find yourself wanting to make gifts but needing some faster options.

Continue reading
Continue Reading5 Ideas for quick sewing gifts (all free patterns/tutorials)

Make a mini Christmas Brooch!

Fancy something to wear to get in the festive spirit but need something that will go with your pinafore or is less obvious than a festive jumper?  A little Christmas brooch may be the answer.

What you need:

  • Download the template for this make here
  • Cardboard for the middle section (to improve the structure, but you could leave this out if not available)
  • Felt scraps in the colours of your choice
  • Embroidery thread in the colours of your choice
  • Brooch back
  • Scrap length of yarn if making the bauble design
  • Double sided tape
  • Bondaweb scrap (optional)
  • Interfacing (optional)
  • Paper scissors
  • Fabric scissors
  • Darning needle
  • Sewing machine if you want to add decoration on the sewing machine

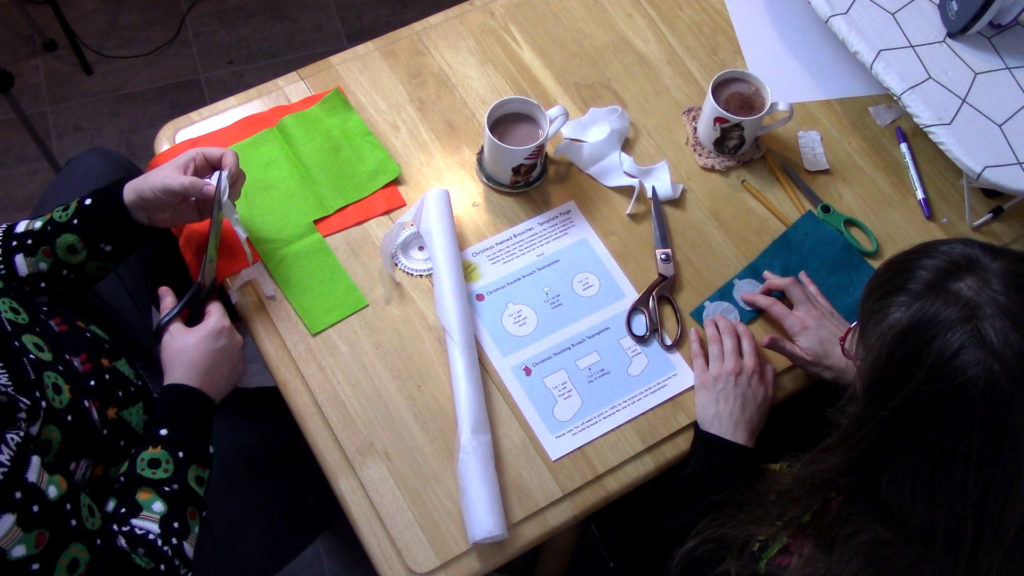
1. Draw out the main pieces of your design onto the interfacing if using and attach to the felt (or draw directly onto the felt if not using interfacing) and cut out

For the stocking design, you will need to ensure that you cut one on the reverse side if using the interfacing.

Attach to the interfacing by placing the shiny side of the interfacing on the felt so that the non-shiny side is facing upwards.  Press with an iron until it attaches.

If you are not using interfacing, you can trace the design straight onto the fabric and then cut out.

If you want to embellish on the machine, do this before cutting the shape out of felt as it will be much easier!

2. Attach the bauble top or stocking brim

I used interfacing to trace the shape and then attach to the main front piece, but you could just place on top and then sew in place.

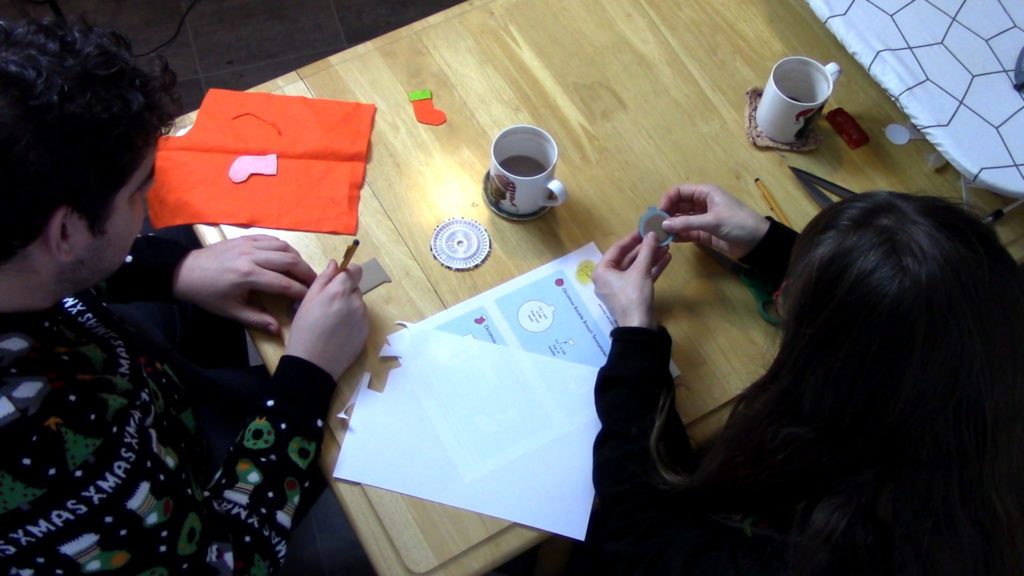
Here, my partner used a straight running stitch to attach the bottom of the brim of the stocking, but you could choose a hand embroidery stitch of your choice.  I used back stitch.

3. If you are adding any embellishment using hand embroidery, add this now to the front piece

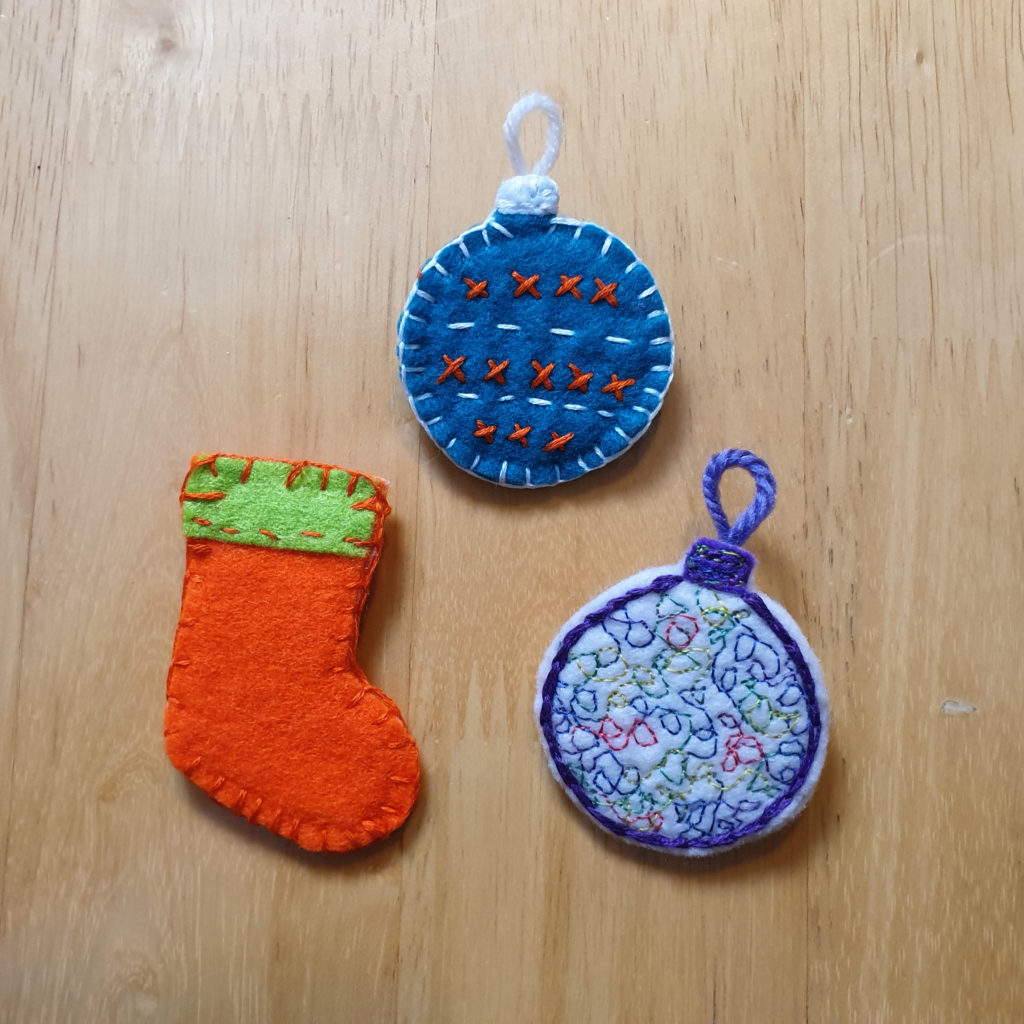
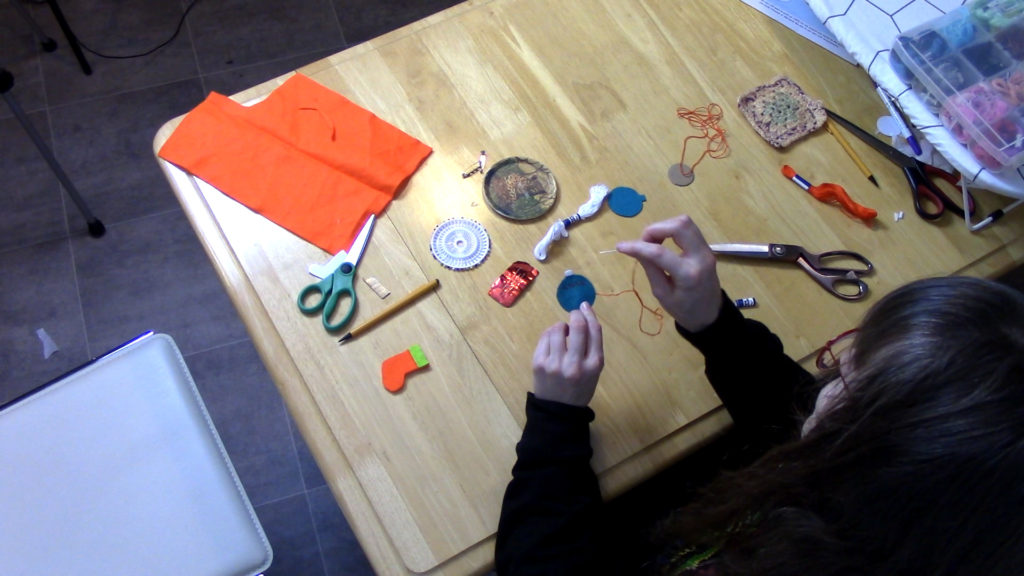
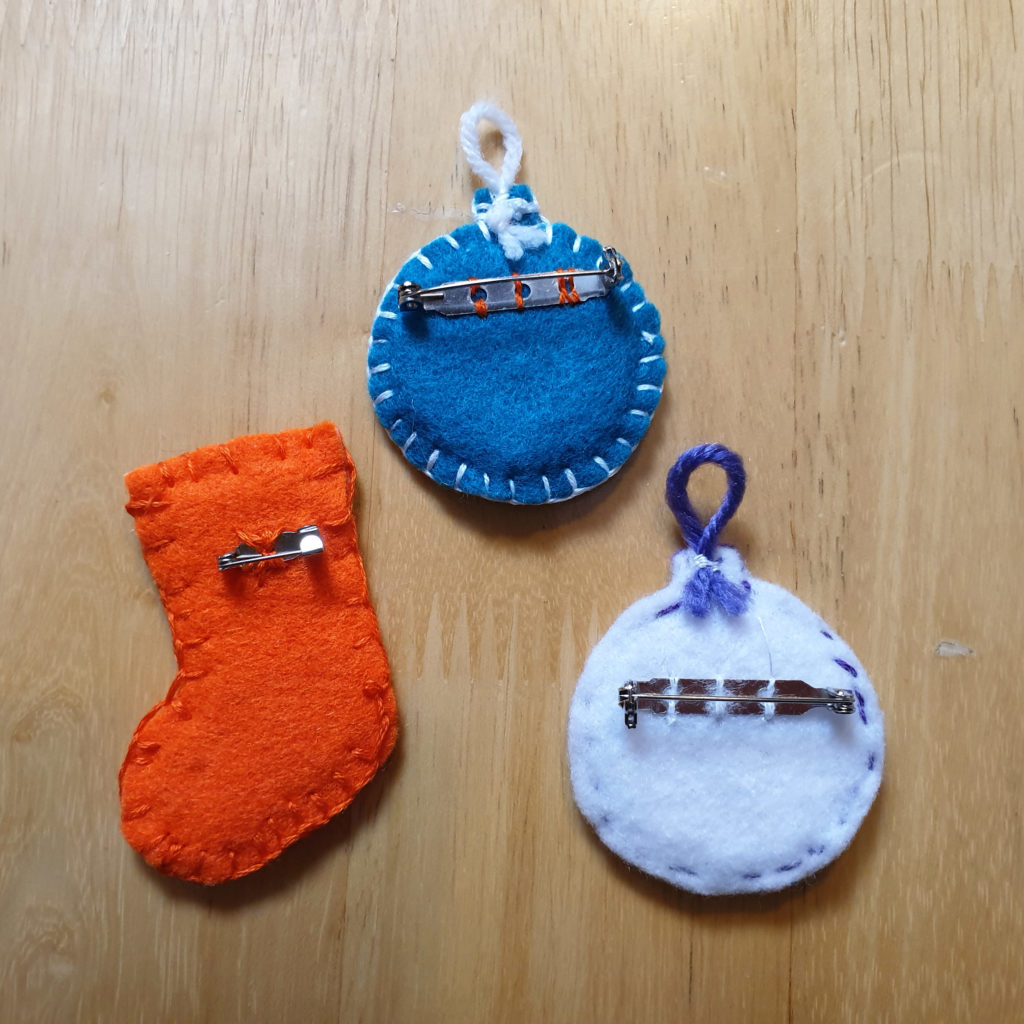
On the blue bauble I made, I added some cross stitch shapes and running stitch to add a bit of detail in both orange and white thread.  I used two strands of embroidery thread doubled (4 in total) – see the video for more about this.

4. Add the brooch attachment to the back piece

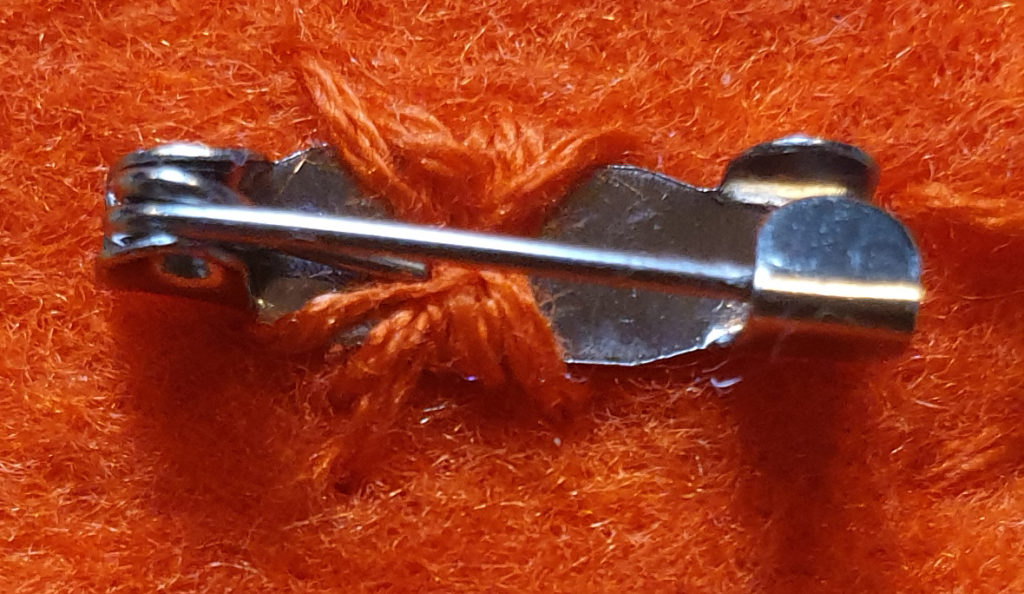
Secure the brooch piece on the back piece in the top third of the shape securely with some thread.

5. Add the cardboard middle, if using

I like using the cardboard middle to give the brooch a firmer shape and used some packaging rubbish for this.

Trace the shape of the middle piece onto the cardboard and cut it out.  Next, attach right in the middle of the wrong side of the front piece with some of the double sided tape.  This will help prevent it from moving when you stitch around the edges.  Attach the back piece in the same way with double sided tape, by placing the piece over the front piece, wrong sides together.

6. Stitch around the edge - and add a yarn loop to the bauble design

You can choose your preferred stitch for the border.  In the video below, Phill and I both used blanket stitch, but in the one I made with free machine embroidery decoration, I used chain stitch.

Finally, for the bauble design, I secured a small length of yarn in the desired colour to the top back of the shape.

Watch it on the Vlog!

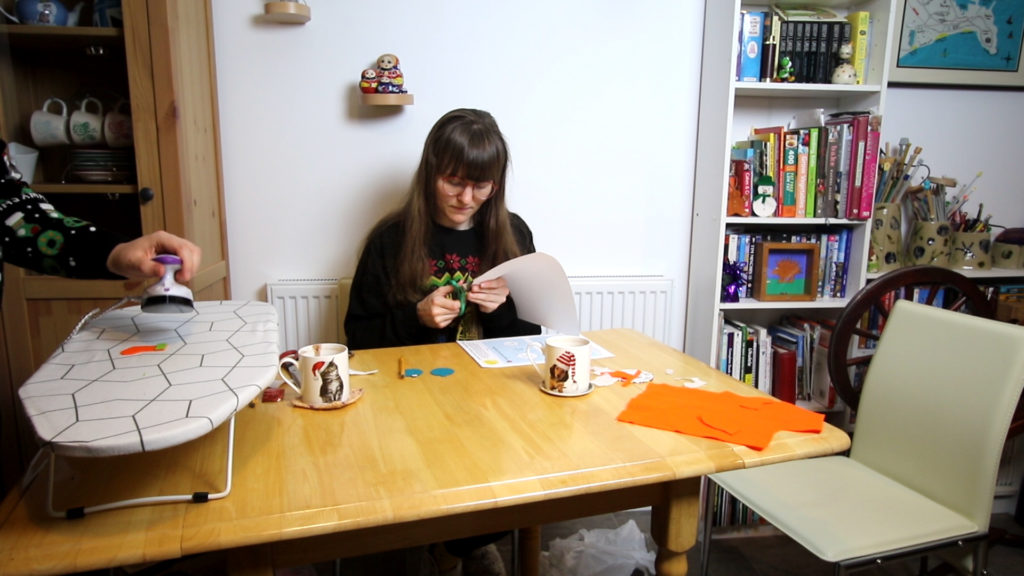
You can watch Phill and I make these in the video below:

Continue ReadingMake a mini Christmas Brooch!

Birthday card: Dog themed

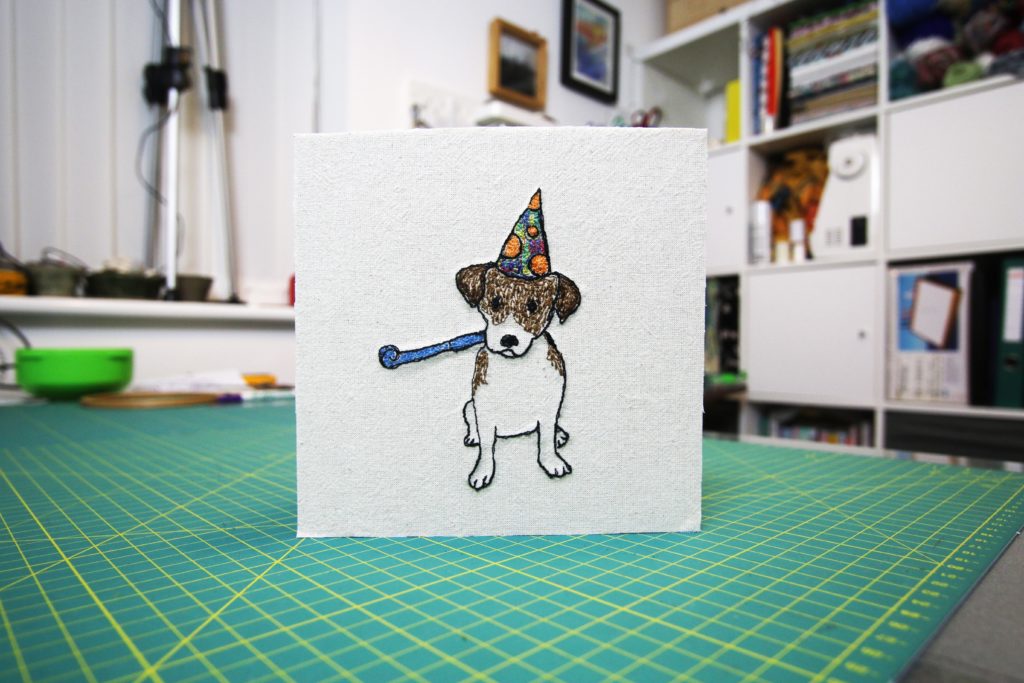
Recently, I shared a birthday card where a ginger tabby cat was the theme of the image.  This time, I’m sharing a dog themed birthday card – a Jack Russell themes one to be precise.

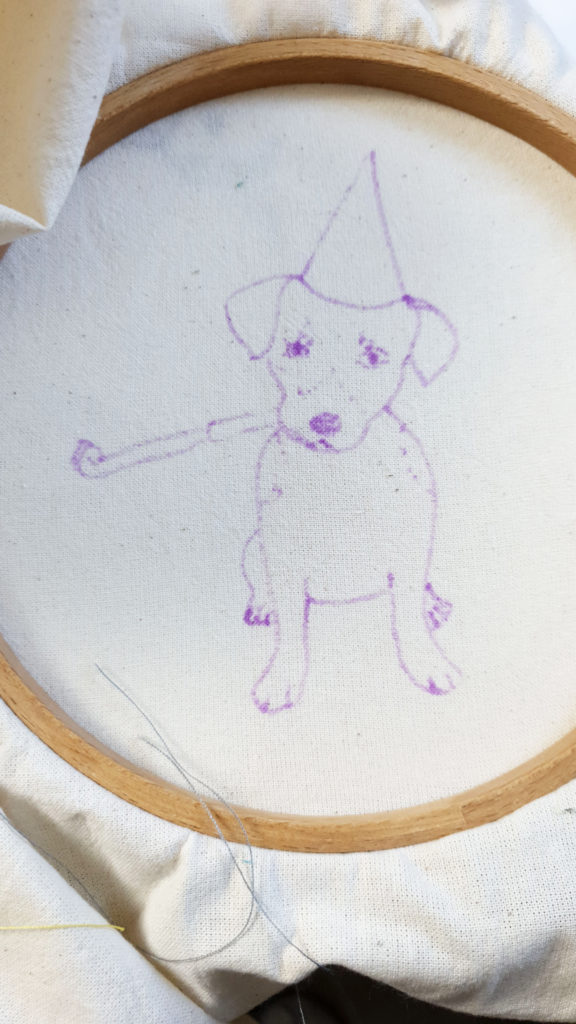
I was fortunate to find many real life dog photos of Jack Russells being dressed up for the birthday spirit, so it wasn’t difficult for me to picture one with a birthday hat and a party horn!  Based off these photos, I drew the outline of the illustration.

For this design, I used an air erasable pen to trace my design onto the calico I was using as the base.  I used black thread to create all the outlines as well as the facial features.  For the hat, I used a simple orange for the circles, and a multi-coloured thread for the background hat colour.  The party horn was coloured in blue.

For the markings on the dog, I used a brown thread and kept using a straight stitch.  However, I moved the fabric faster to create larger stitches to create a fur-like shading.

Finally, I attached to the card template with spray mount.

Watch it on the Vlog!

I made a timelapse of stitching this card which you can view in the video below:

Continue ReadingBirthday card: Dog themed

My non-essential “luxury” sewing tools

In recent years, I have become much less of a minimalist in my sewing tools.  And I have to admit, most of them are not essentials, or even necessary, but they are fun additions to have if someone is struggling to find you a gift!

Here are my top non-essential tools for sewing that I own.

Continue reading
Continue ReadingMy non-essential “luxury” sewing tools

Pattern Review: TATB Freya Cowl Neck Dress

Click edit button to change this text. Lorem ipsum dolor sit amet, consectetur adipiscing elit. Ut elit tellus, luctus nec ullamcorper mattis, pulvinar dapibus leo.

Details

  • Pattern name: Freya
  • Variation/Style: Dress – Cowl Neck
  • Design House: Tilly and the Buttons / Tilly Walnes book Stretch!
  • Size I made: 4

Fabric

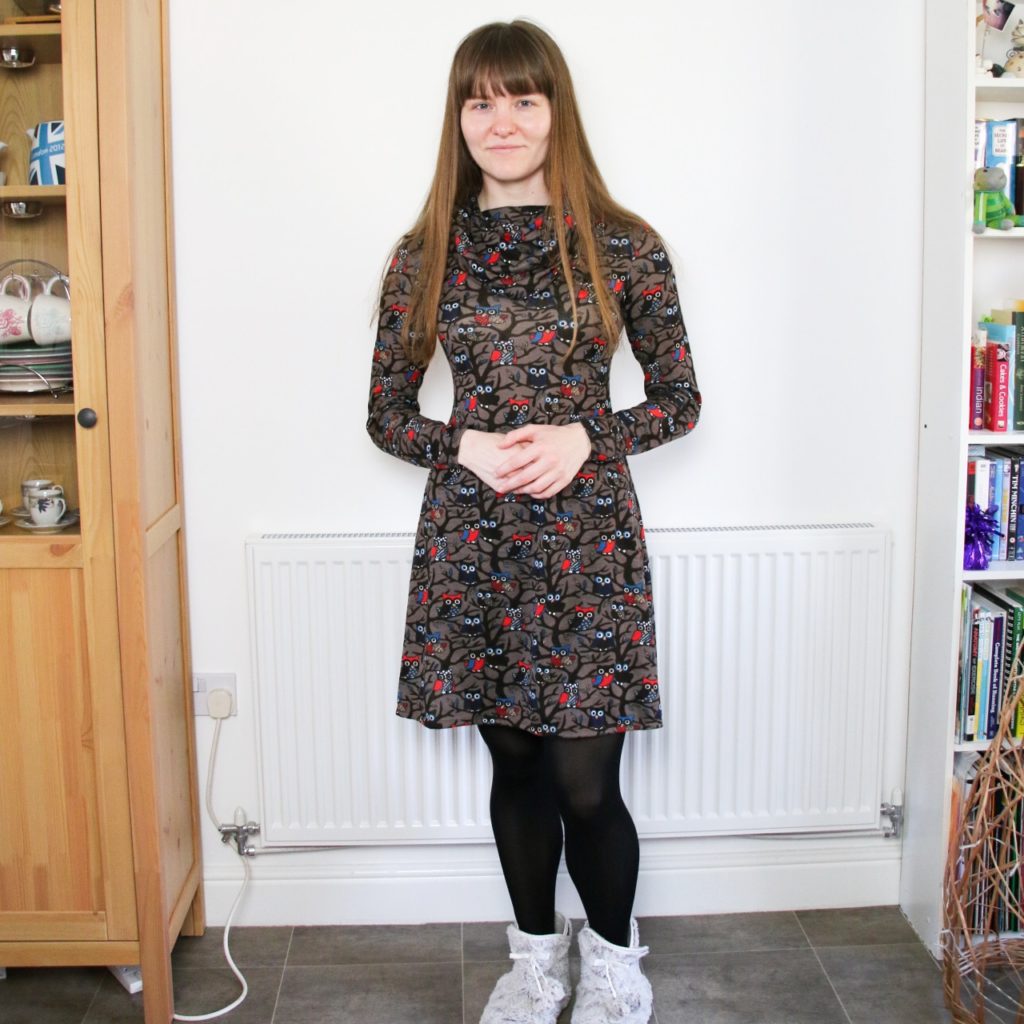
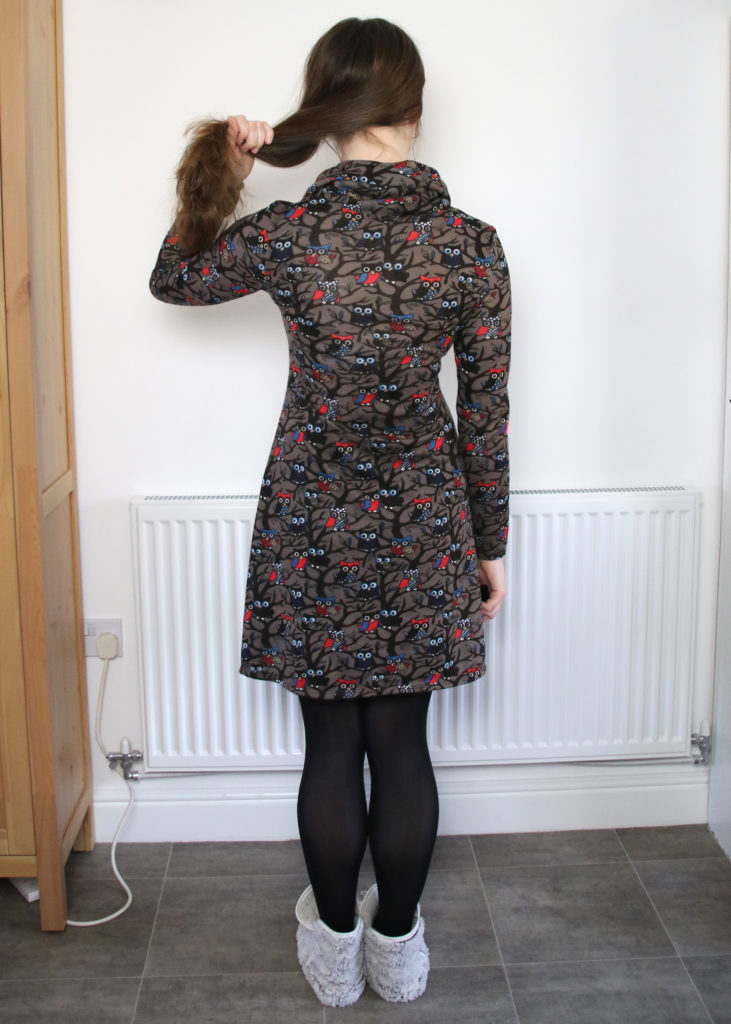
This owl knit fabric is quite stretch but very cosy.  I originally bought it from Fabricland UK a few years ago but I can’t remember which one!

Difficulty

I found this a simple make.  The cowl neck was easy to do and might even be easier than the mock neckline that is featured in the other variations in the book.  I think it is easier to add than a neckband in my own experience.  Apart from that, it was very similar to the Coco Dress (also by Tilly and the Buttons) to make up.

Clarity

I feel a bit like a parrot on this point, as I keep gushing over the Tilly and the Buttons pattern instructions and how it feels like someone is holding your hand, guiding you through the process!  I don’t remember encountering any issues with the instructions.  The book guides you nicely through all the steps.

Design and Fit

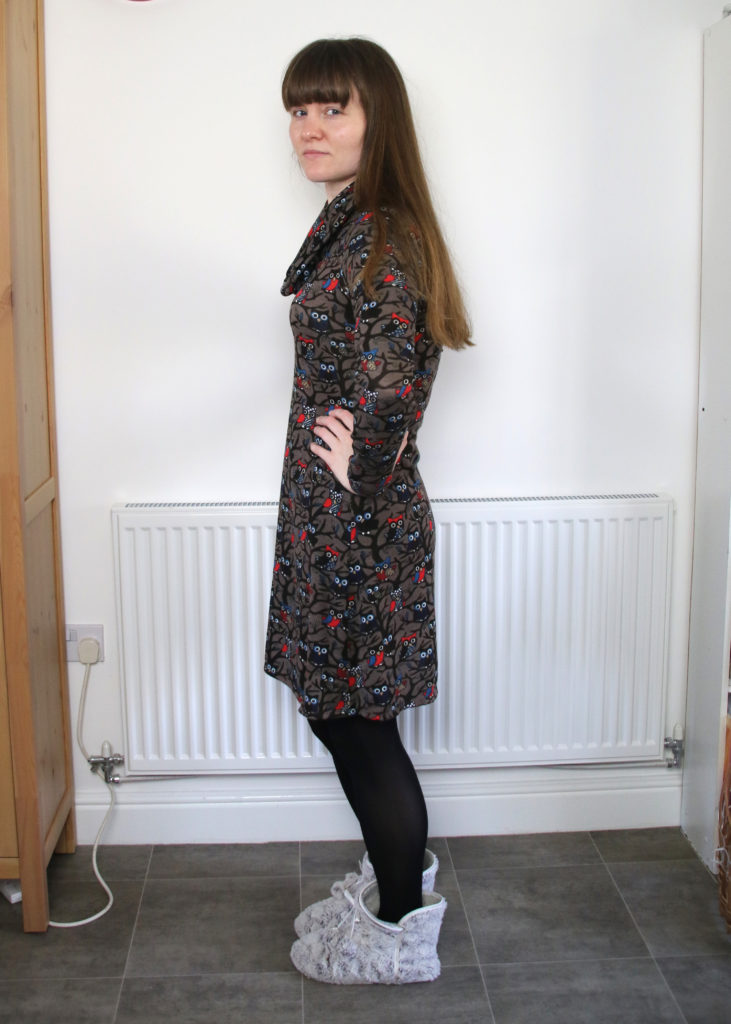
It is shorter than I would normally wear – similar length to the length of the Coco Dress – but as I would wear this with tights it is not too much of an issue.

It feels a bit snug on the bust so next time I may need to grade out a bit on this section – or it may be that I accidentally moved the fabric when cutting it out, reducing the width.

I really like the cowl neck and feel it adds a stylish yet simple addition to the pattern.  It would look great in a plain fabric as well.

Time Taken

You can make up this garment within a day.  However, I did leave the garment to rest a couple of days before I hemmed it,as I felt that the fabric needed this.

Conclusion

My conclusion is that I would recommend the pattern and this particular variation.  However, I would like to make the mock neck style as a sweater next time.  As I get warm easily and where I live is fairly mild (or shall we say muggy?) I don’t feel like I need many of these in my wardrobe, however.

You can watch my video review below:

Continue ReadingPattern Review: TATB Freya Cowl Neck Dress