#pic2stitch #1 The Man Engine

For my first #pic2stitch challenge, I decided to focus on The man Engine.

For anyone who missed it, The Man Engine is a mechanical puppet of a miner which is 4.5 metres tall when crawling and 10 metres tall when standing.

We were lucky to be able to travel to St Austell during one of the puppet’s transformations.  There was a big crowd, so we couldn’t see at first, but the organisers were really good in encouraging the crowd to keep moving to let people further back view it too.  Phill managed to take some pictures and it was from one of these pictures that I decided to create my first picture to stitch transformation.

cropped and smart fix

I wanted to create more of an outline of the Man Engine, so i used Photoshop Elements to edit the picture.  I erased a lot of the background data to make it easier to work out which parts were Man Engine and which weren’t!
I quite liked the image on the left, where I’ve used the water paper effect after deleting most of the background.  However, I stuck with my original plan, and used the photocopy effect to create a black and white version of the photo.

IMG_20160810_112805

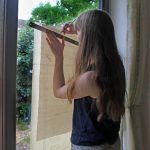
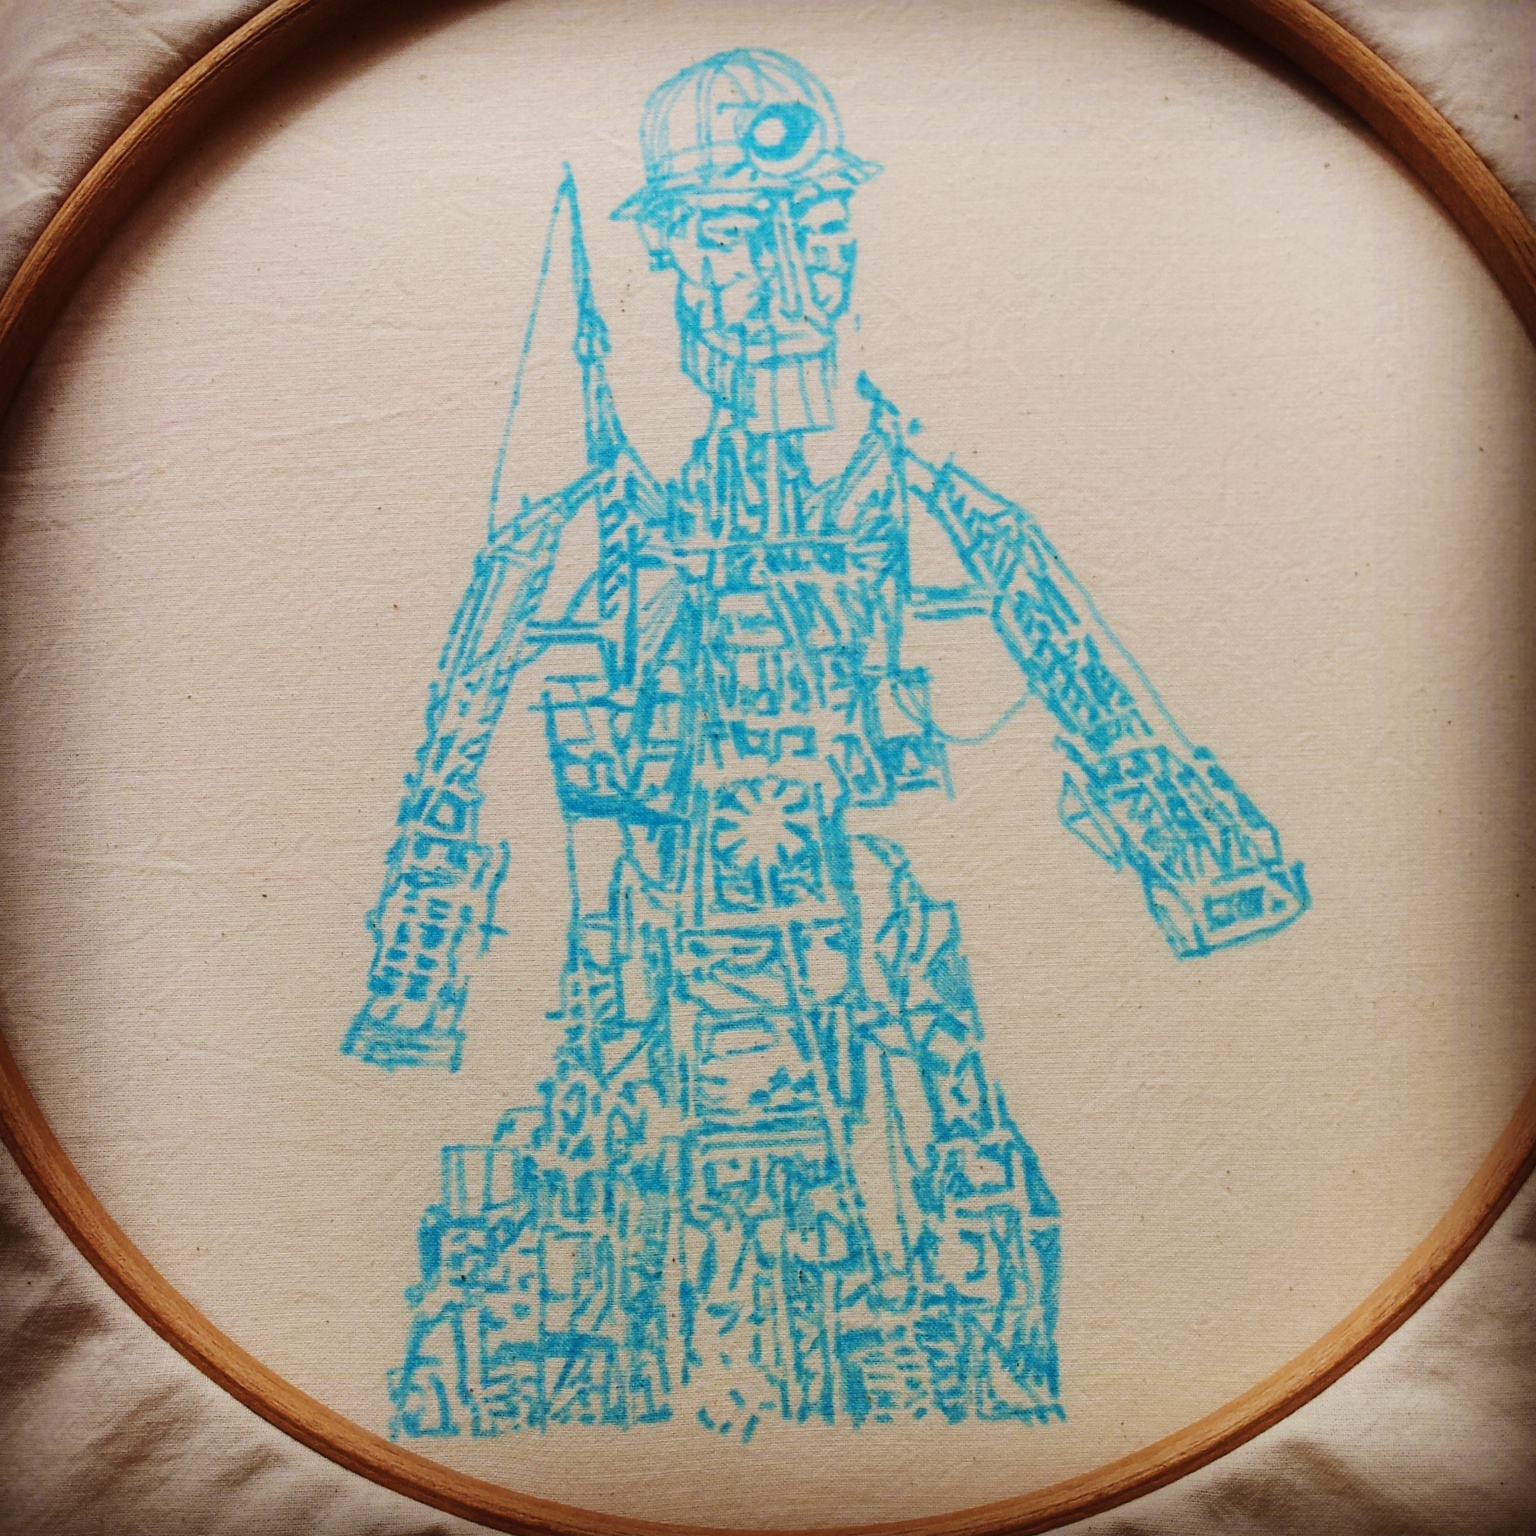
As this was a big project with much detail, I decided to use a water soluble pen to mark out the details on the edited photograph.  With the pen and a window, I traced the design onto calico.

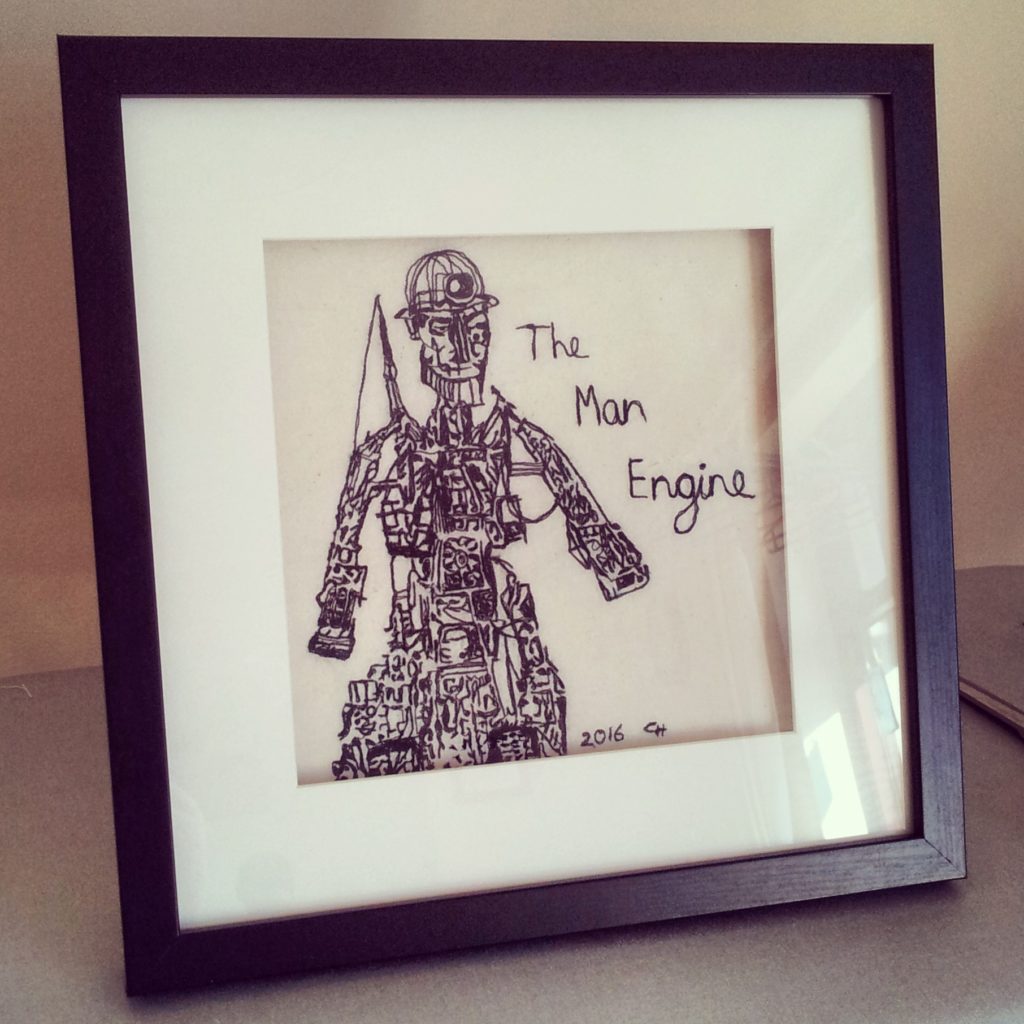
The photo selection, editing and then transfer to calico took around 3 hours.  In the afternoon, I began to stitch the design, which took around 4 hours, including short breaks to relax my eyes and wrists! I took a couple of hours to decide how to frame it, looking at different frames online and trialing the design in ones I had at home already.  In the end I went for the box frame below, which is a 3D frame, but is the perfect size for it.

IMG_20160811_095417

Here is the end result.  I was considering using some embroidery strands to highlight the puppet’s ropes, but in the end I decided to leave it how it was.  I did add its name, the year and my initials – I can’t seem to resist a bit of freehand writing with stitch!

I really enjoyed this make.  It was nice to spend the day on it and finish with a completed piece.

If you would like to view how I made this finished piece, I did record the machine embroidery section and have uploaded it onto youtube here.  I will warn you that it’s quite a long video despite speeding it up to ten times the actual time it took me!

For more information about the Man Engine, there is a useful article on the BBC website.  There was a website set up for the Men Engine’s tour but it now advises to check Facebook and Twitter for an update on what’s next for it.  There’s also the Cornish Mining Heritage website, who funded the project.

Continue Reading#pic2stitch #1 The Man Engine

Recording a card design – the stag card

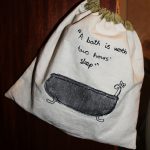
This week I’ve been quite industrious (well, more than I have been anyway!) and have managed to complete quite a few things for Clobber Creations ranging from fruit protectors to bath hats!  However, I want to reflect on the process of recording my free machine embroidery.

I find recordings of free machine embroidery quite mesmerising, and I’d voiced an interest in having a go at some point.  My dad pointed out that my camera could record video as well as take pictures, so the lack of video camera was not an issue.  I just needed to think about what I wanted to record and when to do it.

I thought that this aspiration was something I would play around with in September.  However, I began to put a Christmas card design into practice this week and thought, “why not record it?”

Fortunately, I have a tripod, which meant I could set up the camera behind me to one side.  I began with a full recording of the design make, from tracing the design to stitch ‘n’ tear, to colouring in.  However, I noticed the image was quite far away, so I had a go at recording zoomed in too.

A few things I learnt from this experience:

  1. Manual focus.  I thought that I would want my camera to do auto focus, but for the close up version, it kept focusing on my hands instead of the design.  manual focus meant that the camera stayed focused on the area surrounding the machine’s needle.
  2. Time Stretch.  This is what it’s called in Adobe Premier Elements.  I wanted the clips to fit into the length of a song and my free machining speed is not quite on par with this!  Using time stretch helped.  The close up video was sped up by 250%, which is a nice speed (and meant that people didn’t believe it was sped up), but the main video had to be sped up by 600%, which is a bit jarring…
  3. Public domain music.  I figured that most people wouldn’t want to hear the loud thuds coming from my sewing machine, so I searched for music which I could use for free, which I found at Free Music Archive.  I was surprised and delighted to find songs which were appropriate.

This slideshow requires JavaScript.

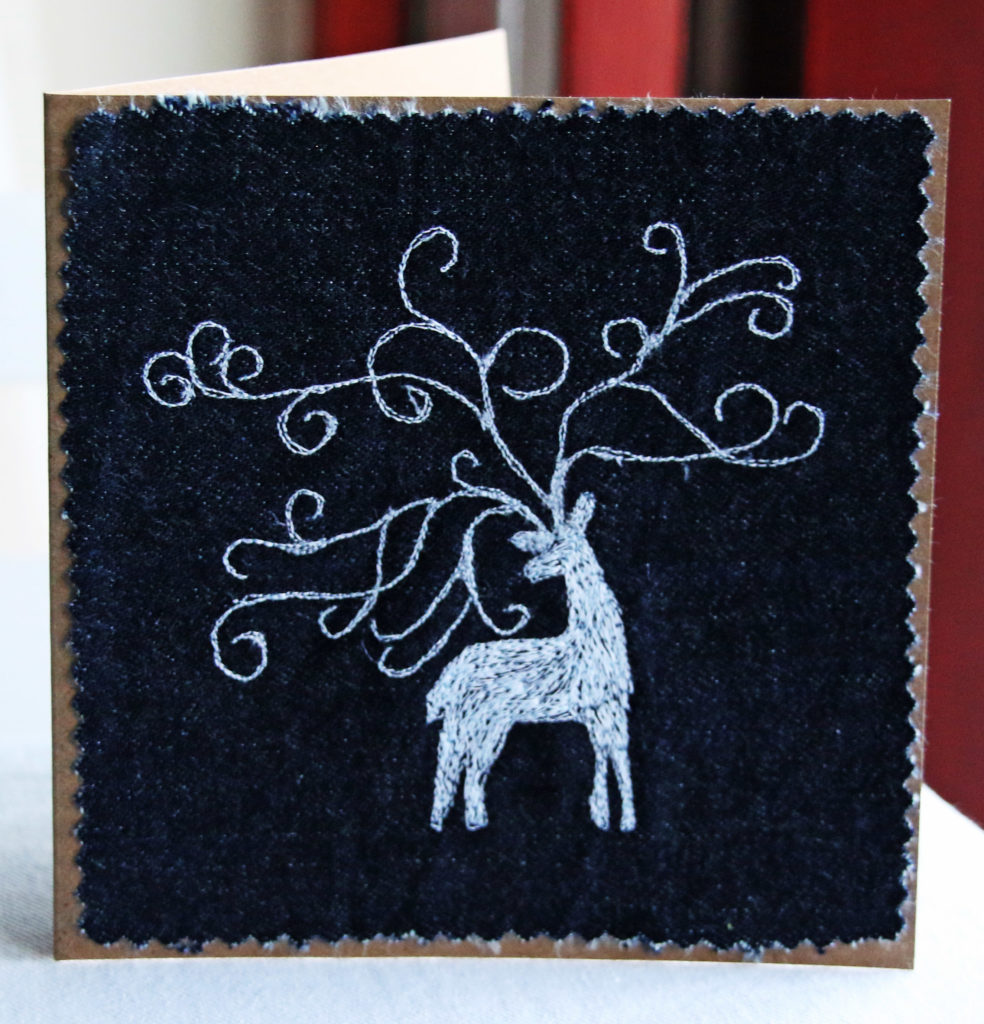
It is very early for Christmas but I couldn’t resist publishing the videos and card straight away.  You can view the close up and start to finish stag videos on youtube.  The card is available on etsy.

Continue ReadingRecording a card design – the stag card

Comic Strip Stitched

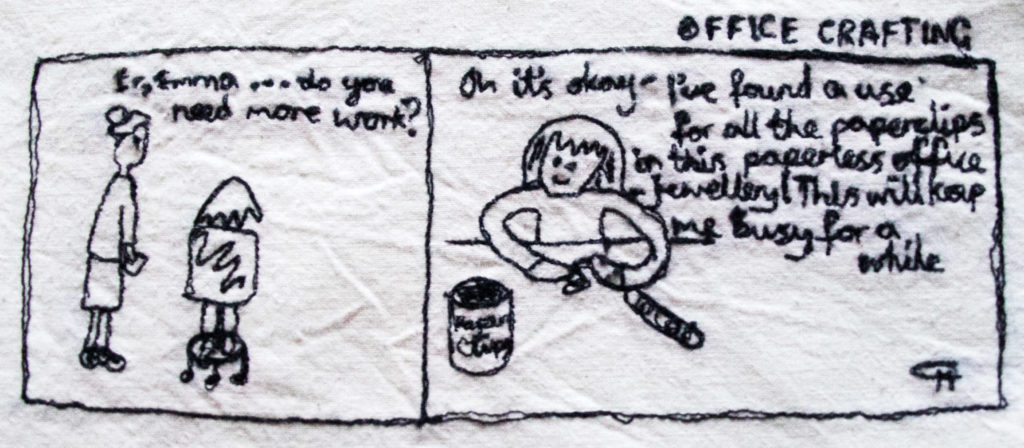
Recently I decided to revisit my doodles through free motion stitching.

Doodling can happen in all sorts of circumstances.  You could be on hold chasing up an order over the phone (or in the case of my first job, being the advisor on the other side of the line), waiting for a meeting to commence, sitting in the audience of a presentation or passing the time on the train.  Sometimes the doodling is abstract, and sometimes it turns into a miniature piece of artwork.

Many of the doodles I made when I worked as a customer advisor in a call centre focused on the more abstract sketches of wiggly lines and rough shading, punctuated by the odd cartoon cat.  We had green paper to use to make notes while we were on the phone, which we had to throw away as confidential waste at the end of our shift, so I don’t have any of those scribbles anymore, and I doubt there were many of interest from that job either!

design

However, I have kept some of the sketches I’ve made over the years.  I decided to use these to practise my free machine embroidery.

I used a water soluble fabric pen to trace the whole design onto my scrap piece of calico.  However, I found that once I got a gauge of the letter sizing, I began to ignore the template.  I was concerned about writing with stitch so small, but it worked out well in the end.  I probably wouldn’t attempt it when I’m tired though!

finished office crafting

Overall, it was an interesting stitch.  I find that I prefer joining up letters when I stitch, whereas I found it difficult to allow the writing to be joined up, possibly due to the style  and format you normally see comics portrayed in!

I have some more comic strip ideas drafted, including a short series based on being a graduate and job interviews, which I will use to practise my machine embroidery skills with as well!

Continue ReadingComic Strip Stitched

Stitching Cats

I haven’t made a lot recently, as I have been finishing up a couple of craft courses I took this year.  However, I have got around to practising free machine embroidery again.

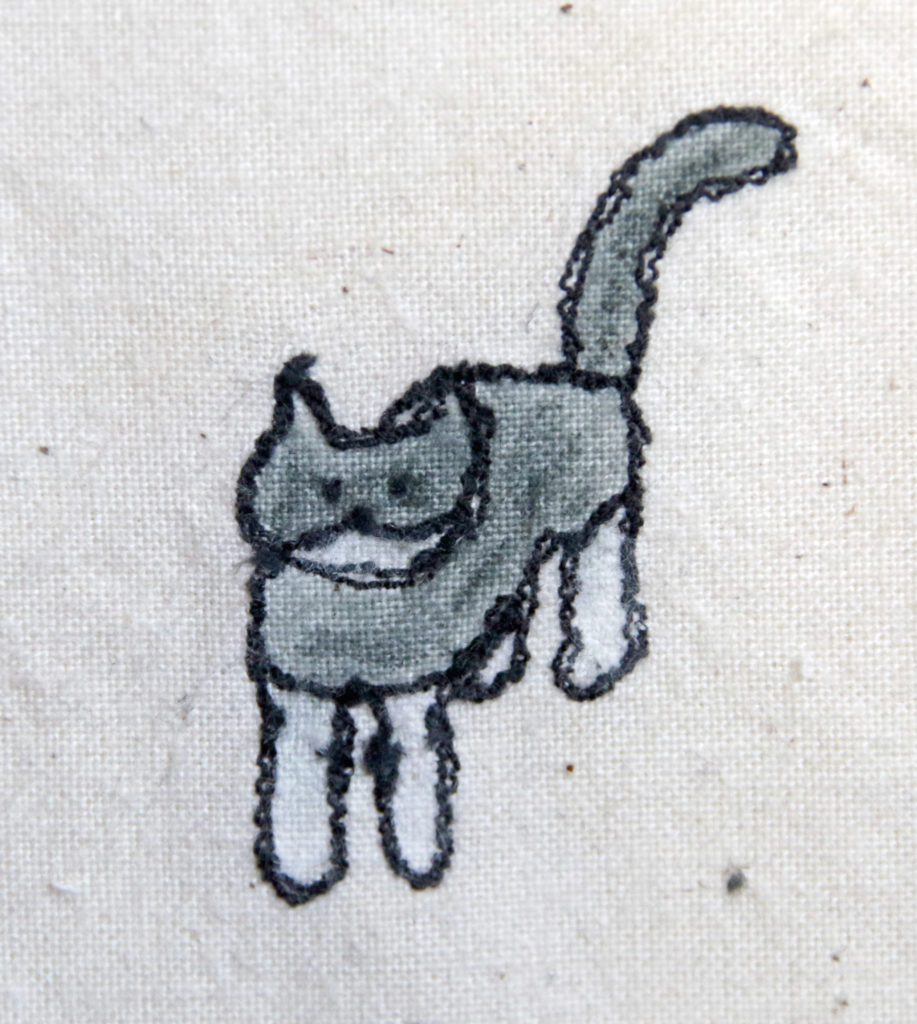
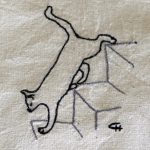
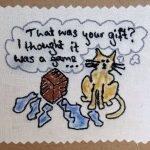
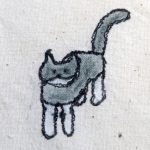
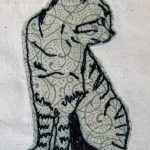
I’m very fond of pets, and regularly doodle my cats, Harry and Fizz.  I decided to have a go at designing some more cat images to frame or turn into cards.

I like the use of appliqué to add another dimension to the stitched cat, as shown on the far right.  However, I like the simple line drawing on the left, and am reluctant to add any shading or colour to it.  The middle images are coloured in with fabric dye sticks and paints.

They are all very different in style!  The middle ones are much more cartoon-like.  However, the tabby and black and white cat are much more personal, as they look like Harry and Fizz!

Continue ReadingStitching Cats

Personalised Cards!

Last month, I made a couple of individualised cards – one for father’s day and one for someone to give as a leaving card.

The leaving card was personalised by adding the name of the perosn leaving the workplace.  I used those fabric felt tip pens to colour it in.

Linda card

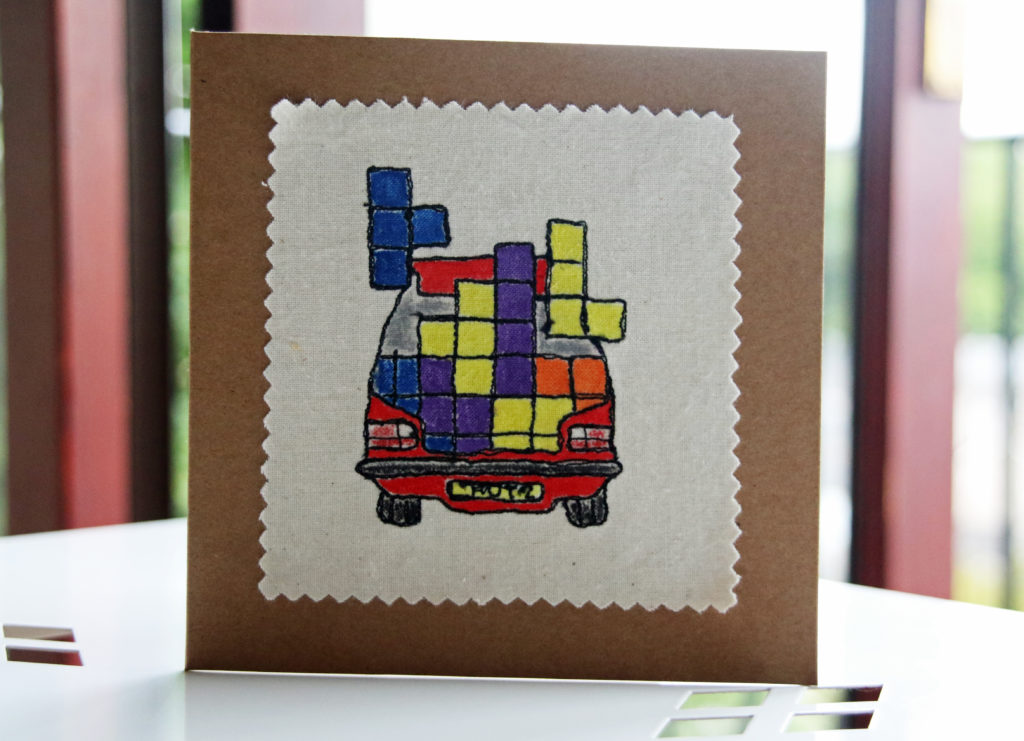
The father’s day card was personalised because it’s always been an ongoing joke that my dad is good at Tetris.  We would bring tons of stuff on holiday as kids and he would meticulously work out how to use the space in the car effectively to fit it all in!  The design is based off an image I saw online.

fathers day

Continue ReadingPersonalised Cards!

Recent inspiration – Jane Hunter’s ‘Haud Oan’

Since learning some free machine embroidery this year and combining it with appliqué, I have found it to be a great outlet of creativity.  However, when I heard the news on 24 June regarding the EU referendum, I found it very difficult to produce anything.

Jane Hunter’s new piece ‘Haud Oan’ is a great inspiration as a result.  She created it as a form of therapy to deal with the news that day.

I like how all of the yellow “remain” threads are held taut as they hold on in the direction of the centre of the EU.  The blue “leave” threads have no tension and fall loosely to the bottom of the frame.  It seems to symbolise how parts of England, Wales and Northern Ireland have voted to cut their ties from the EU.

It’s a great piece because it’s so simple yet effective in its message.  It’s matter of fact about the situation, and communicates the vote clearly away from words.  The fact that it doesn’t include any words helps me relate to it because I found it difficult to find any words to discuss the EU referendum on the day for a while.  Moreover it simply shows how this vote has created such divides in the UK.

Continue ReadingRecent inspiration – Jane Hunter’s ‘Haud Oan’

Completed PHD: Pyjama pattern from The Makery

After a review of my work practices, I decided that it was time to stand up and confront my PHDs (projects half done)!

The list of incomplete projects is threateningly high so I decided that this list needed to be dealt with (or at least cut back a bit!)

pattern

Enter Simply Sewing Magazine’s exclusive pattern from The Makery – pyjamas.  I think I began this pattern last August and then became distracted by a looming deadline for something else.  I’d cut all the pieces out and even sewn a couple of sections for the shorts but then put it away until now.

This project has been a good introductory one for tackling the PHDs because as the cover of the pattern boasts, it’s an “easy sew”.  I was a bit thrown off by the shorts being made out of two pieces instead of four, but once I got my head around it, the pattern was even easier than anticipated.

I haven’t done much gathering, and I feel  that it shows on the final piece.  However, as they are pjs, this doesn’t matter much and it’s been a good way to practise gathering as a skill.

The gathering works well for shaping, and personally I think the fit is good for this make.  I could have done with cutting the ribbon for the shorts waistband a little longer than instructed.  I needed assistance for fitting the straps as well.  Overall, a lovely weekend project!

final pieces

Continue ReadingCompleted PHD: Pyjama pattern from The Makery

#mmmay16 – Me Made May and the versatile wardrobe

Me Made May is an event created by Zoe from So Zo… ‘What do you know?’ to encourage people to wear the clothes they make, whether this is through knitting, crocheting, sewing, weaving, etc.  It’s designed to motivate crafters to celebrate their achievements and confront any perfectionistic thoughts which may be keeping some garments in the back of the wardrobe!

There’s no pressure to wear something everyday, or to charter your progress through social media.  The challenge is an individual one set by you.

I didn’t officially sign up this year (mainly because I didn’t read the post properly to see that you needed to add a comment to sign up) but went along with it anyway.  The challenge I found with #mmmay16 was that I have made a lot of summery dresses and May in the UK this year has been quite cold at times!  I did set an achievable goal – to wear something me made on a couple of days each week in May – but I found that the most versatile garment in my me made wardrobe is the knitted cardigan I made 3 years ago in double knit weight yarn!

cardigan


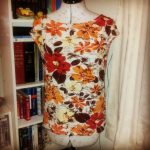
The second garment I wore the most was the top I made as part of #miymarch16 for the knit material day.  This top was great as I could layer it up depending on the weather!

Other items I wore was the dress I made during #miymarch16 and the wrap skirt, which was good for the warmer days of the month!

This challenge has made me reflect on the type of garments I make.  I can see that although it took a good couple of months to make my knitted cardigan, the pattern was a good one and I wear it a lot.  Also, I have tended to stick to simpler patterns with easy to use fabrics which are more suitable for hot summer days in my dressmaking experience.

As a result, it looks like I need to diversify my dressmaking challenges.  here are the ways I am going to do this:

  • Make more tops in knit materials
  • Make more tops in specially selected materials
  • Make more items for all year or in particular Autumn, Winter and Spring
  • Learn to make fitted trousers
  • Make more knitted cardigans!

It will be interesting to take part next year and see if there’s any progression!

Continue Reading#mmmay16 – Me Made May and the versatile wardrobe

Free Motion Embroidery – drawing and writing with my sewing machine

Got your eye on an expensive yet impressive embroidery sewing machine?  Think again!

I’ve been admiring the lovely embroidery machines with their numerous stitch options and the possibility of embellishing handmade gifts with a name at the touch of a button (or a few).  I remember watching a demonstration of someone programming in a word and then watching in awe as the machine punched out the letters perfectly.  All I wanted to do was justify the cost of buying a sewing machine which did this!

Well, my bank budget (and boyfriend) will be relieved to know that I no longer have this impulse!  While embroidery machines are amazing – especially the ones where you can put your design into the computer and then transfer it to the machine to stitch it – I discovered free machine embroidery this year through a local course.

I signed up to this course without much thought about what it entailed.  I’ve always wanted to do a textile based course, but they’ve always been a long commute away or I hadn’t been able to justify the cost at the time.  This course was a reasonable price, within walking distance, and with my new working hours, I could make the time of the session.

Free machine embroidery (also known as free motion embroidery) is when you drop the dog teeth on your sewing machine, which normally propel your fabric in one direction (away from you).  You attach a new type of foot – a darning foot – and reduce the upper thread tension a little.  You can do it without a presser foot attached, but it’s a lot safer with one!  You use an embroidery hoop to keep your material firm and you’re ready to go!

It’s best to move the hoop really slowly and have a play at first.  It takes time to learn to keep your hands smooth and steady as you stitch.  Originally, I practised drawing lines with the machine, then made loop patterns and some basic shapes.

first attempt
My first attempt at free motion embroidery!

In the course, we learned shading, appliqué, writing and using water soluble fabric (which is a whole other aspect to discuss another time).

IMG_20160326_085029
Some shading added to this cat drawing
applique
Some abstract layering of different fabrics using appliqué and free motion embroidery

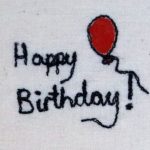
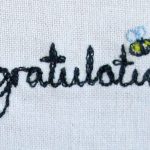
I really enjoyed all of it, but I am quite fond of writing with stitch.  I love looking at people’s handwriting, and I used to enjoy writing stories as a kid, which may explain my fondness of handwriting.  I have used writing in combination with other free motion embroidery techniques in producing the designs for some of my Etsy items– cards in particular.

Ultimately, the reason I’m addicted to free motion embroidery is that it is creates personality and individuality in makes.  Embroidery sewing machines are programmed to be perfect, but I am always going draw something with stitch a bit different every time I use it, which makes it more interesting.

It’s also a great stash buster!

Here are some useful resources and artists to look at if you fancy a go:

  • Craftsy has a useful ‘how to’ on creating embroidered works of art.  It’s very clearly laid out in simple steps
  • Poppy Treffrey does some lovely free machine embroidered items, focusing mainly on the seaside and animals
  • Lou Gardiner is another amazing free machine embroiderer and describes how she creates her work well on the introductory video on her site
  • Jane Hall focuses on nature in her work
  • Rosie James has a lovely book on drawing with stitch
Continue ReadingFree Motion Embroidery – drawing and writing with my sewing machine

The Poppy Playsuit

Once again, it’s been a while since I’ve had another go at dressmaking.  I remedied this by combining a recent pattern in Simply Sewing with a recent material purchase!

There’s a lovely charity shop nearby who sell craft supplies.  I was very lucky to go into the shop when they had a material sale on, which meant I got two fabrics for the price of one!  One of the fabrics I came across is this lovely one above.

I am not sure what type of material it is, but it drapes well and there was enough to try out the Poppy Playsuit by Sew Over It, which came with issue 16 of Simply Sewing.  The main criteria for the material for this pattern was one which drapes well so I had the perfect match!

This is the first pattern I have tried making a basic alteration with.  I found that the bust and waist measurements were close enough to one pattern size, but my hips definitely needed a smaller size.  The pattern pieces did not highlight where the hipline was, which was a shame, but I still made a basic alteration from the waist to one of the notches which I felt was close to the hip measurement area.

The fabric was a challenge to cut out as it moves easily – I found that pattern weights and then pinning it helped.  The pattern’s instructions suggested pinning the edge of the fabric too, which was a useful tip.

As I was concerned about the material moving too much, I pinned and tacked at every stage.  Tacking increases the time considerably, but it did mean that I didn’t have any major unpicking sessions!

The pattern directions are clear and and concise.  Key terms are defined, which saves a google search part way through your make!  The only section I had to re-read again was how to do the turn-ups, and they turned out to be really simple once I focused on the directions carefully.

The only bit of unpicking I had to do was related to the hook and eye.  I attached the hook so that it would meet the edge of the right hand side opening.  This caused a gape in the material when fastened.  I changed this by placing the hook on the very edge of the right hand side opening and put the bar further in on the left hand side.  Also, I didn’t read the pattern carefully when attaching the facing and did a 1.5cm seam allowance instead of 1cm!

I was surprised by how long it took me to make this item, but that’s mainly because (a) I’m rusty at dressmaking and (b) the material required more care than a standard cotton or linen.  However I think it’s well worth it and I look forward to some warmer weather soon so I can wear it!!  I would definitely complete this pattern again, and I expect I would find it even easier and faster second time round.

Although it took some time, this pattern is great for beginners because (a) there are only 4 main parts to the pattern, (b) no darts, (c) the shaping and fastening is the hook and eye and elastic casing at the waist, which means no zips or buttonholes.  The fabric really helps to define its shape, so as long as you get that right, you’ll end up with a lovely addition to your wardrobe!

Continue ReadingThe Poppy Playsuit