Usually, my poor family members get a handmade gift, whether they want it or not! However, my dad has learned this, and decided to make practical use of the situation. Sometimes, I ask them what they want before deciding myself. My dad was ready for the question when it came to his birthday gift.
His request was a cooking apron. He had his kitchen fitted recently, and new spark of interest in cooking and baking as ignited.
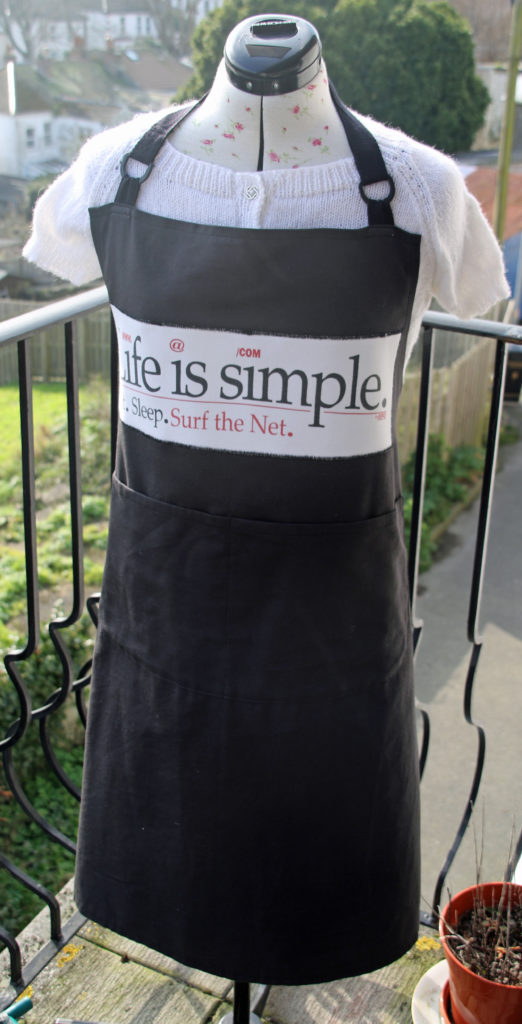
When I saw him last, he gave me one of his old tshirts, and I decided that this was a hint; he wanted the tshirt design to be incorporated into the apron.
After hoarding 3 of his old tshirts for 2 years, reluctant to complete the assigned task (the cushions I made him last Christmas), I was determined to ensure that I actually made this gift for the upcoming birthday – not one in a few years time!
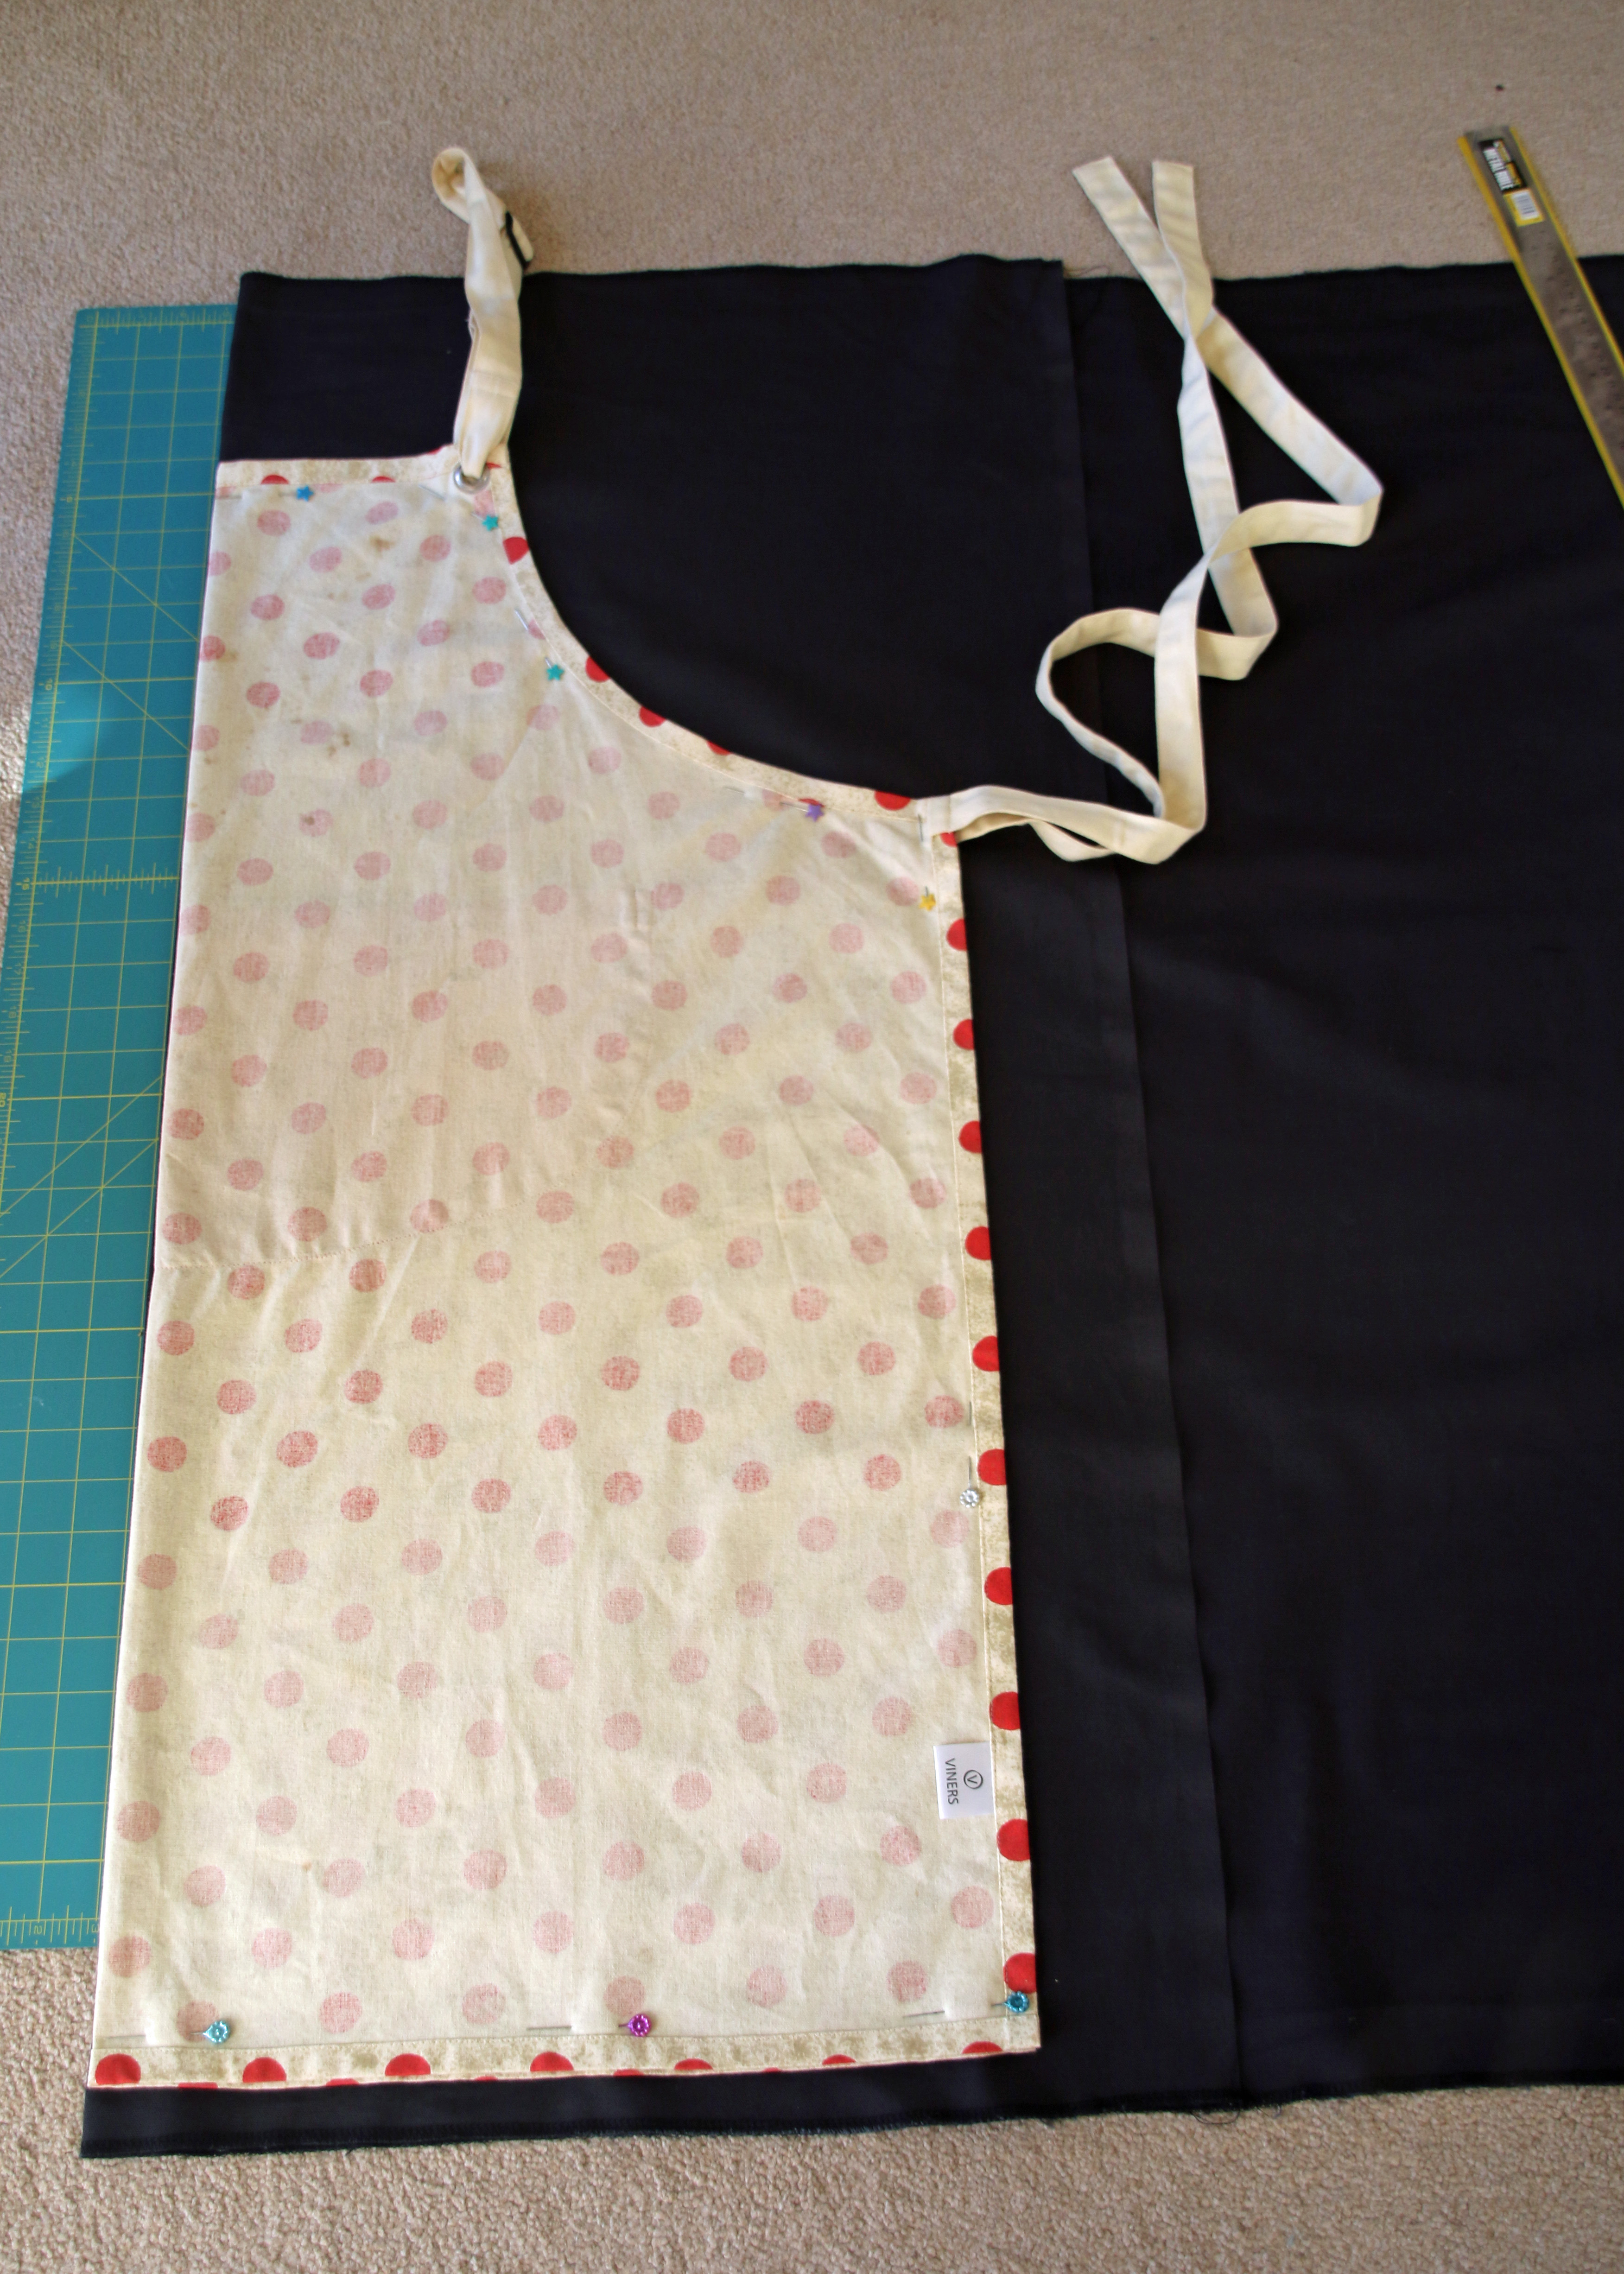
I did consider finding a pattern for an apron – looking at free patterns online, raiding mine and my mum’s stash of patterns, but I ended up turning to the aprons I had at home and comparing their fit. It turns out that we have four kicking about in our flat (so really I could have just given my dad one of them but it’s not part of the fun!) so I chose the one I liked the most. I tried them all on myself, and then asked Phill to try them on too to check their versatility. I chose a lovely apron I got years ago from Viners.
With the apron design selected, I had to find appropriate fabric. I tried to use a red fabric, but the prewash showed that it wasn’t colourfast, and would ruin the upcycled tshirt section. I tried to fix the dye with vinegar and salt, and while it did improve, I couldn’t risk it. Reluctantly, I headed to the shops and bought a metre of black fabric. Although i didn’t want to buy more fabric (as I have so much), I must admit that I think it’s perfect for this project. It feels like apron fabric if that makes sense?!

Fabric selected, prewashed and pressed, I set about cutting it out. I folded the fabric and apron in half, and then pinned the apron onto the fabric. Allowing an inch, I cut around it. I cut the pocket out a bit differently, by measuring the length and width, adding seams, and then cutting out a rectangle. I used a cooking pot lid to curve the corners a bit.
The original apron had neat seams which were folded twice over, but I opted for overlocking all the edges and then folding over once to secure. i had some black tape lying around for the ties and neck strap.
I really liked the adjustable strap on the original apron and wanted to include this. As I don’t have one of those tools which create a secure metal hole in the fabric, I created fabric loops instead. The adjuster and plastic D rings are from an old walking bag I had which broke and could not be used anymore. I decided to take all the plastic strap pieces off of it in case I made myself a backpack – not realising it would end up on an apron!
I used the original apron to work out where to place the pocket. As the t shirt motif was so long, its placement was decided by how close to the top I could get it to go! It was stitched on with two layers of zigzag stitch.


